The Perfect Pot by Our Place | the Always Pan's long-awaited companion

So you all know I’m obsessed with my “Always Pan” from viral and often-sold out cookware sensation: Our Place. But did you know they just released the “Perfect Pot”?!
Yet another obsession has entered the chat, as well as my kitchen! The launch arrives just in time for the upcoming holidays—and makes for an excellent kitchen upgrade, whether for yourself or as a gift.
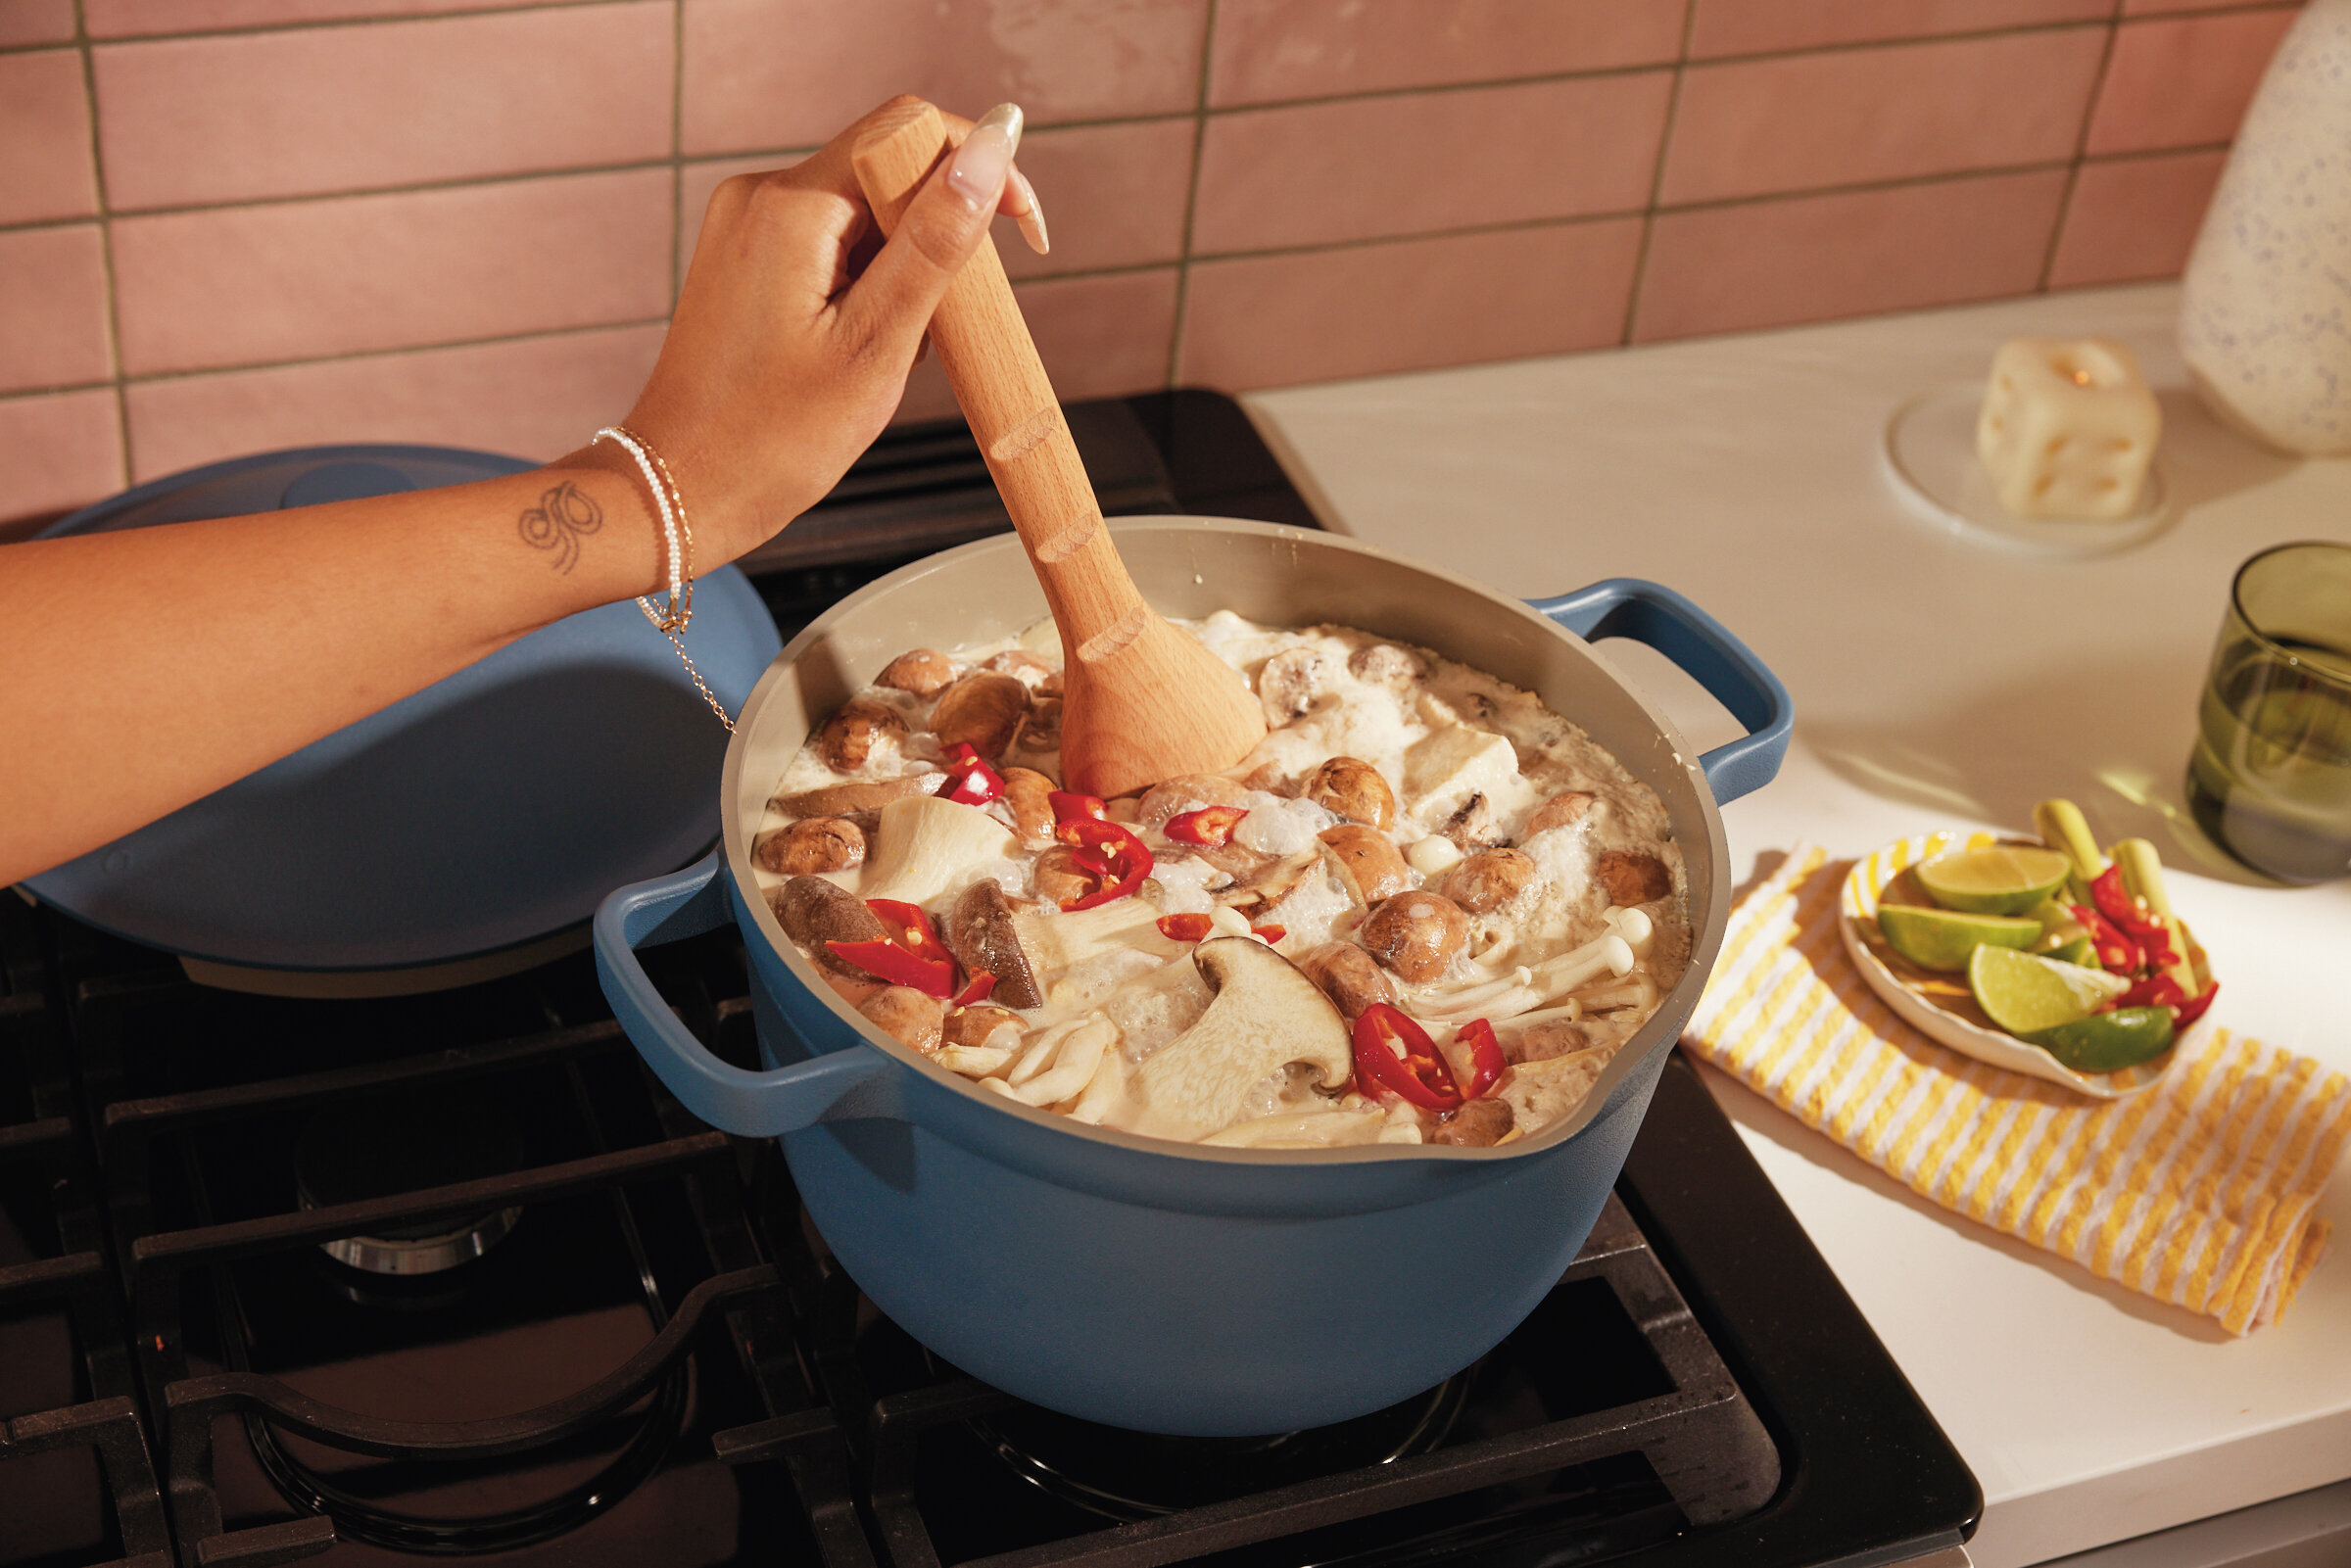
The Perfect Pot takes a page out of the Always Pan’s book in that it it combines “every pot and then some”.
This pot does everything from braising to baking, straining to roasting, comes with genius built-in hacks, and a lot more volume.
Features
Combines all the following in one:
Stockpot
Dutch Oven
Saucepot
Roasting Rack
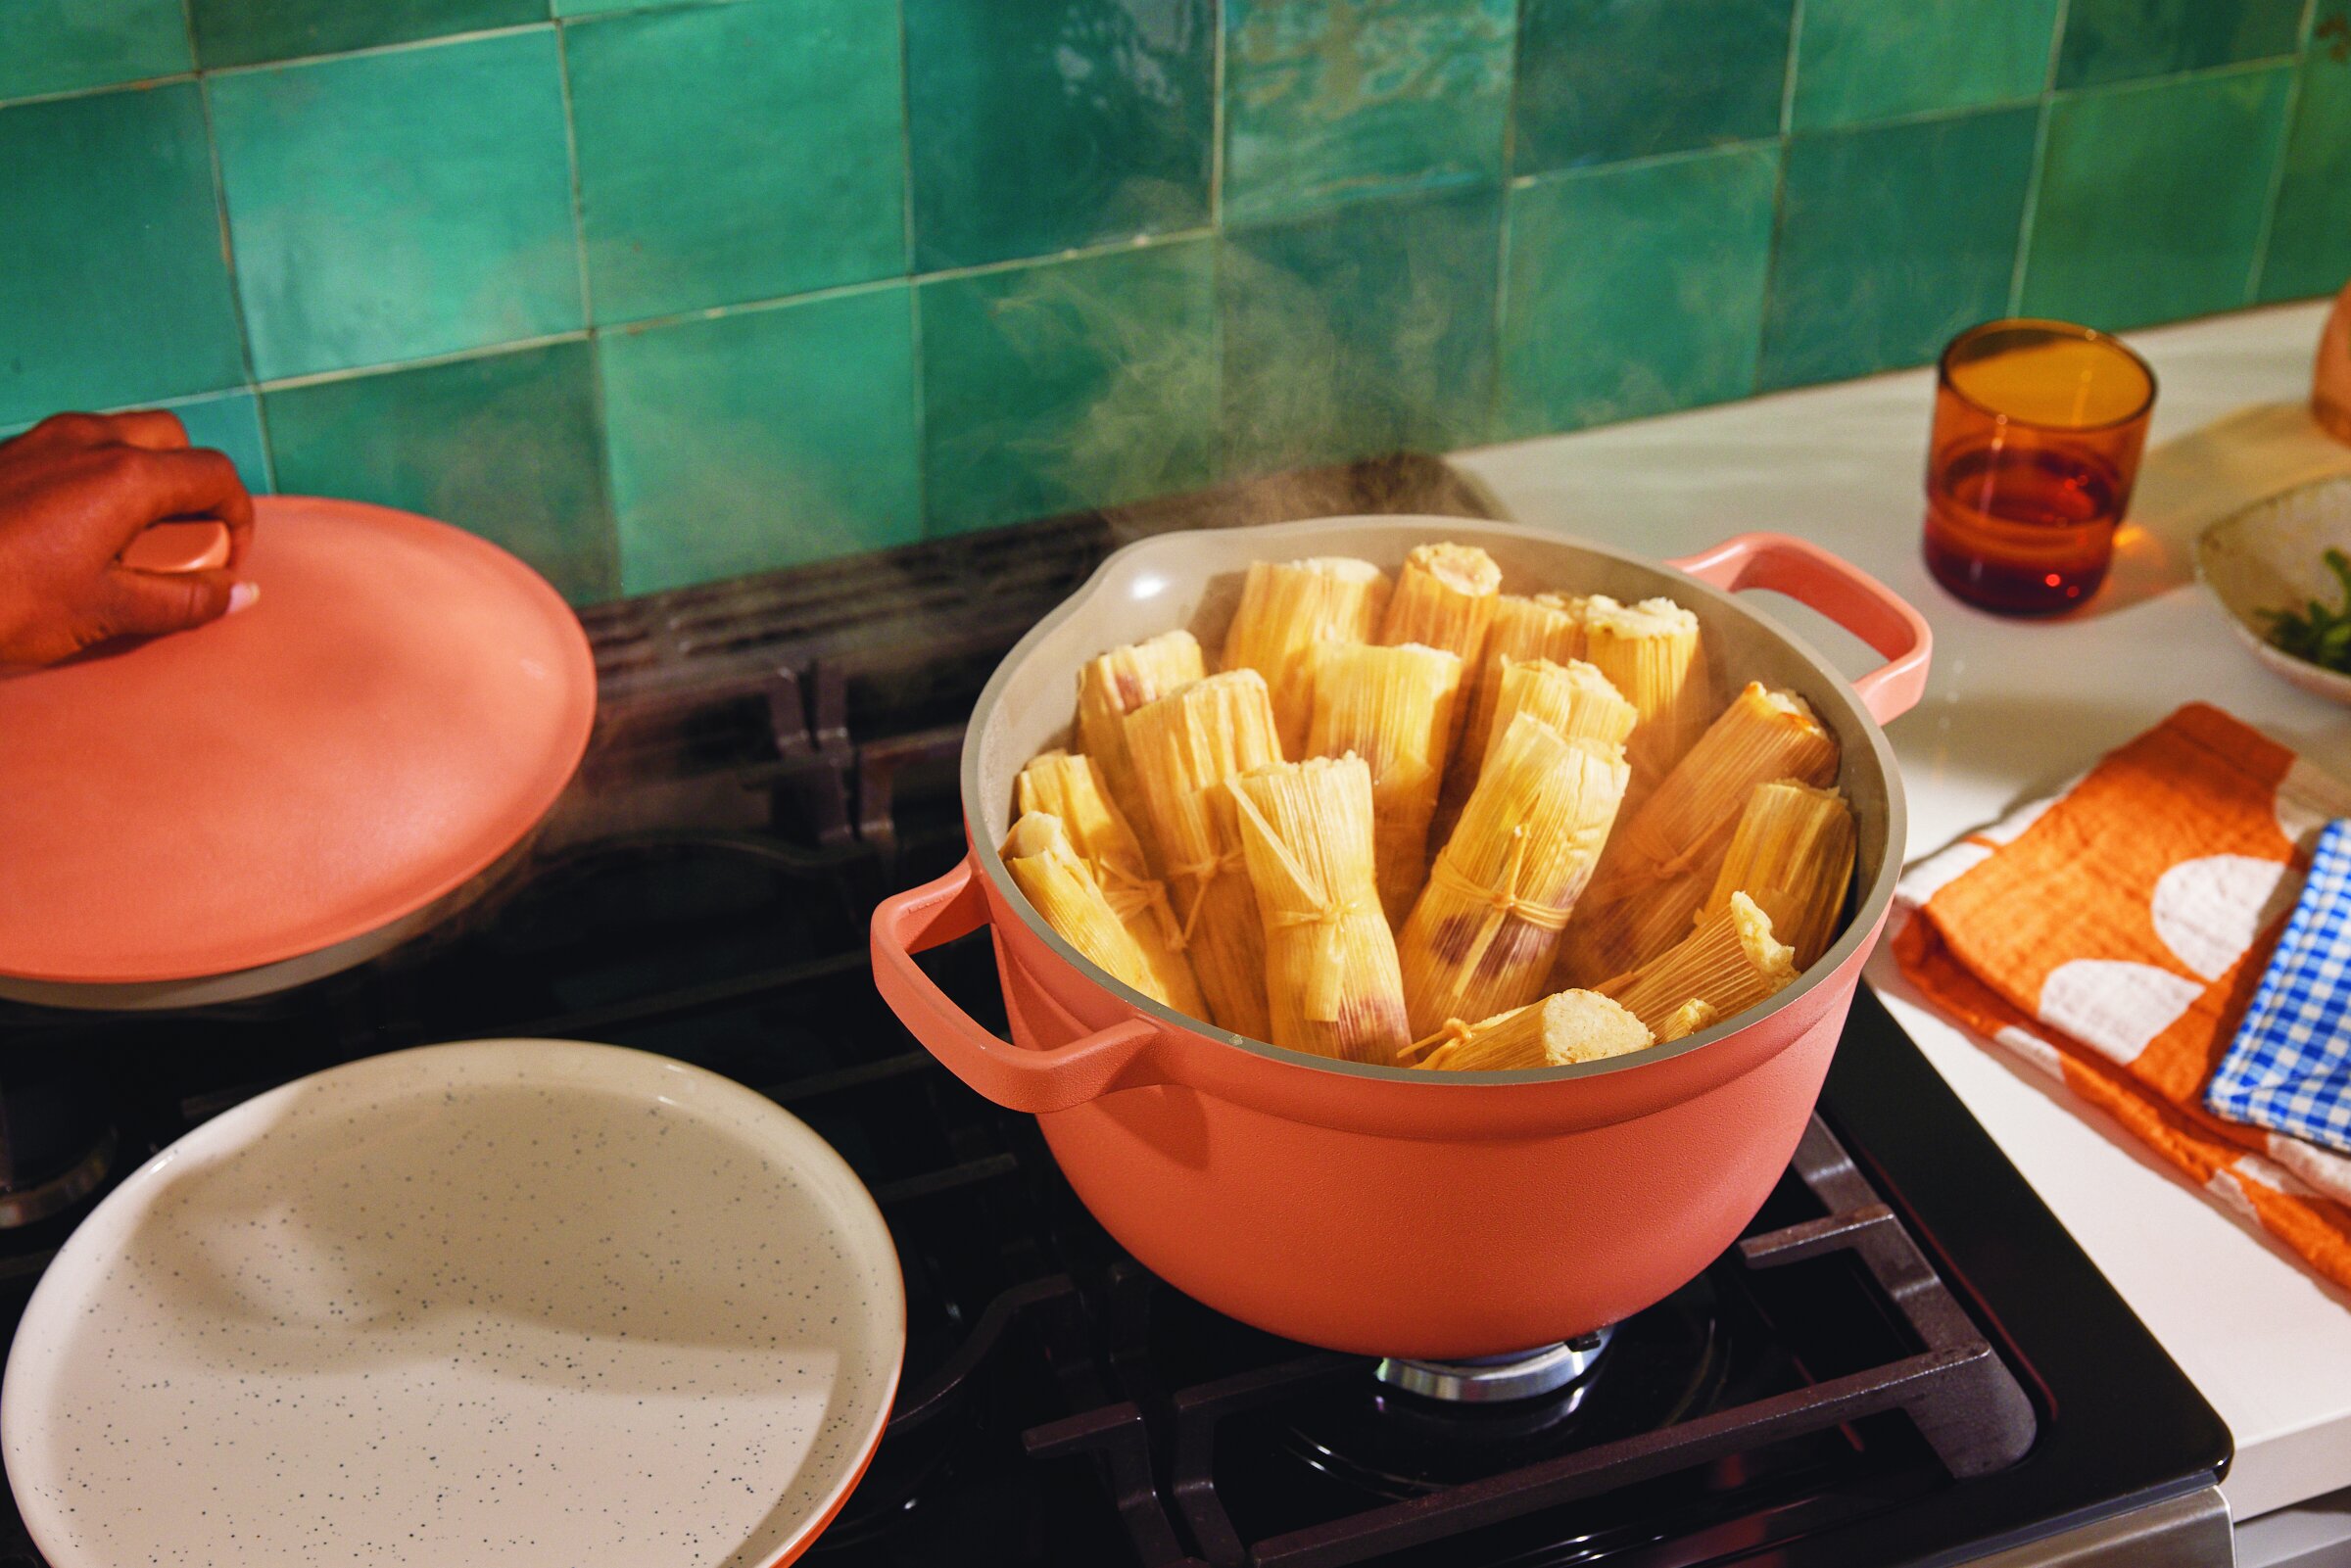
Steamer
Strainer
Braiser
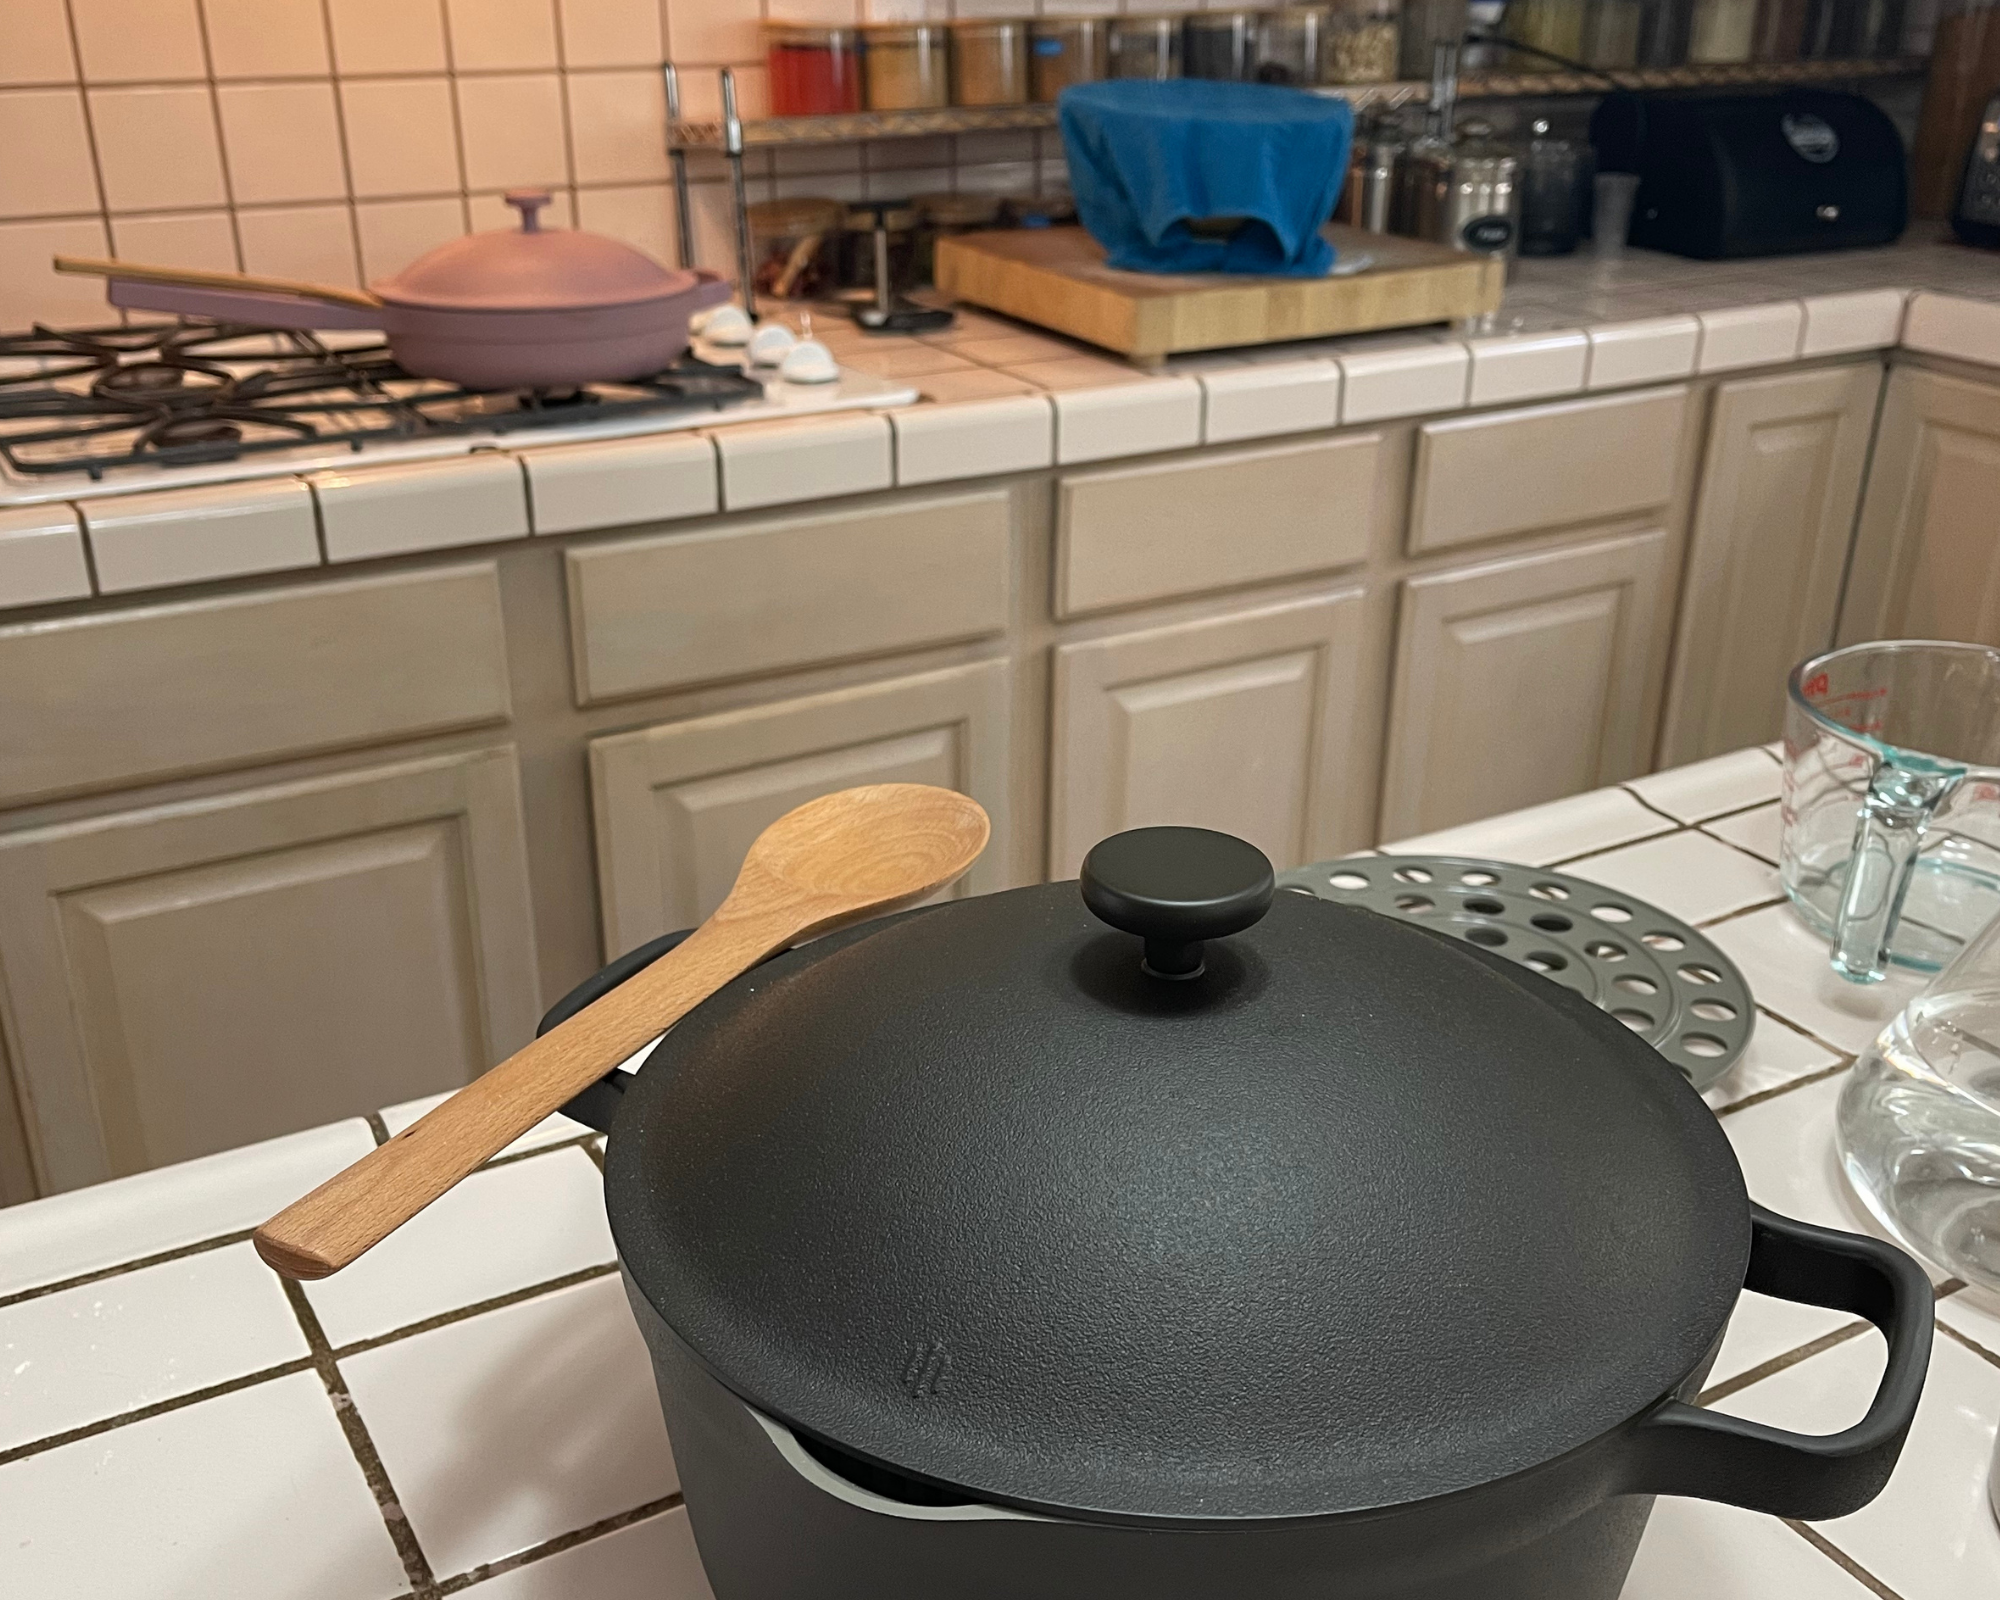
Spoon Rest
Unlike the Always Pan, the Perfect Pot can move from stovetop to oven, which was one of the only features I had been wanting my pan to include!
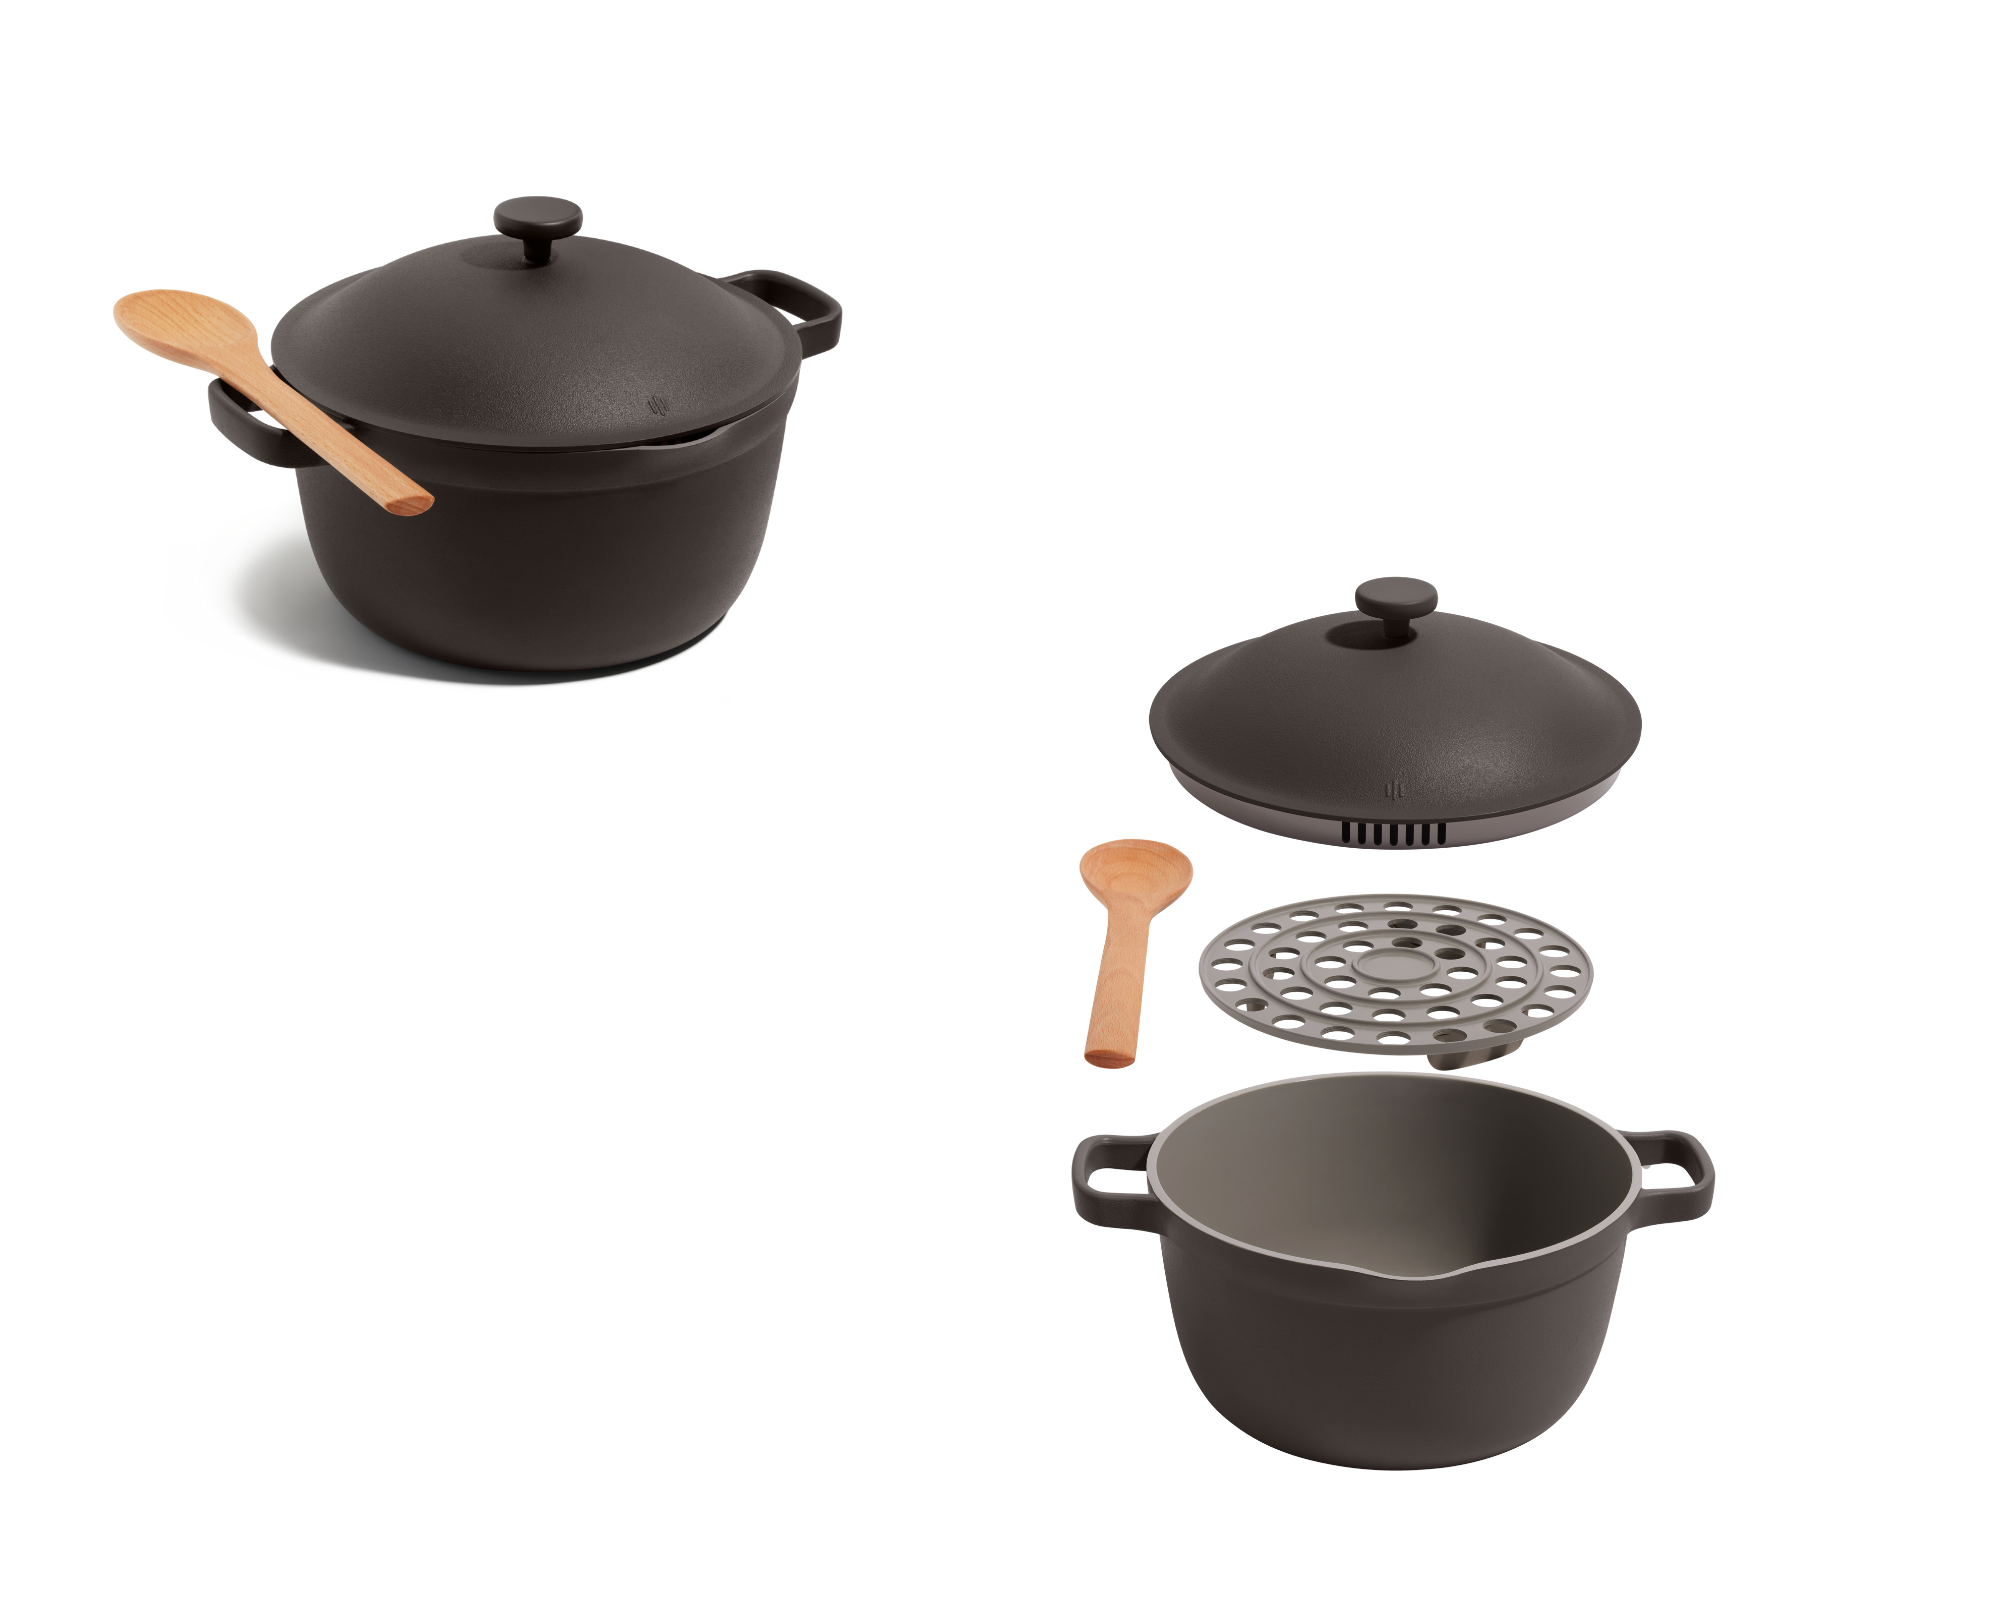
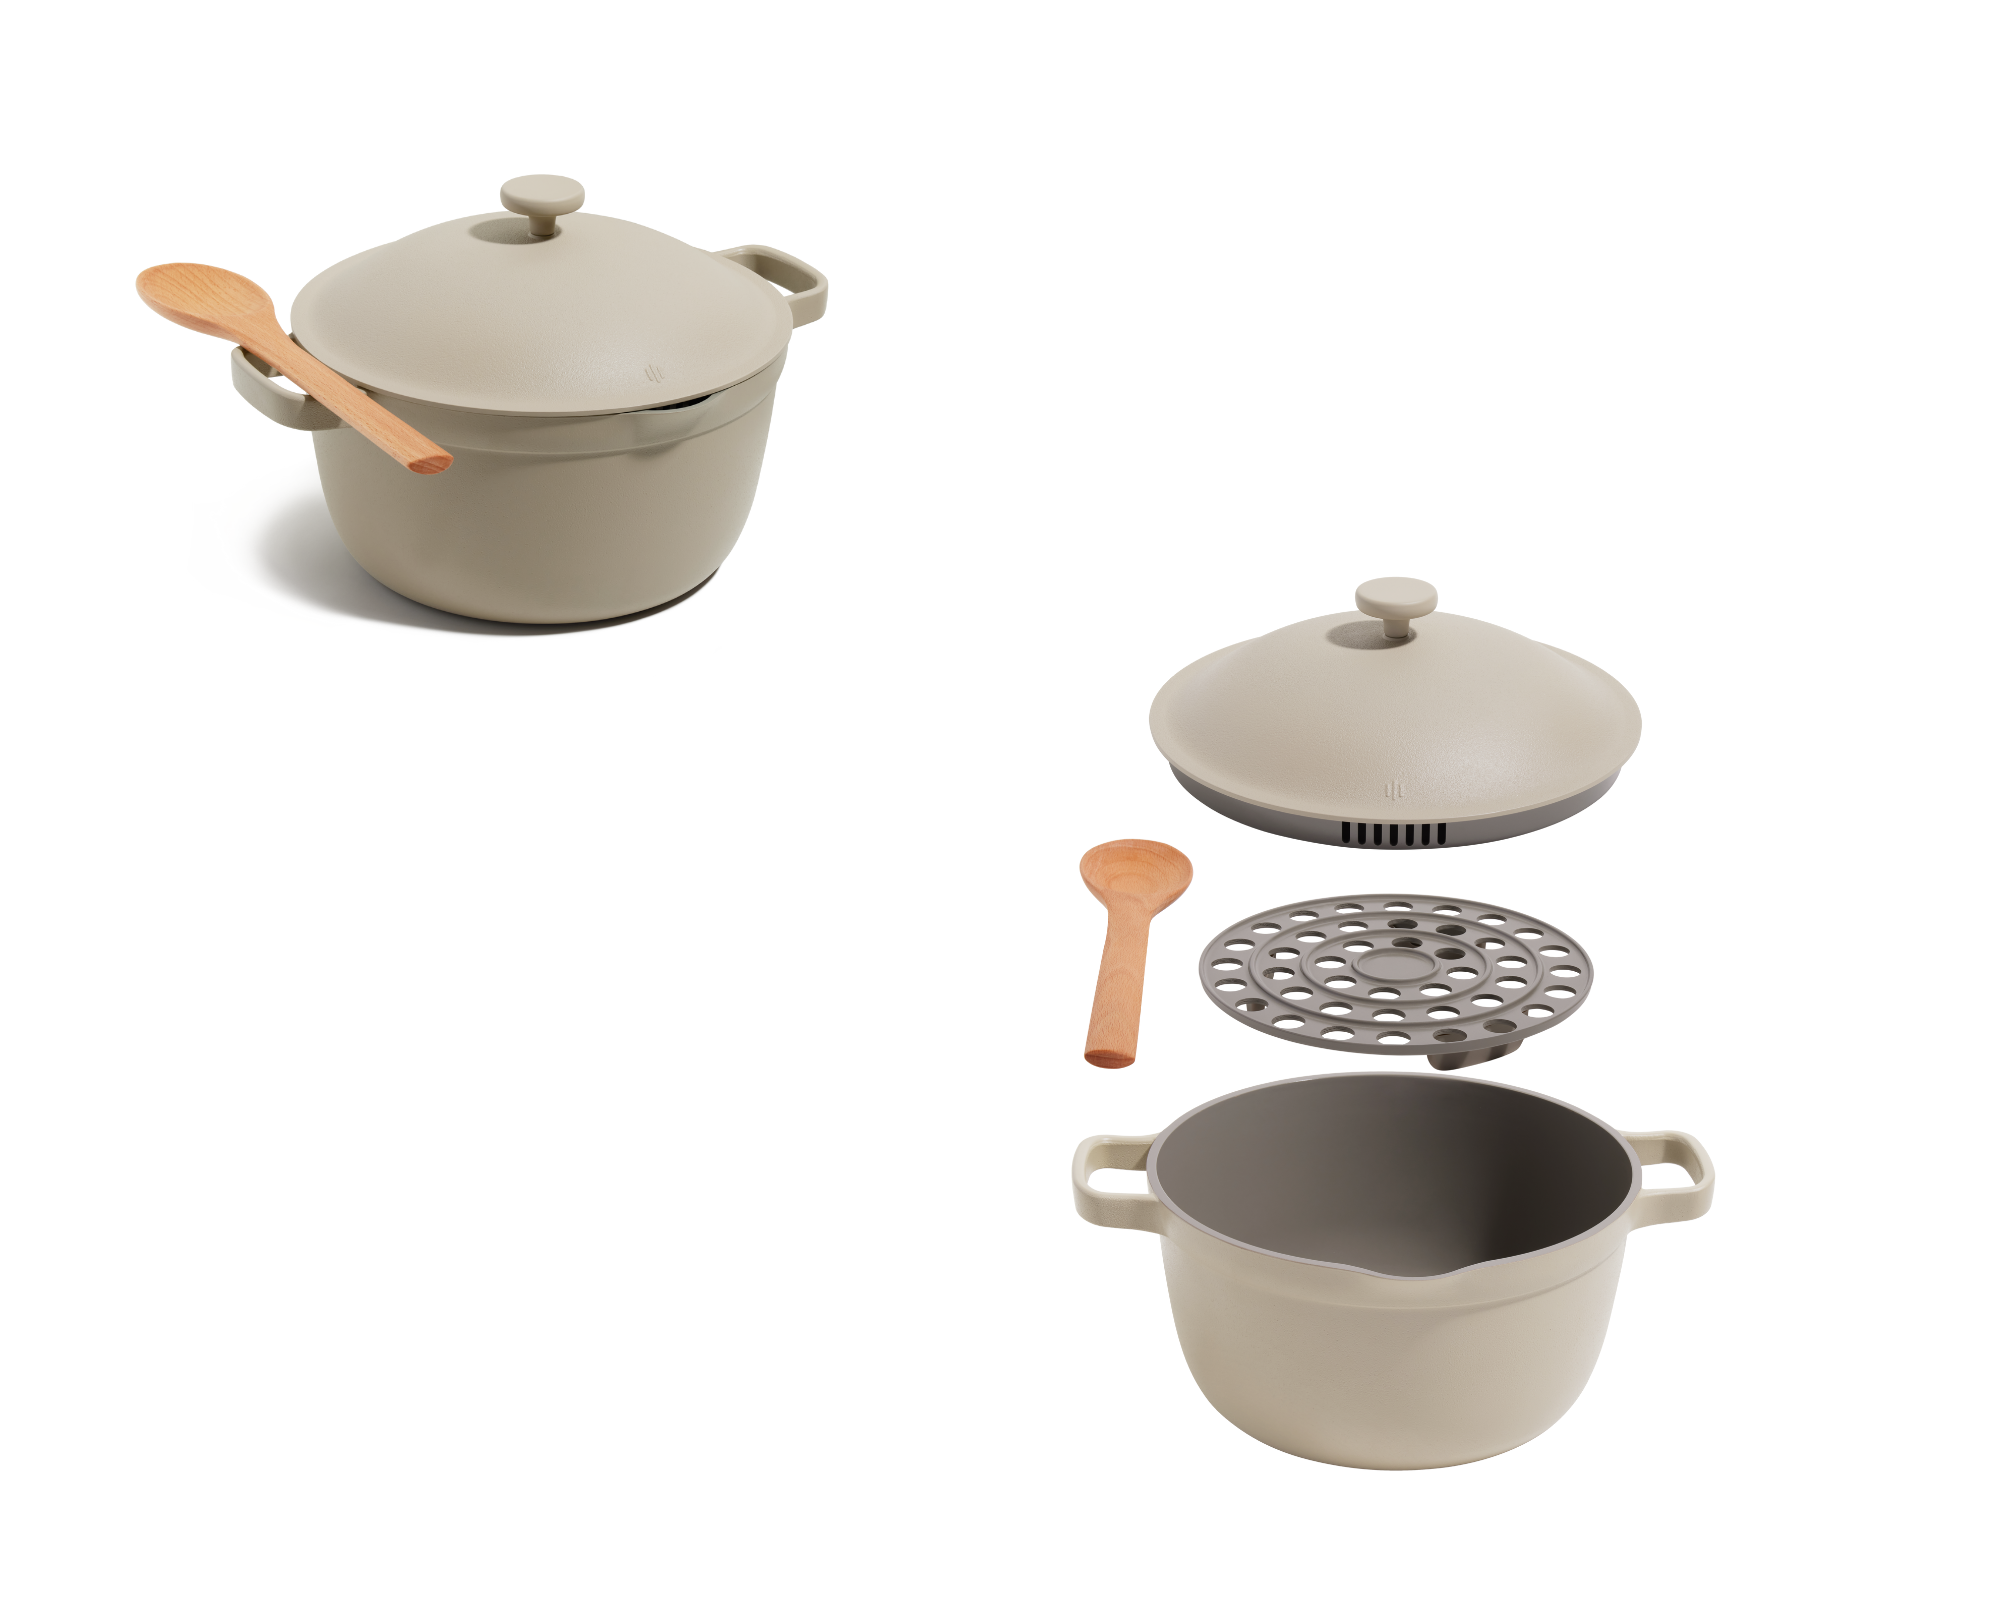
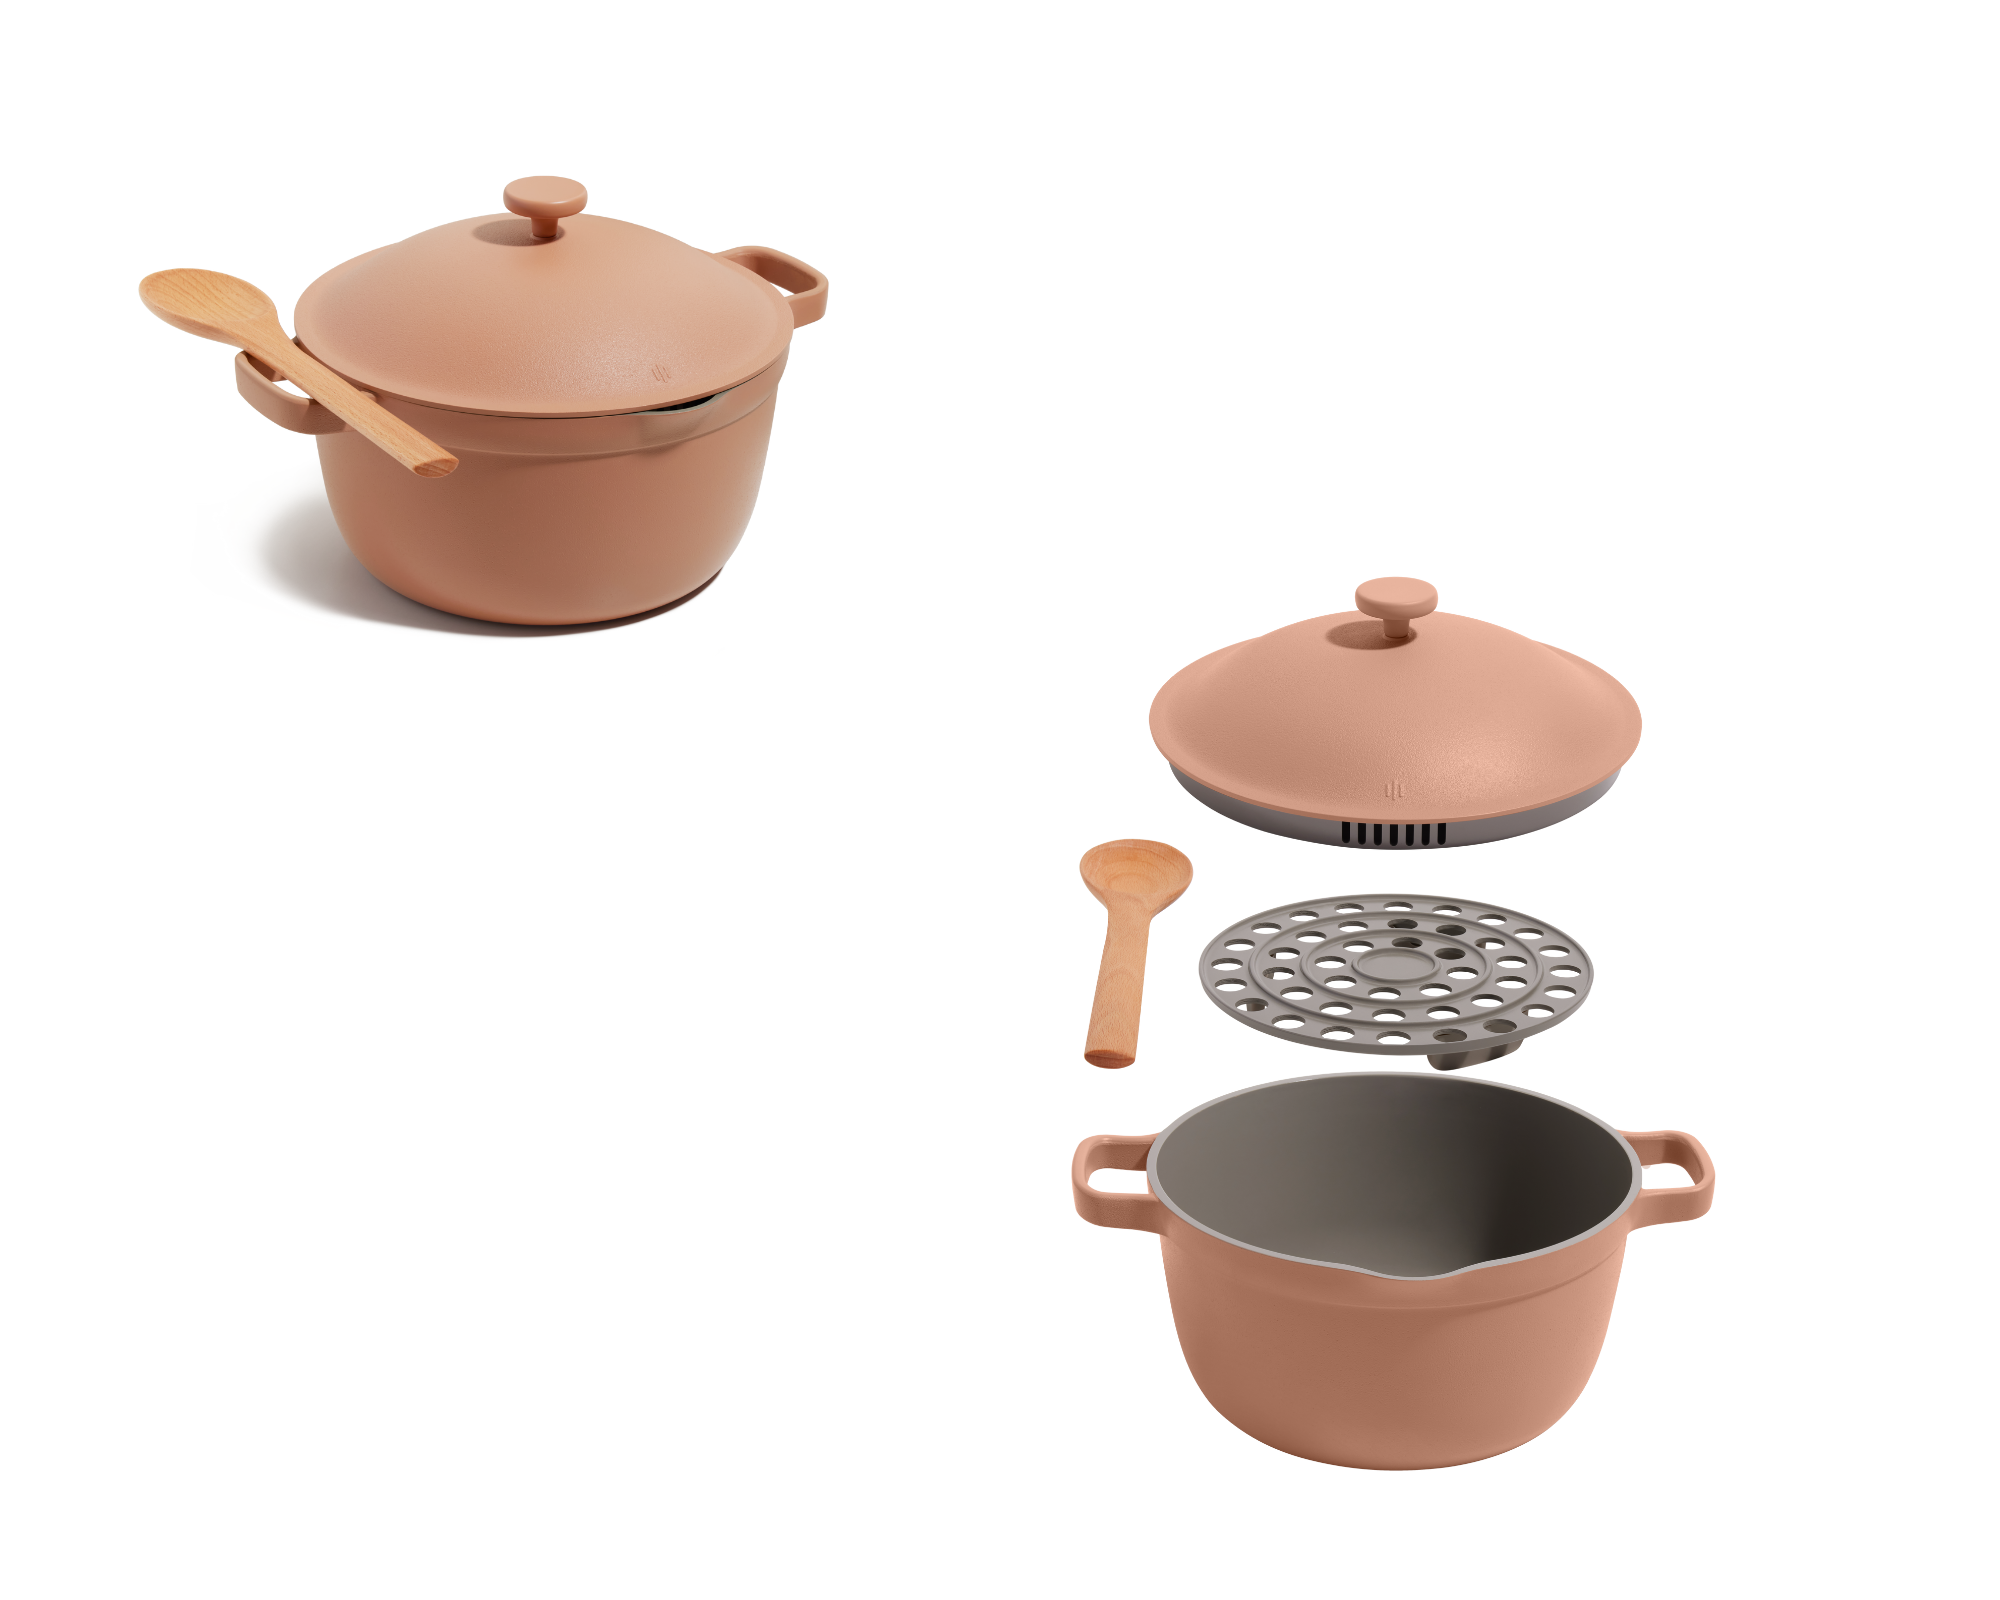
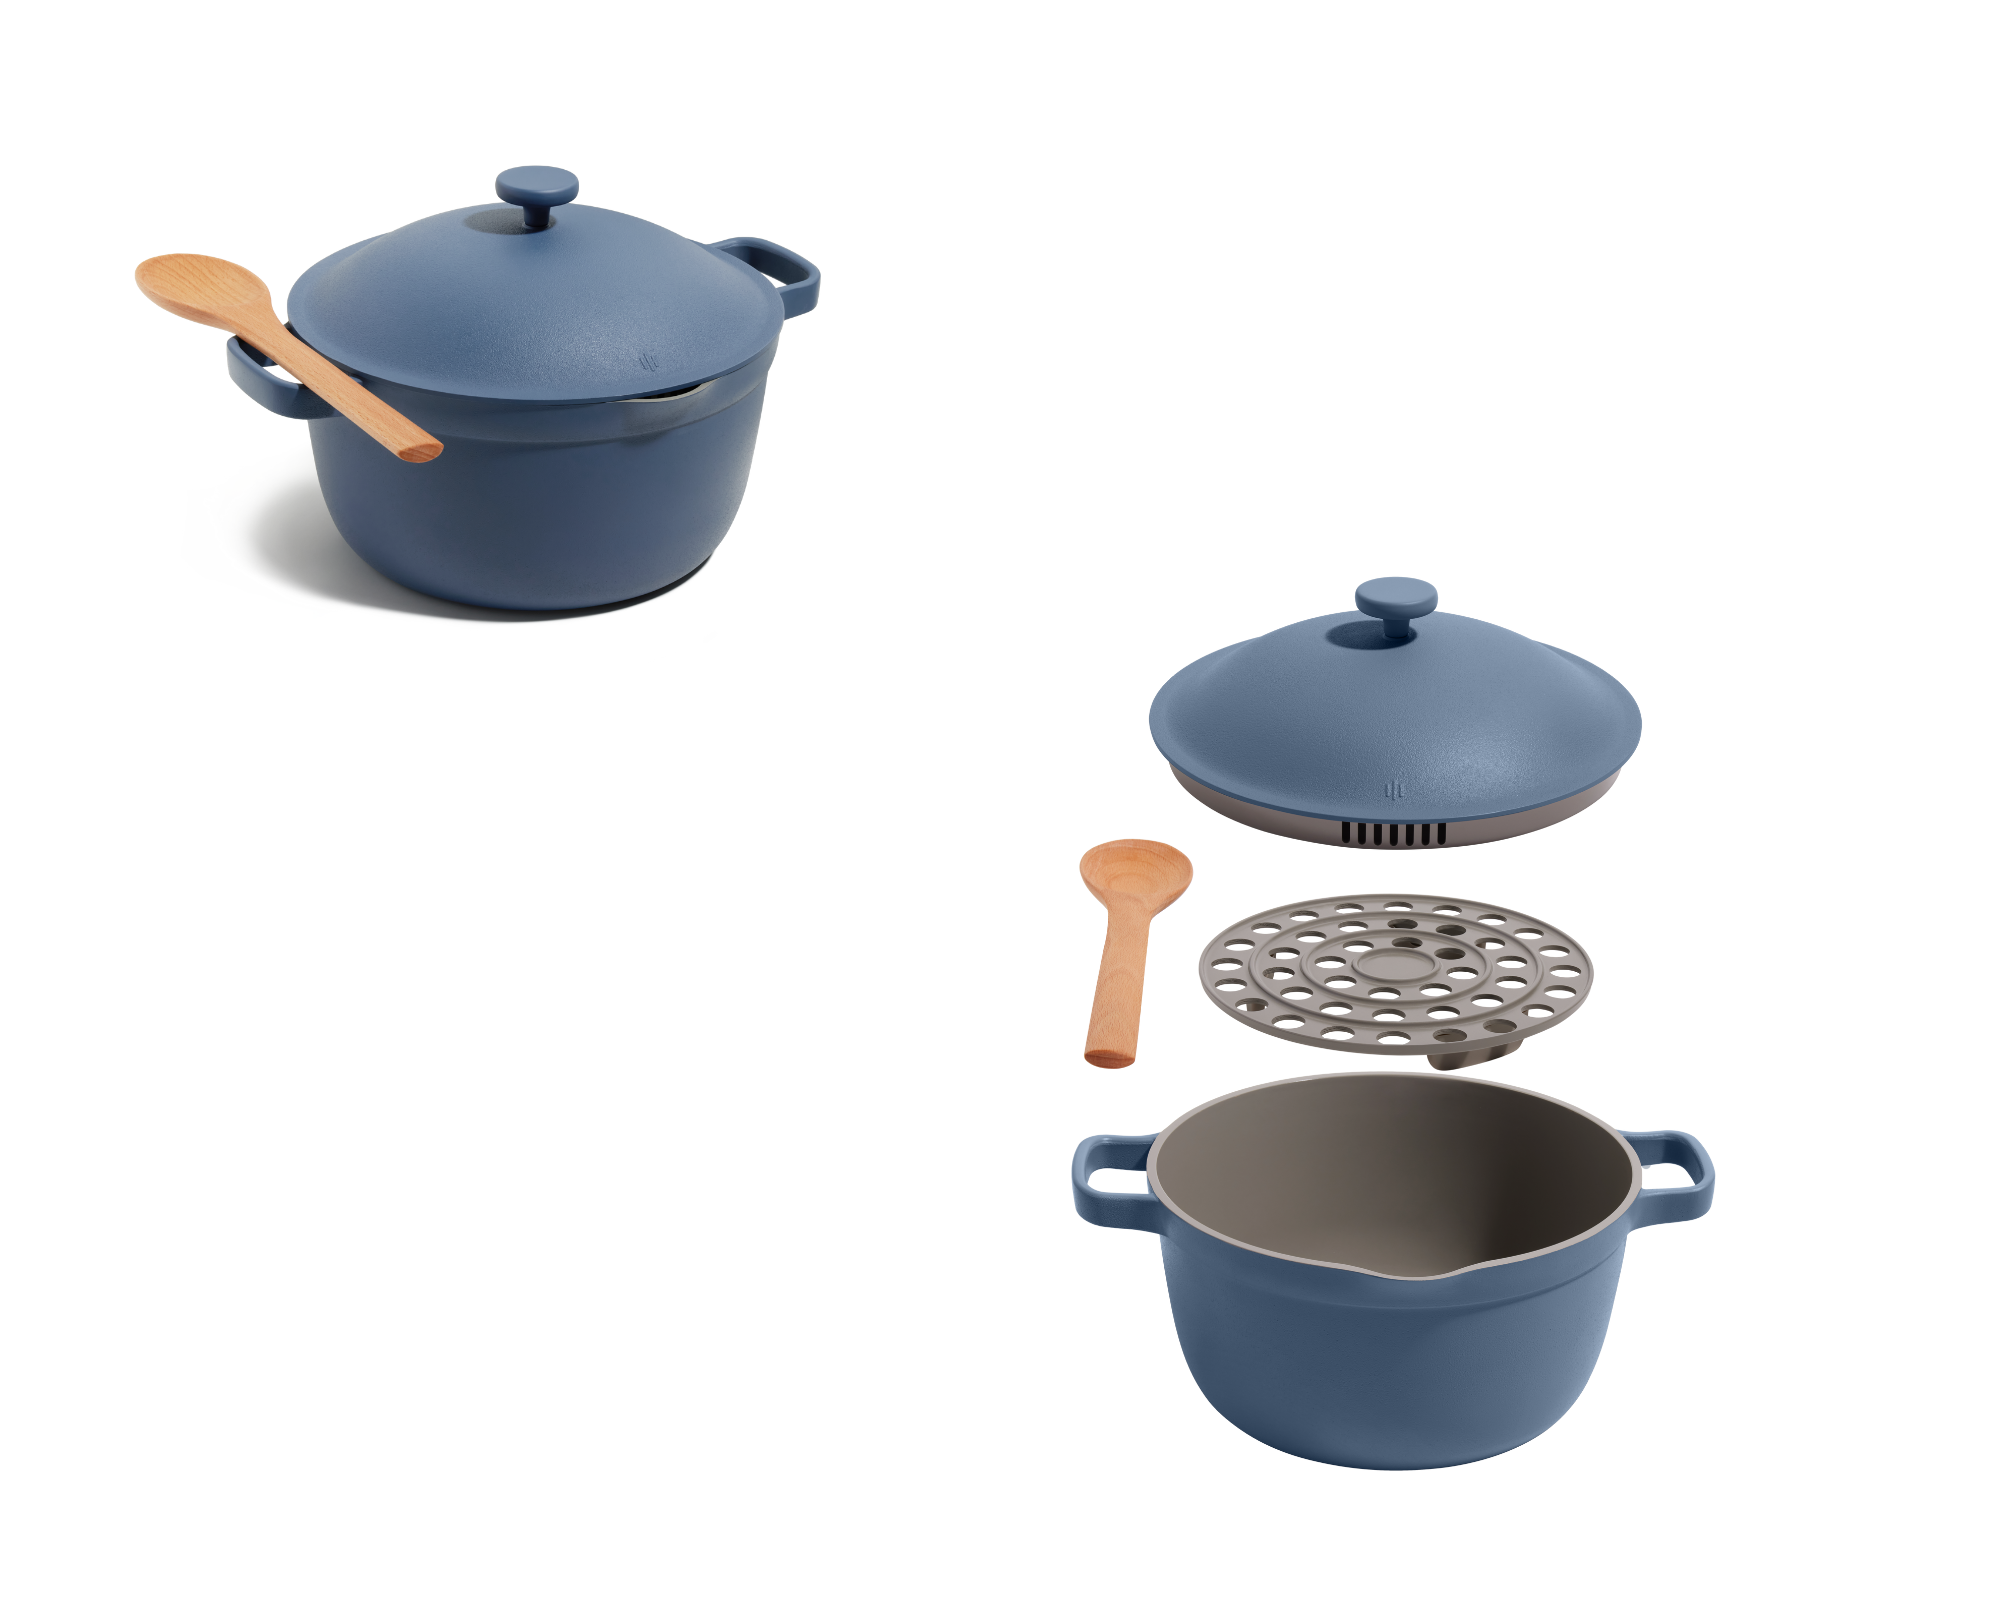
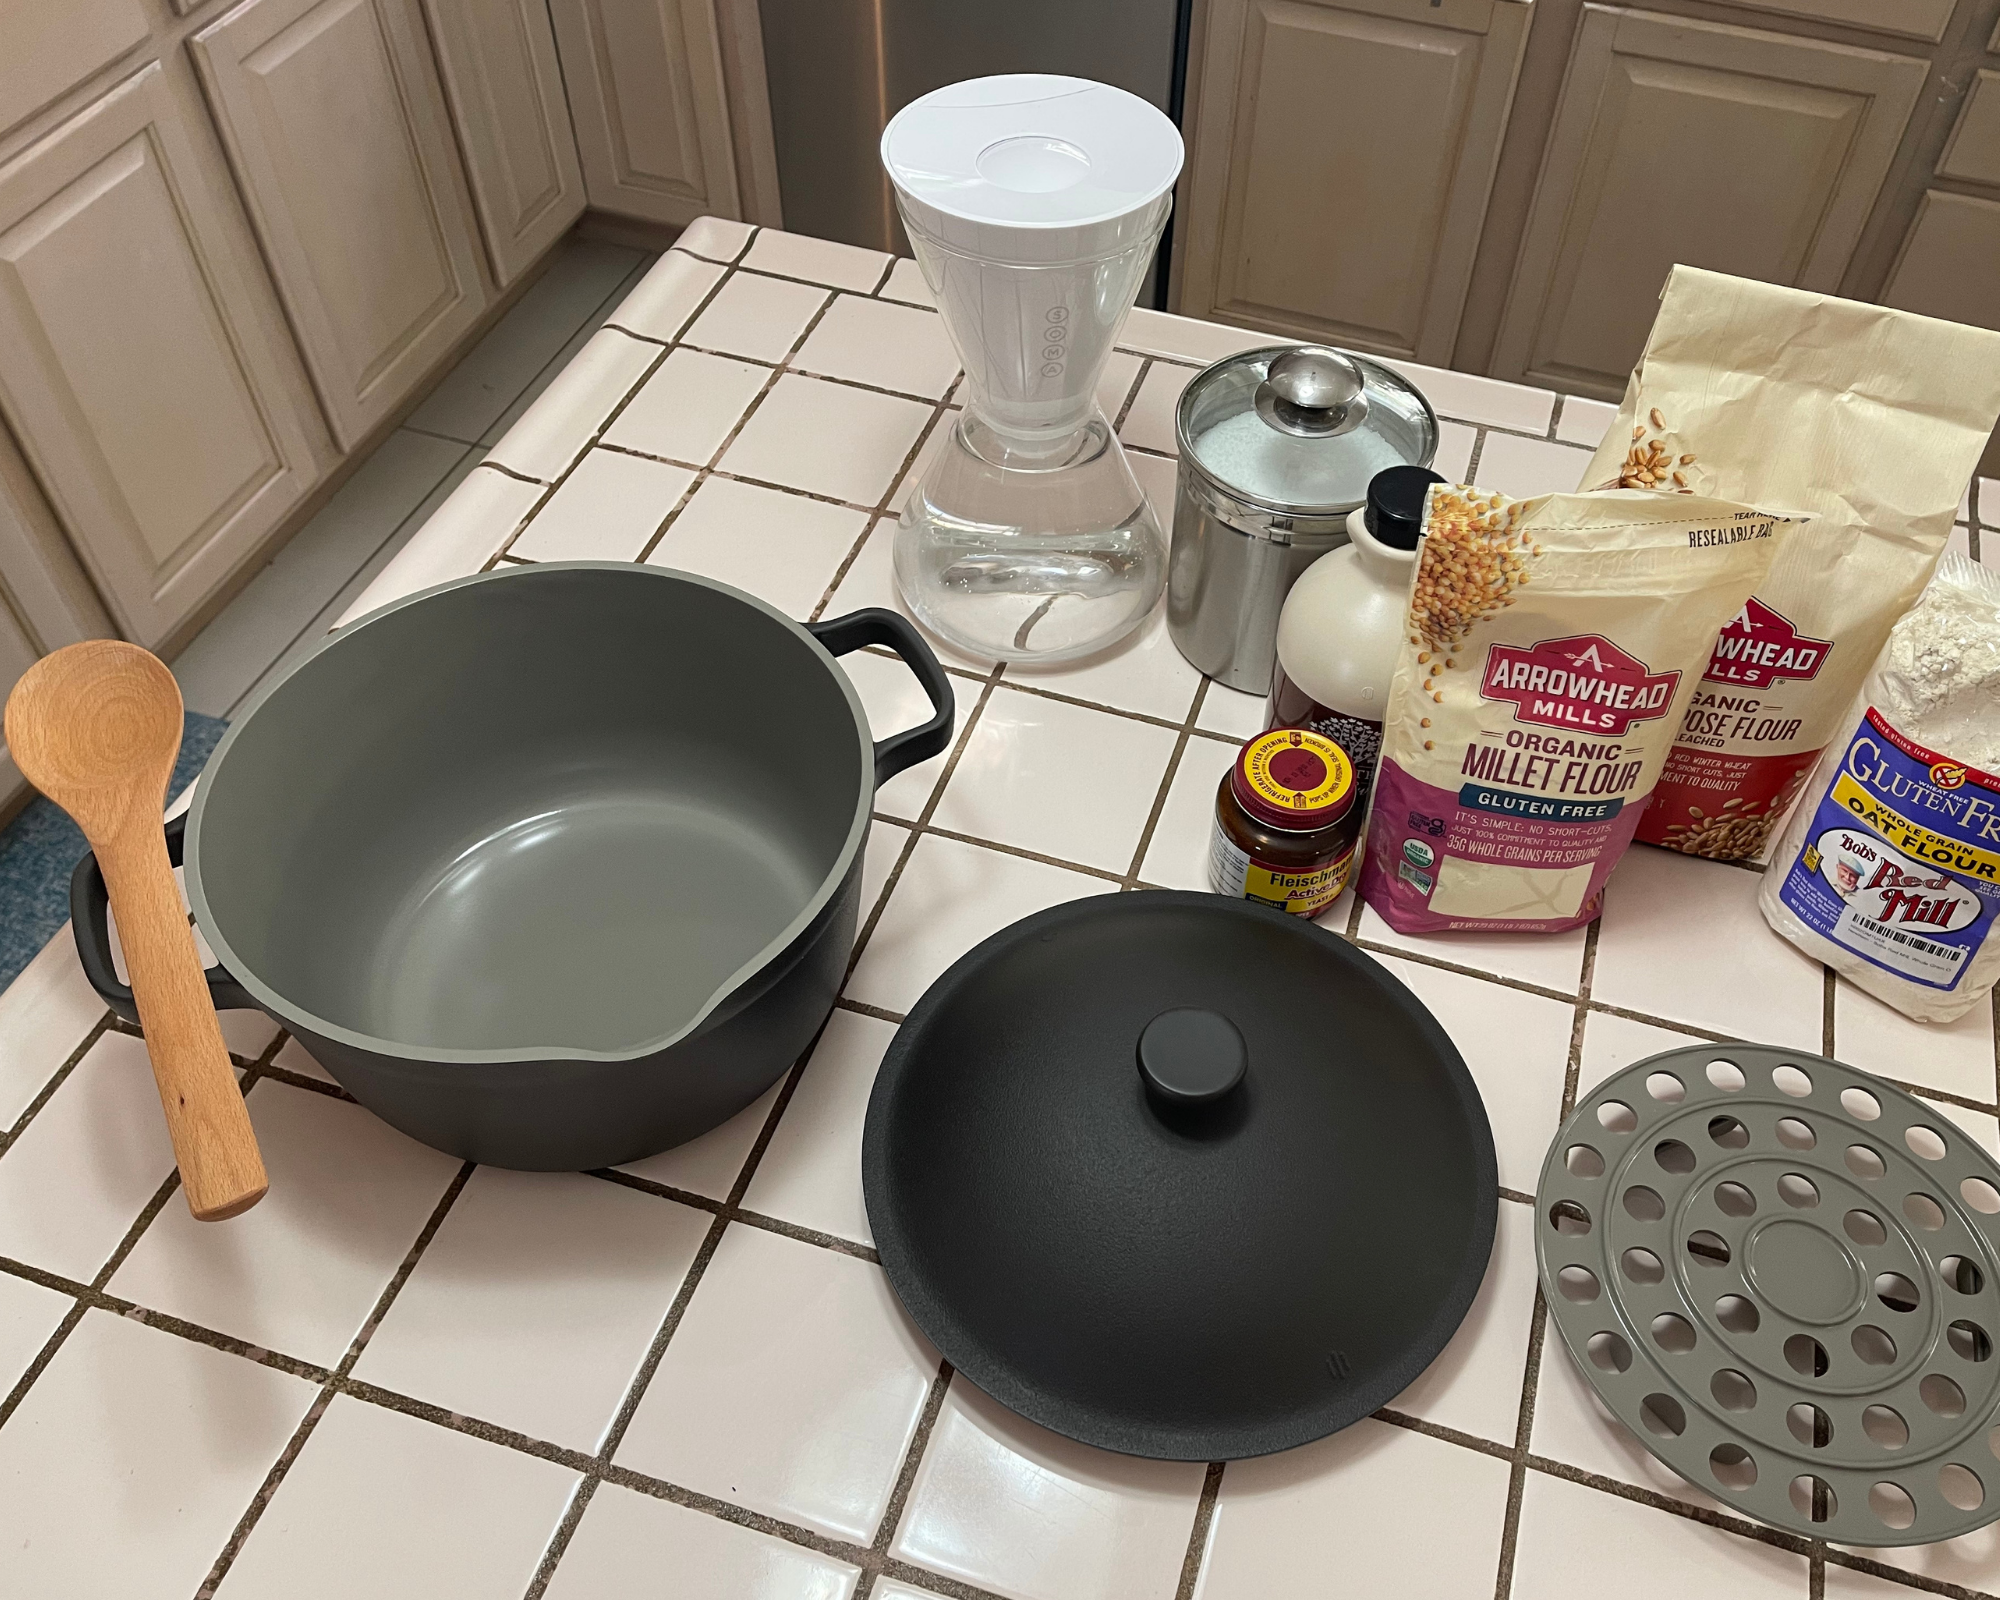
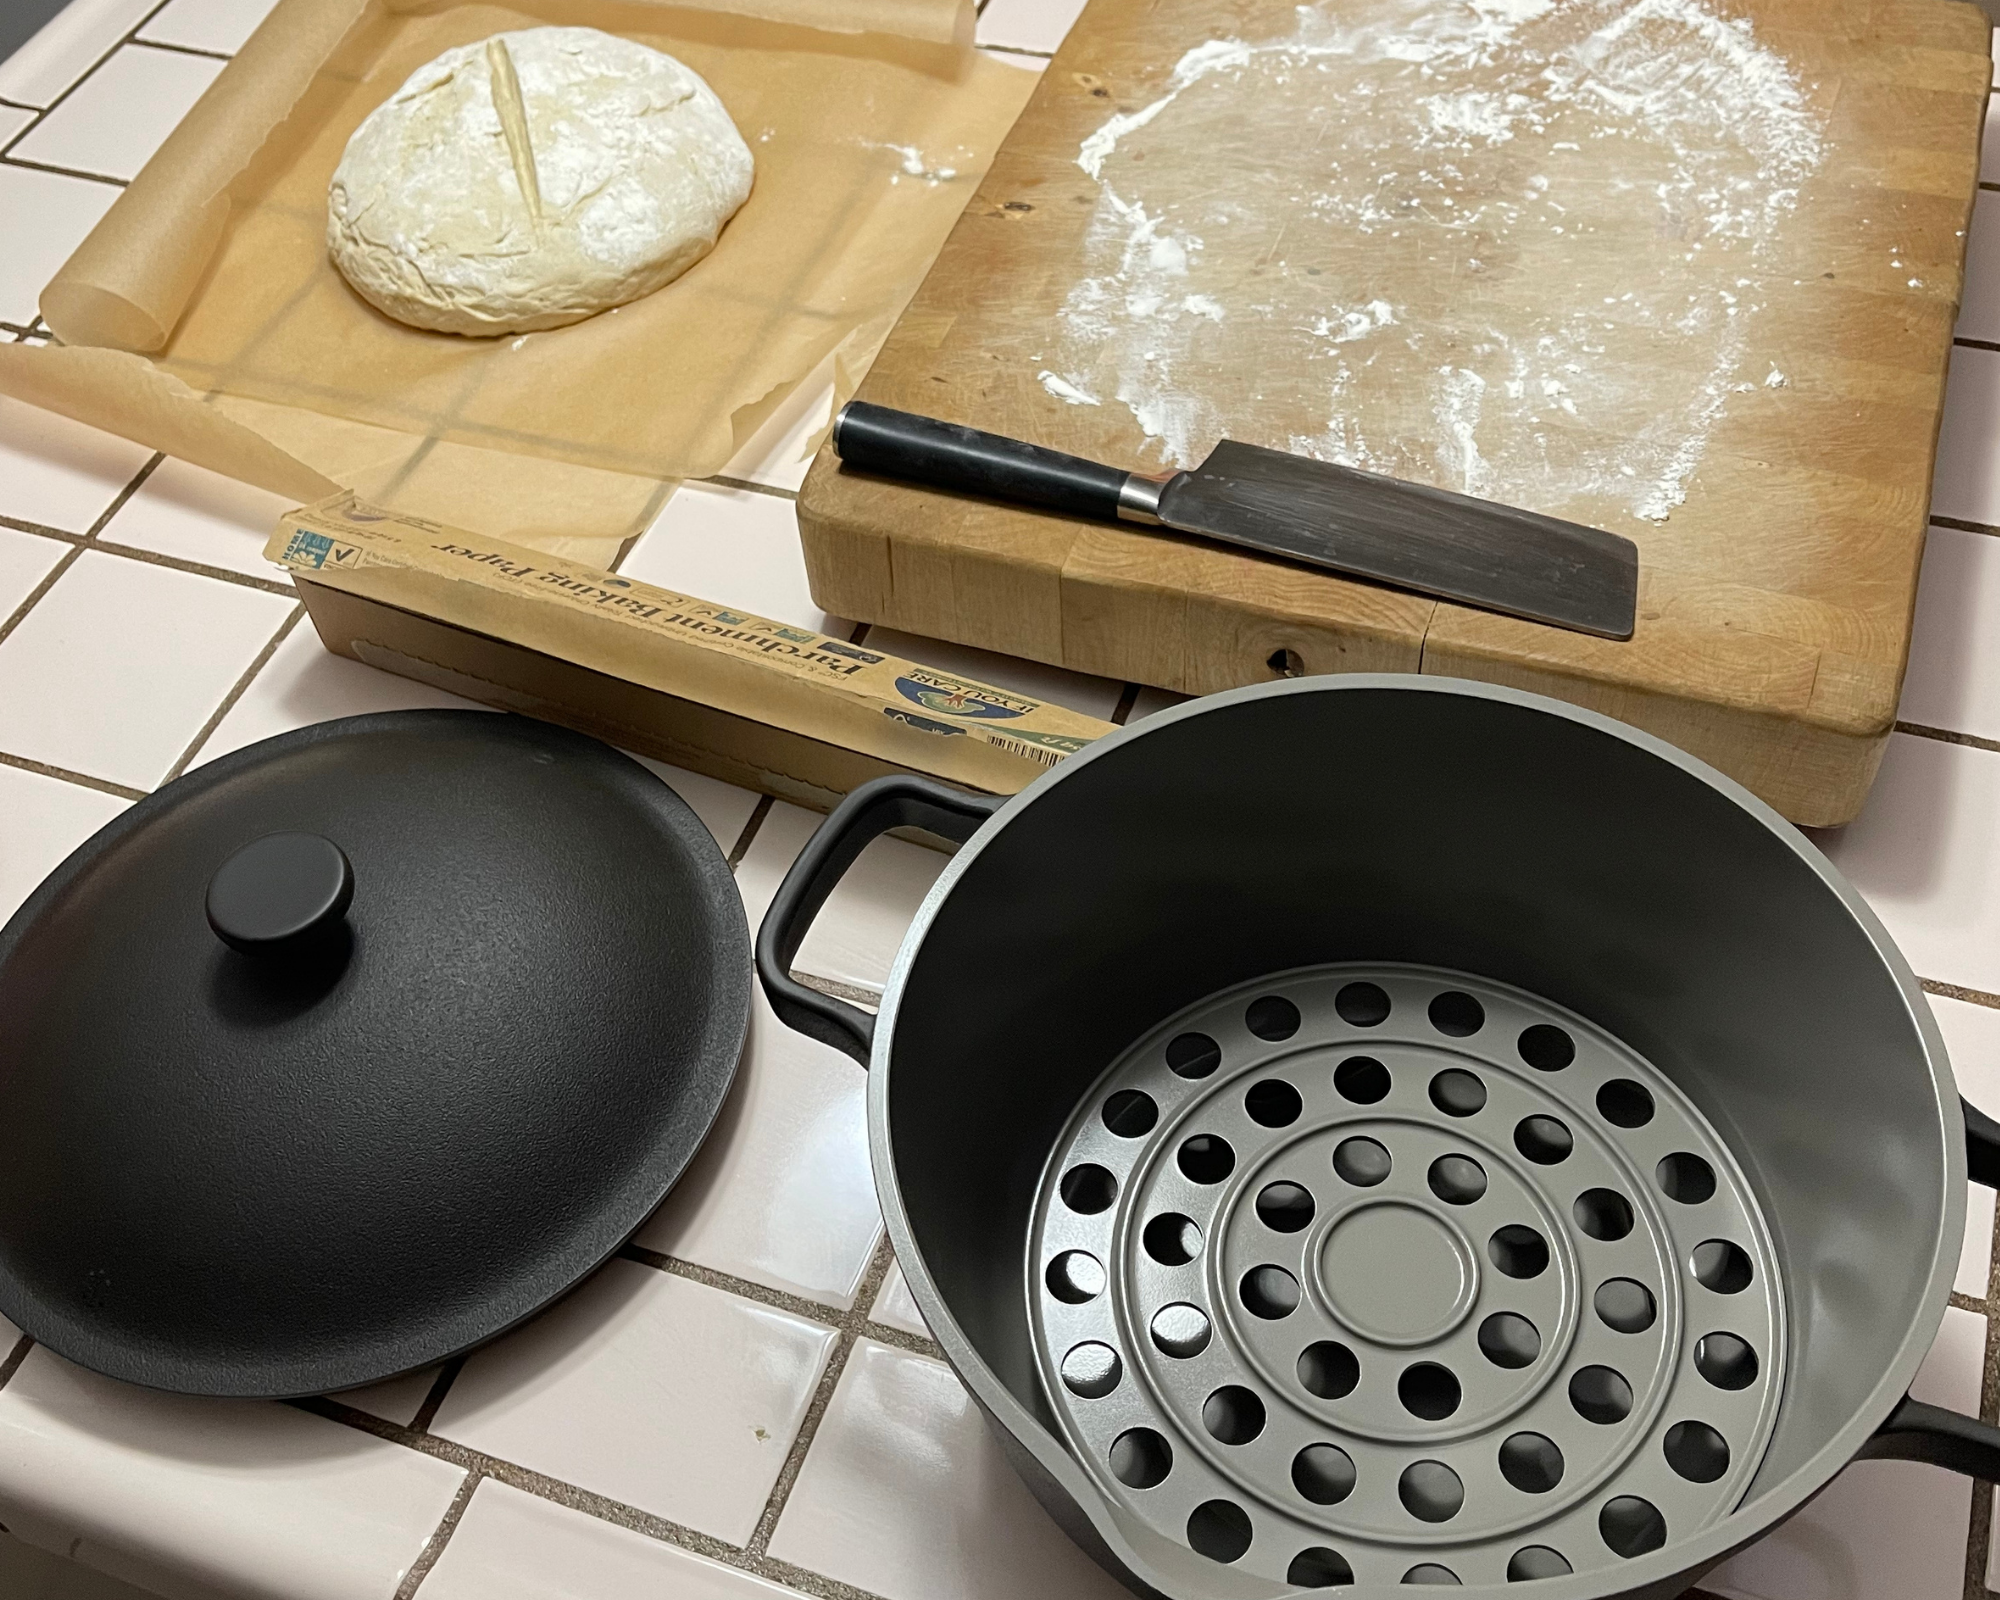
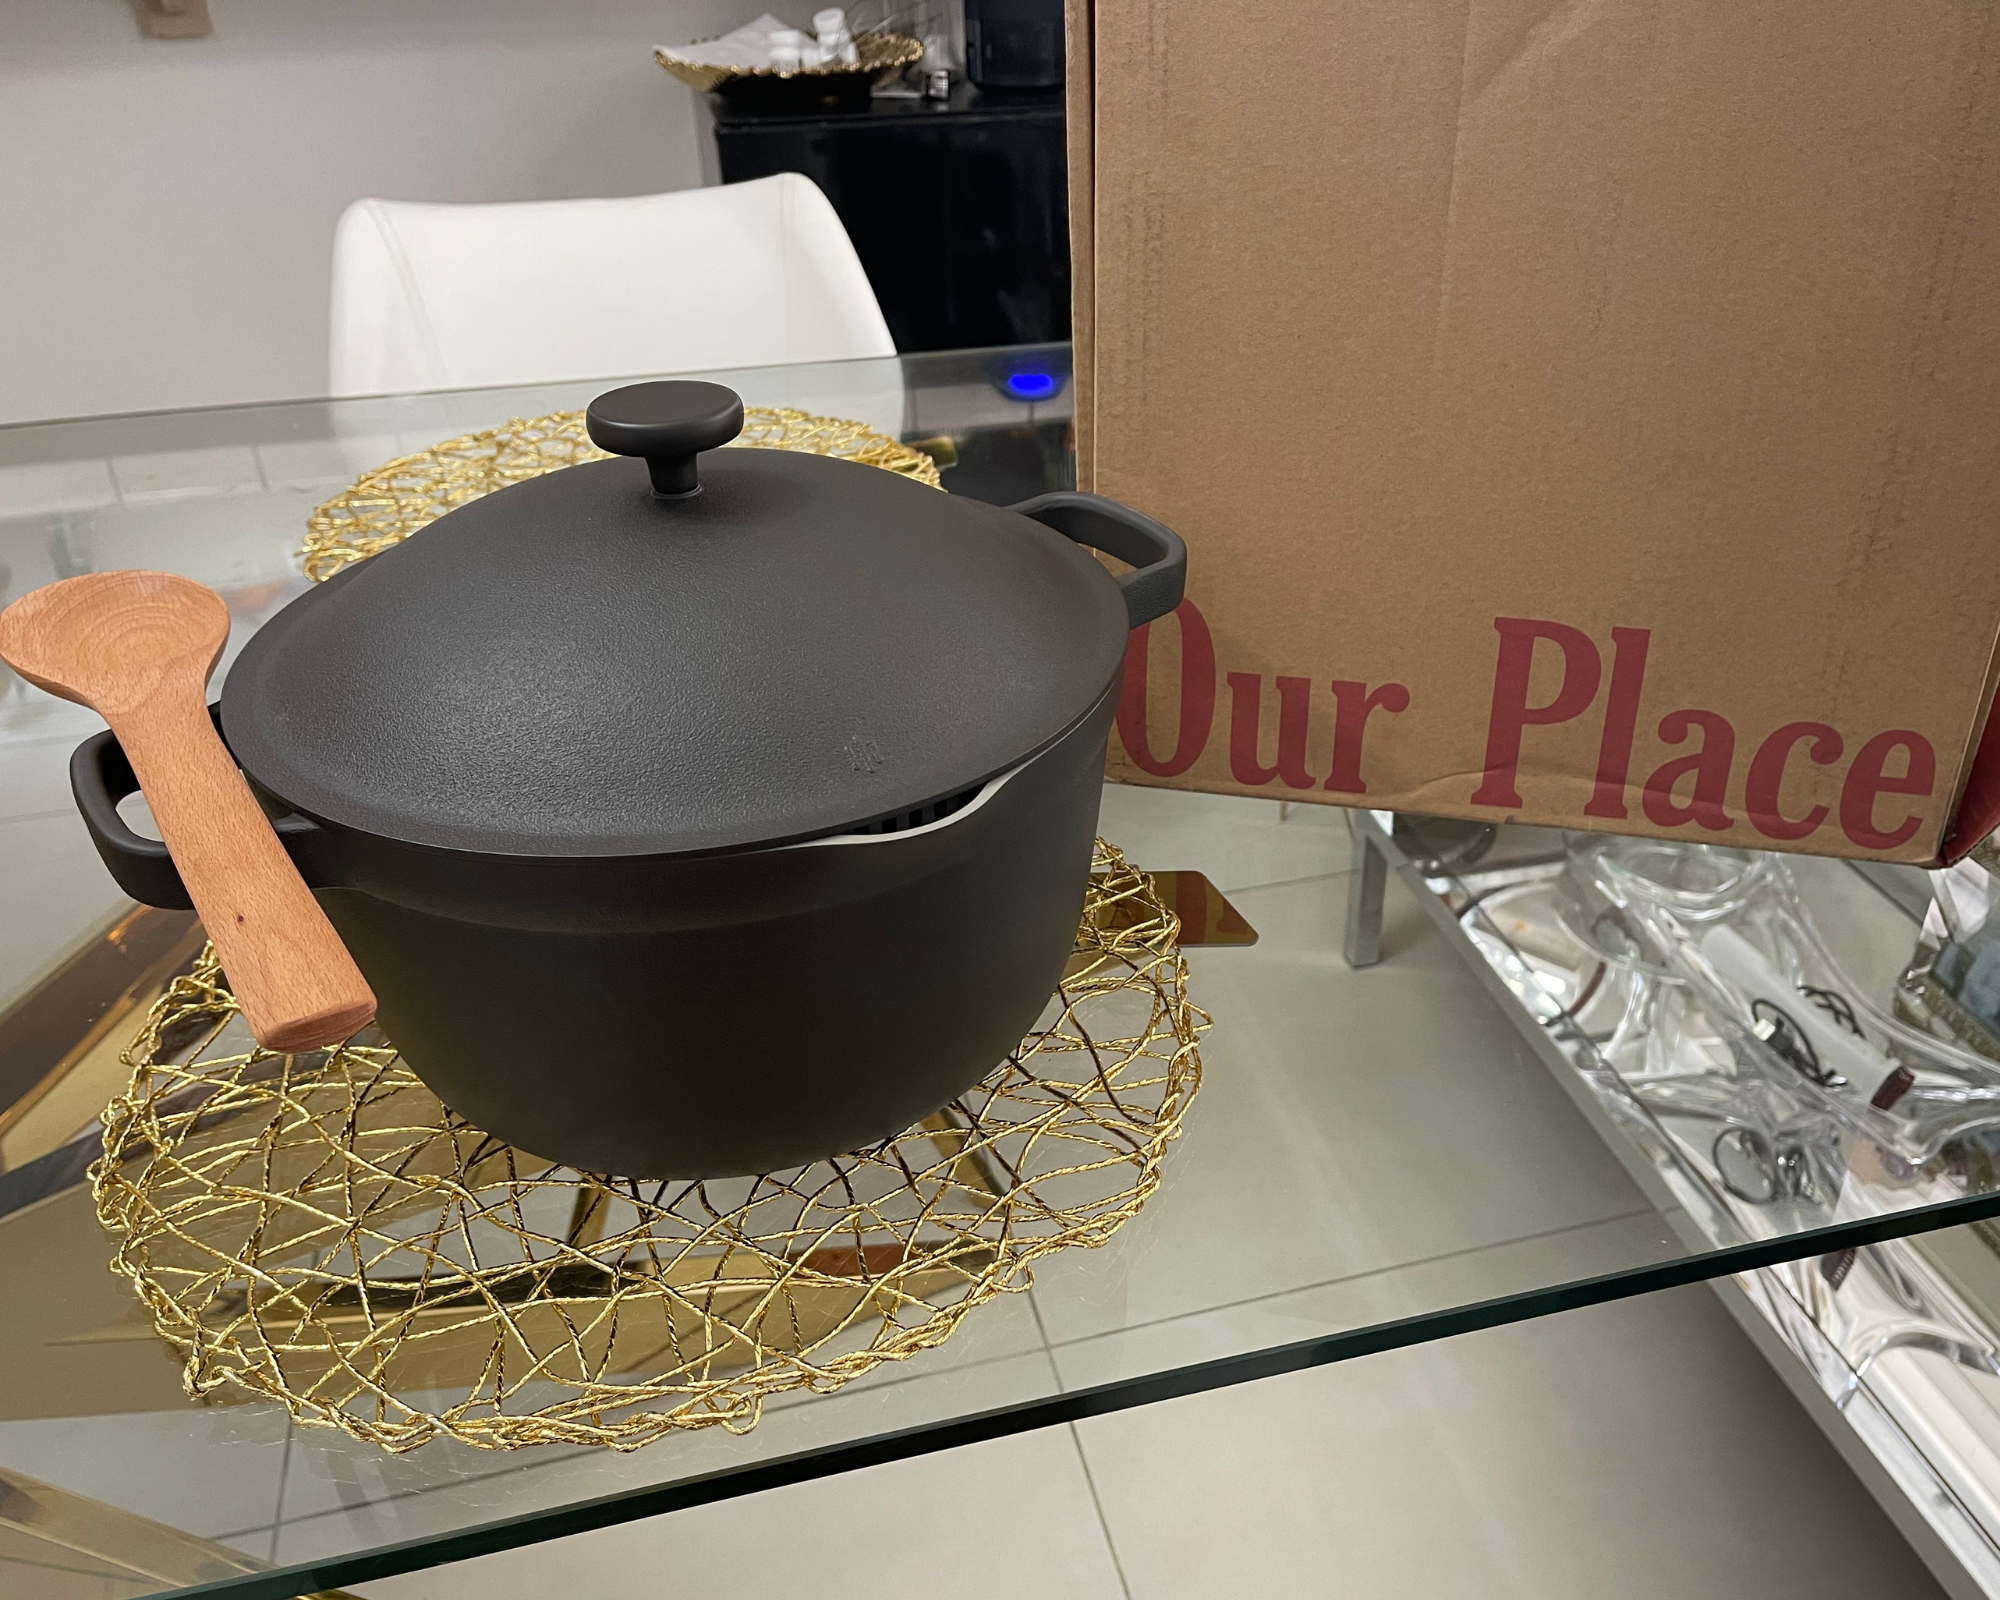
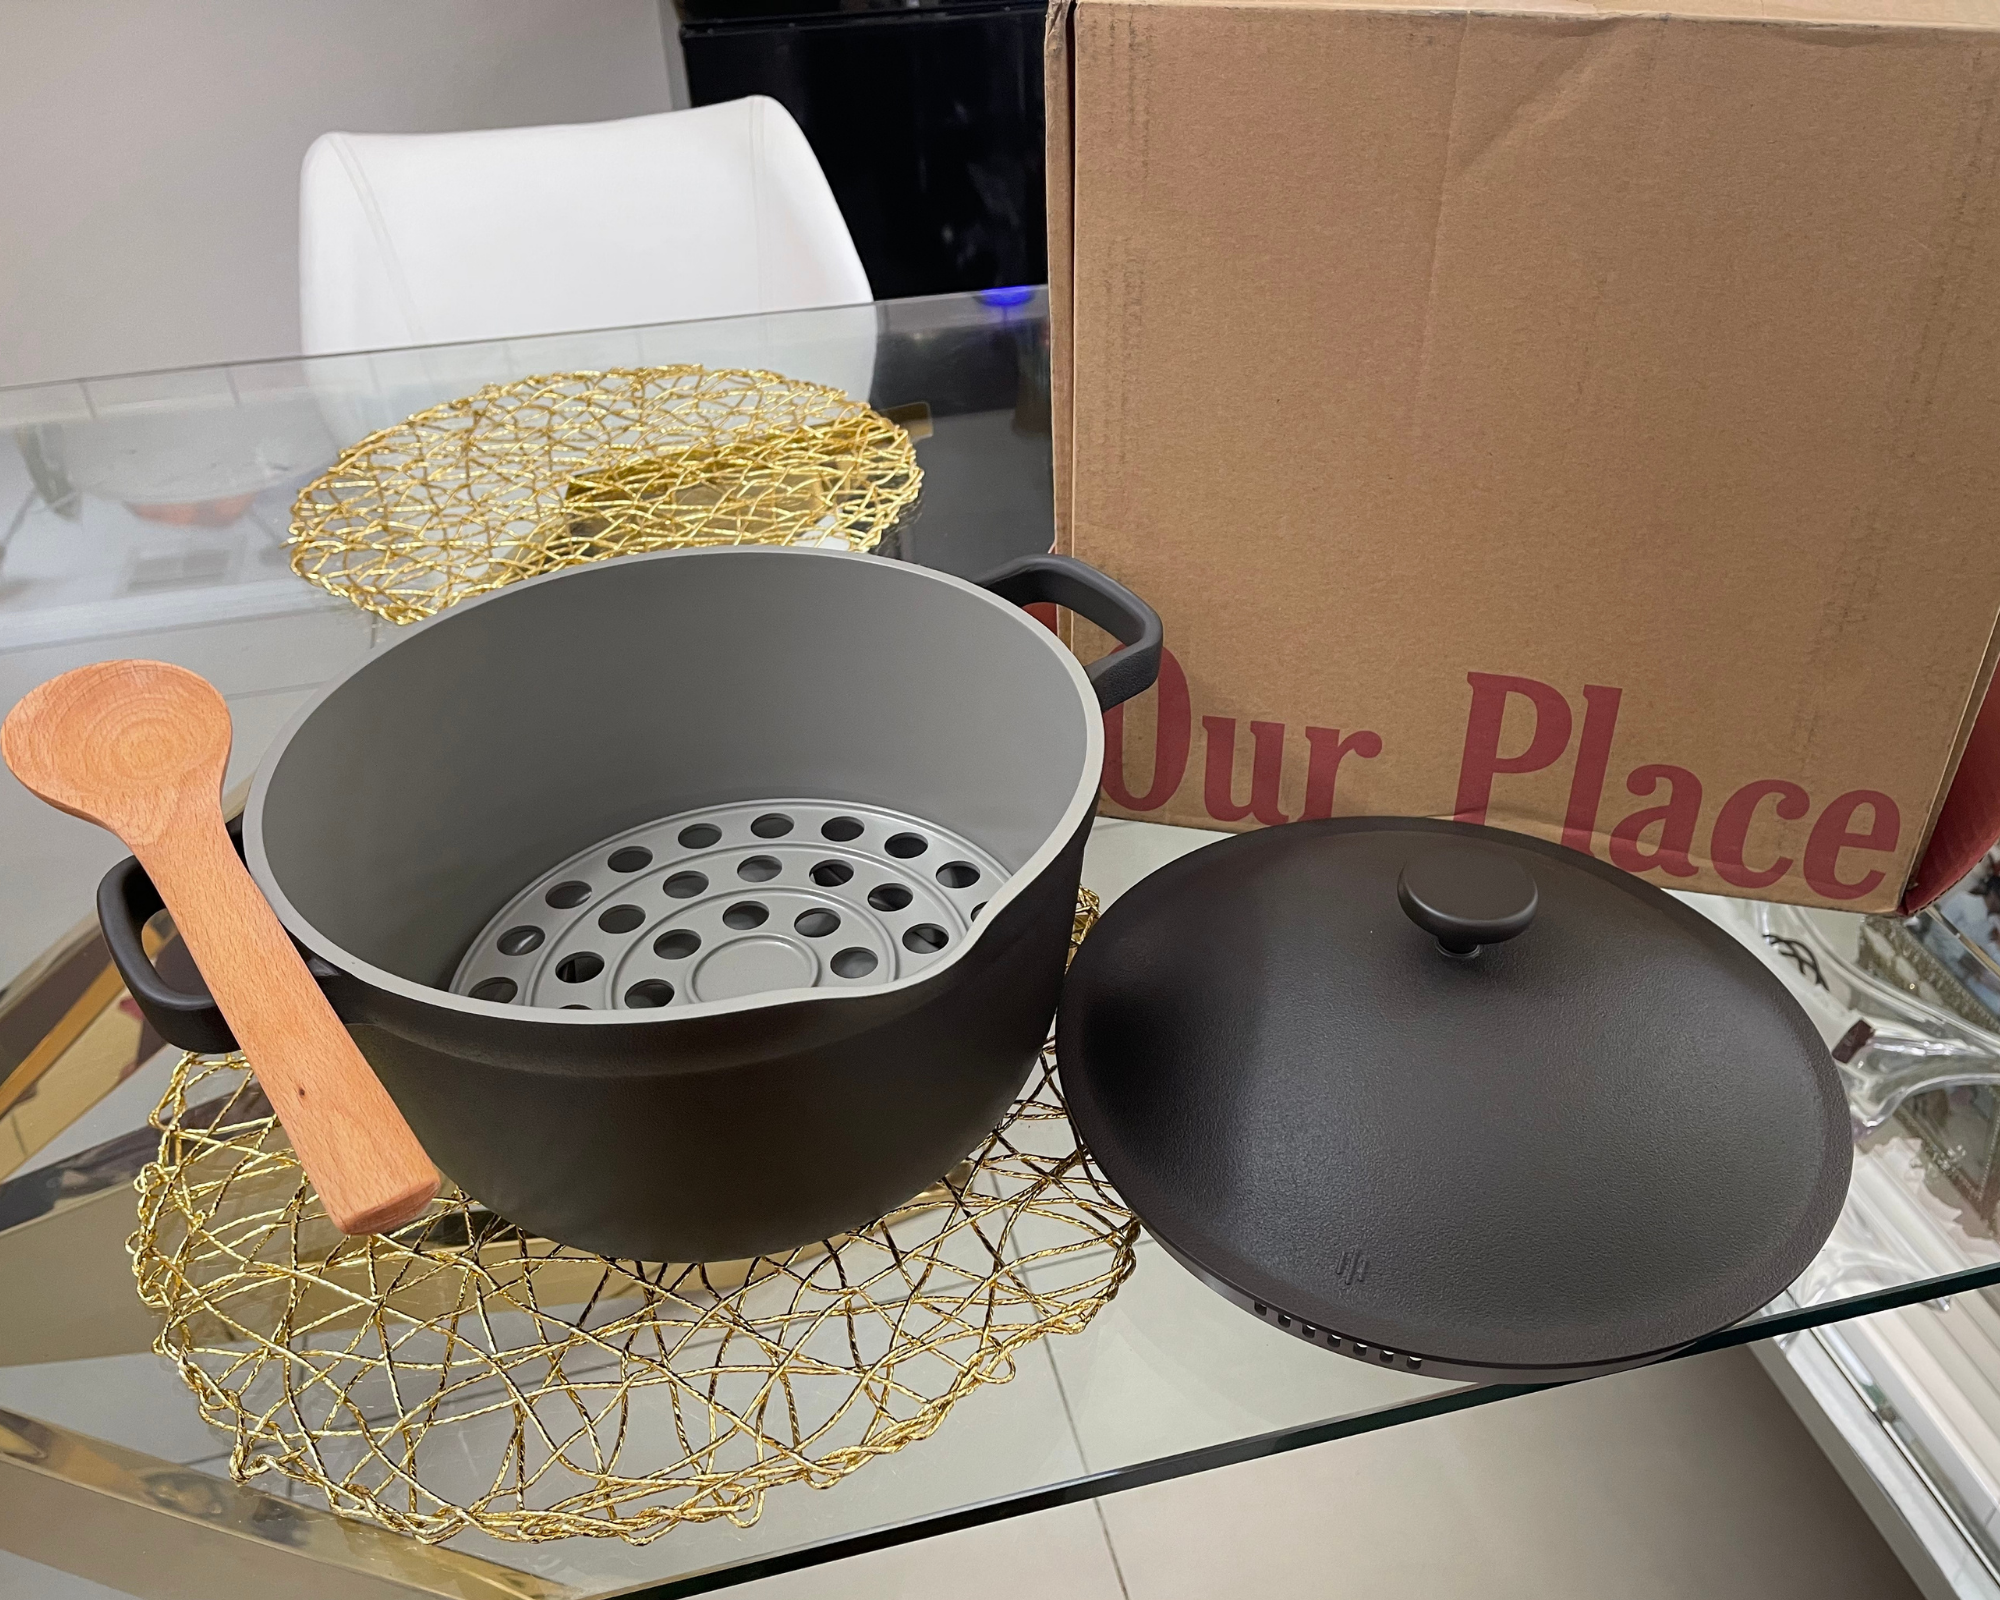
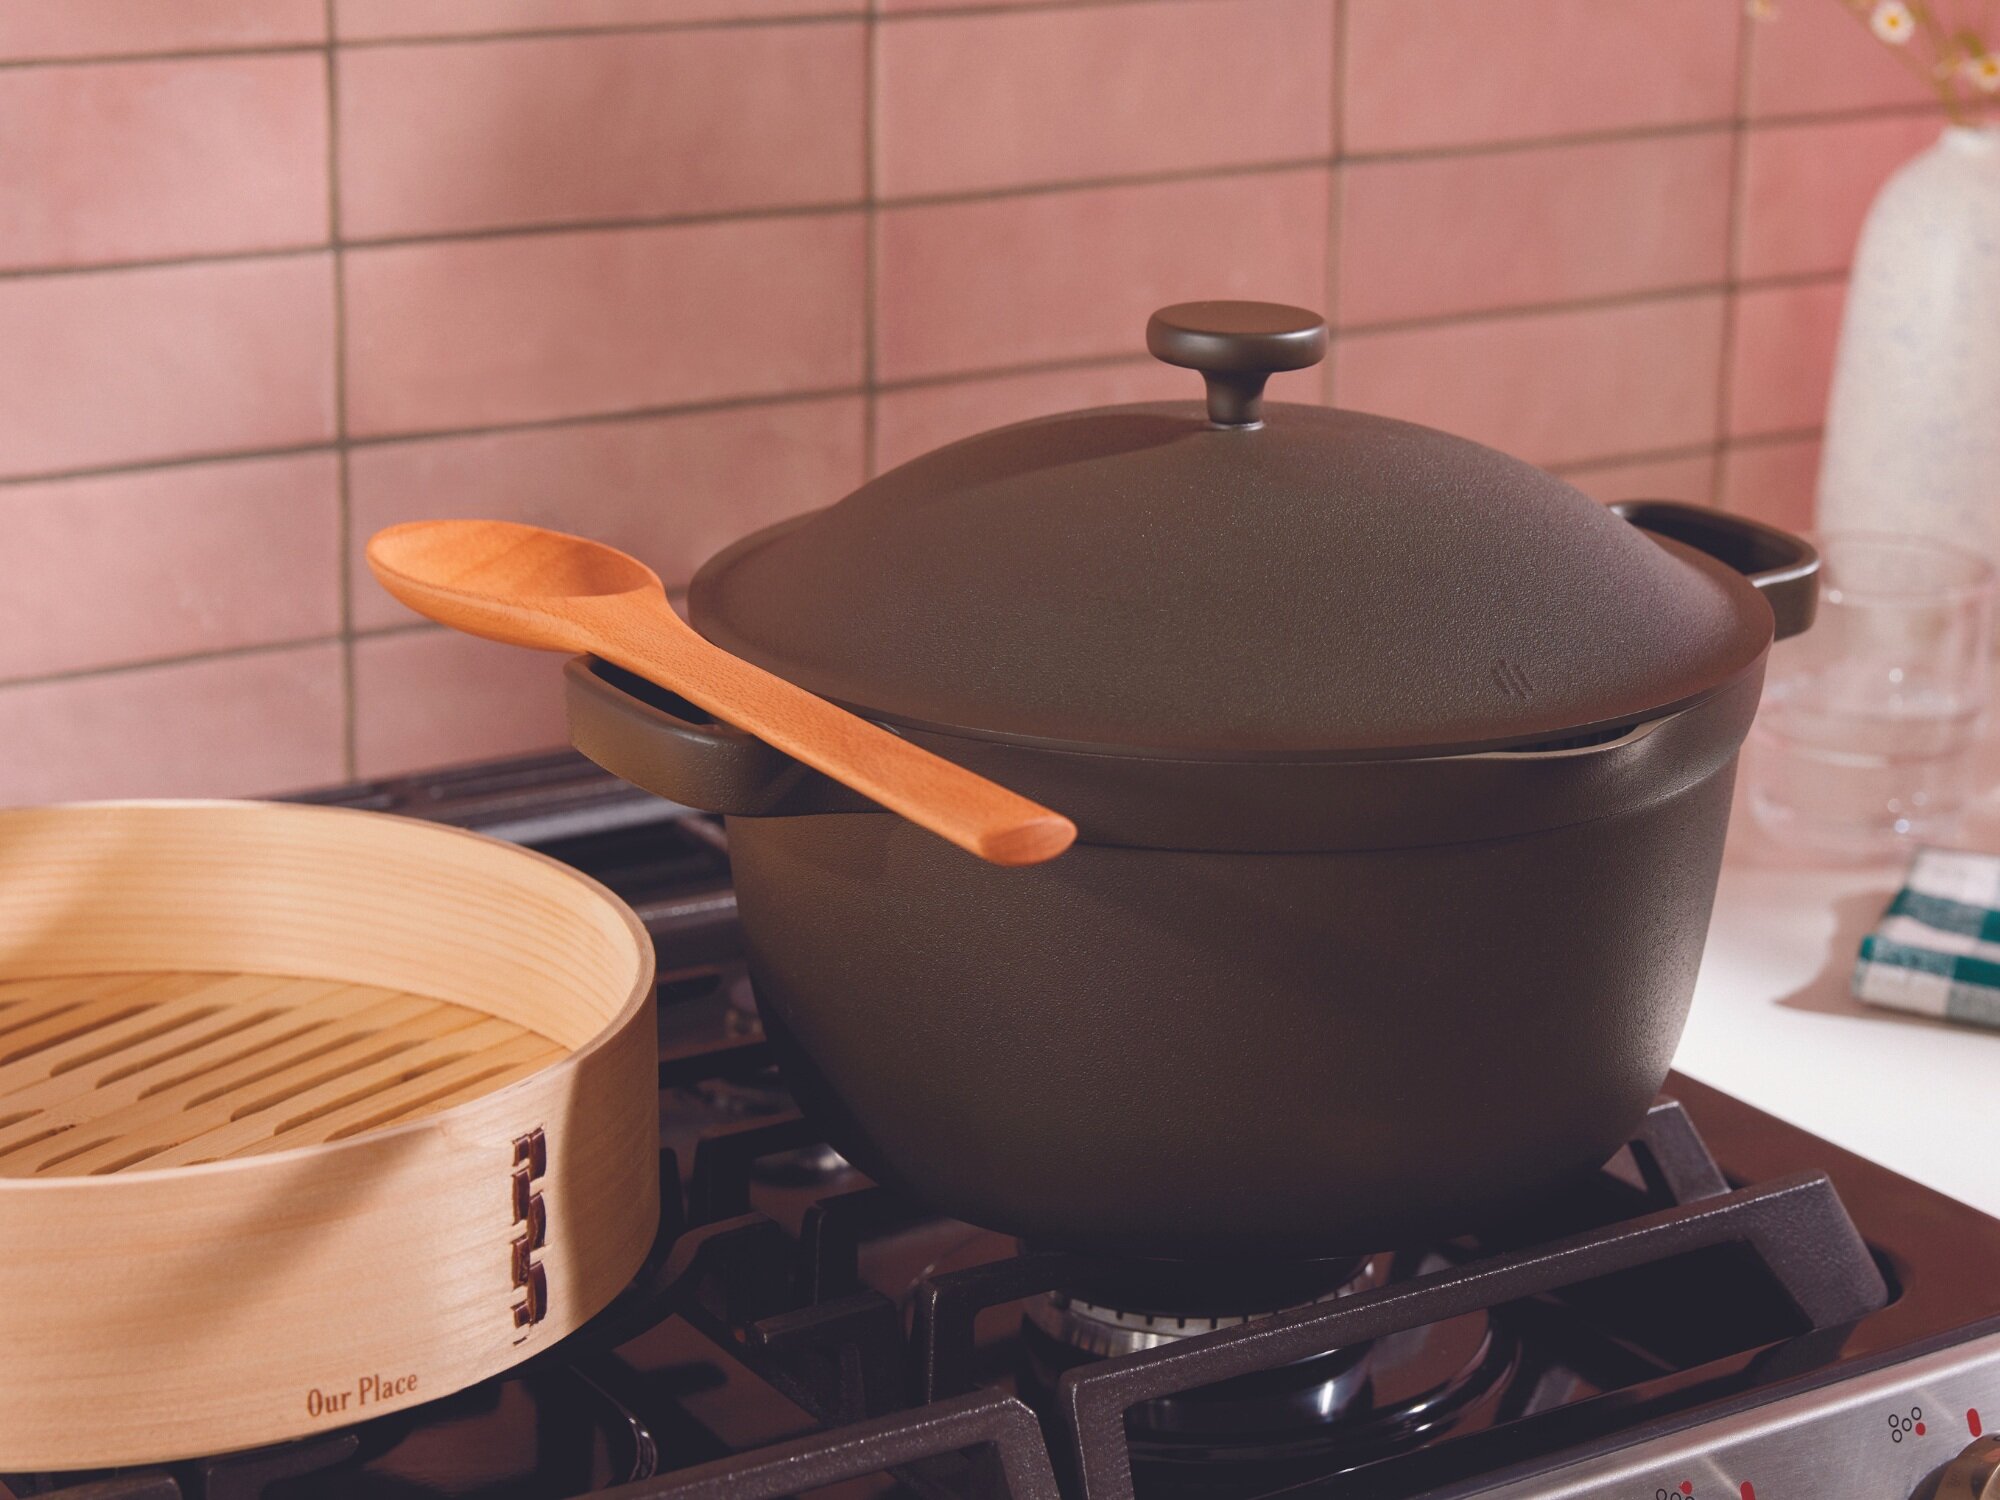
4-Piece Set includes
5.5 QT Aluminum Pot (fits 22 cups!)
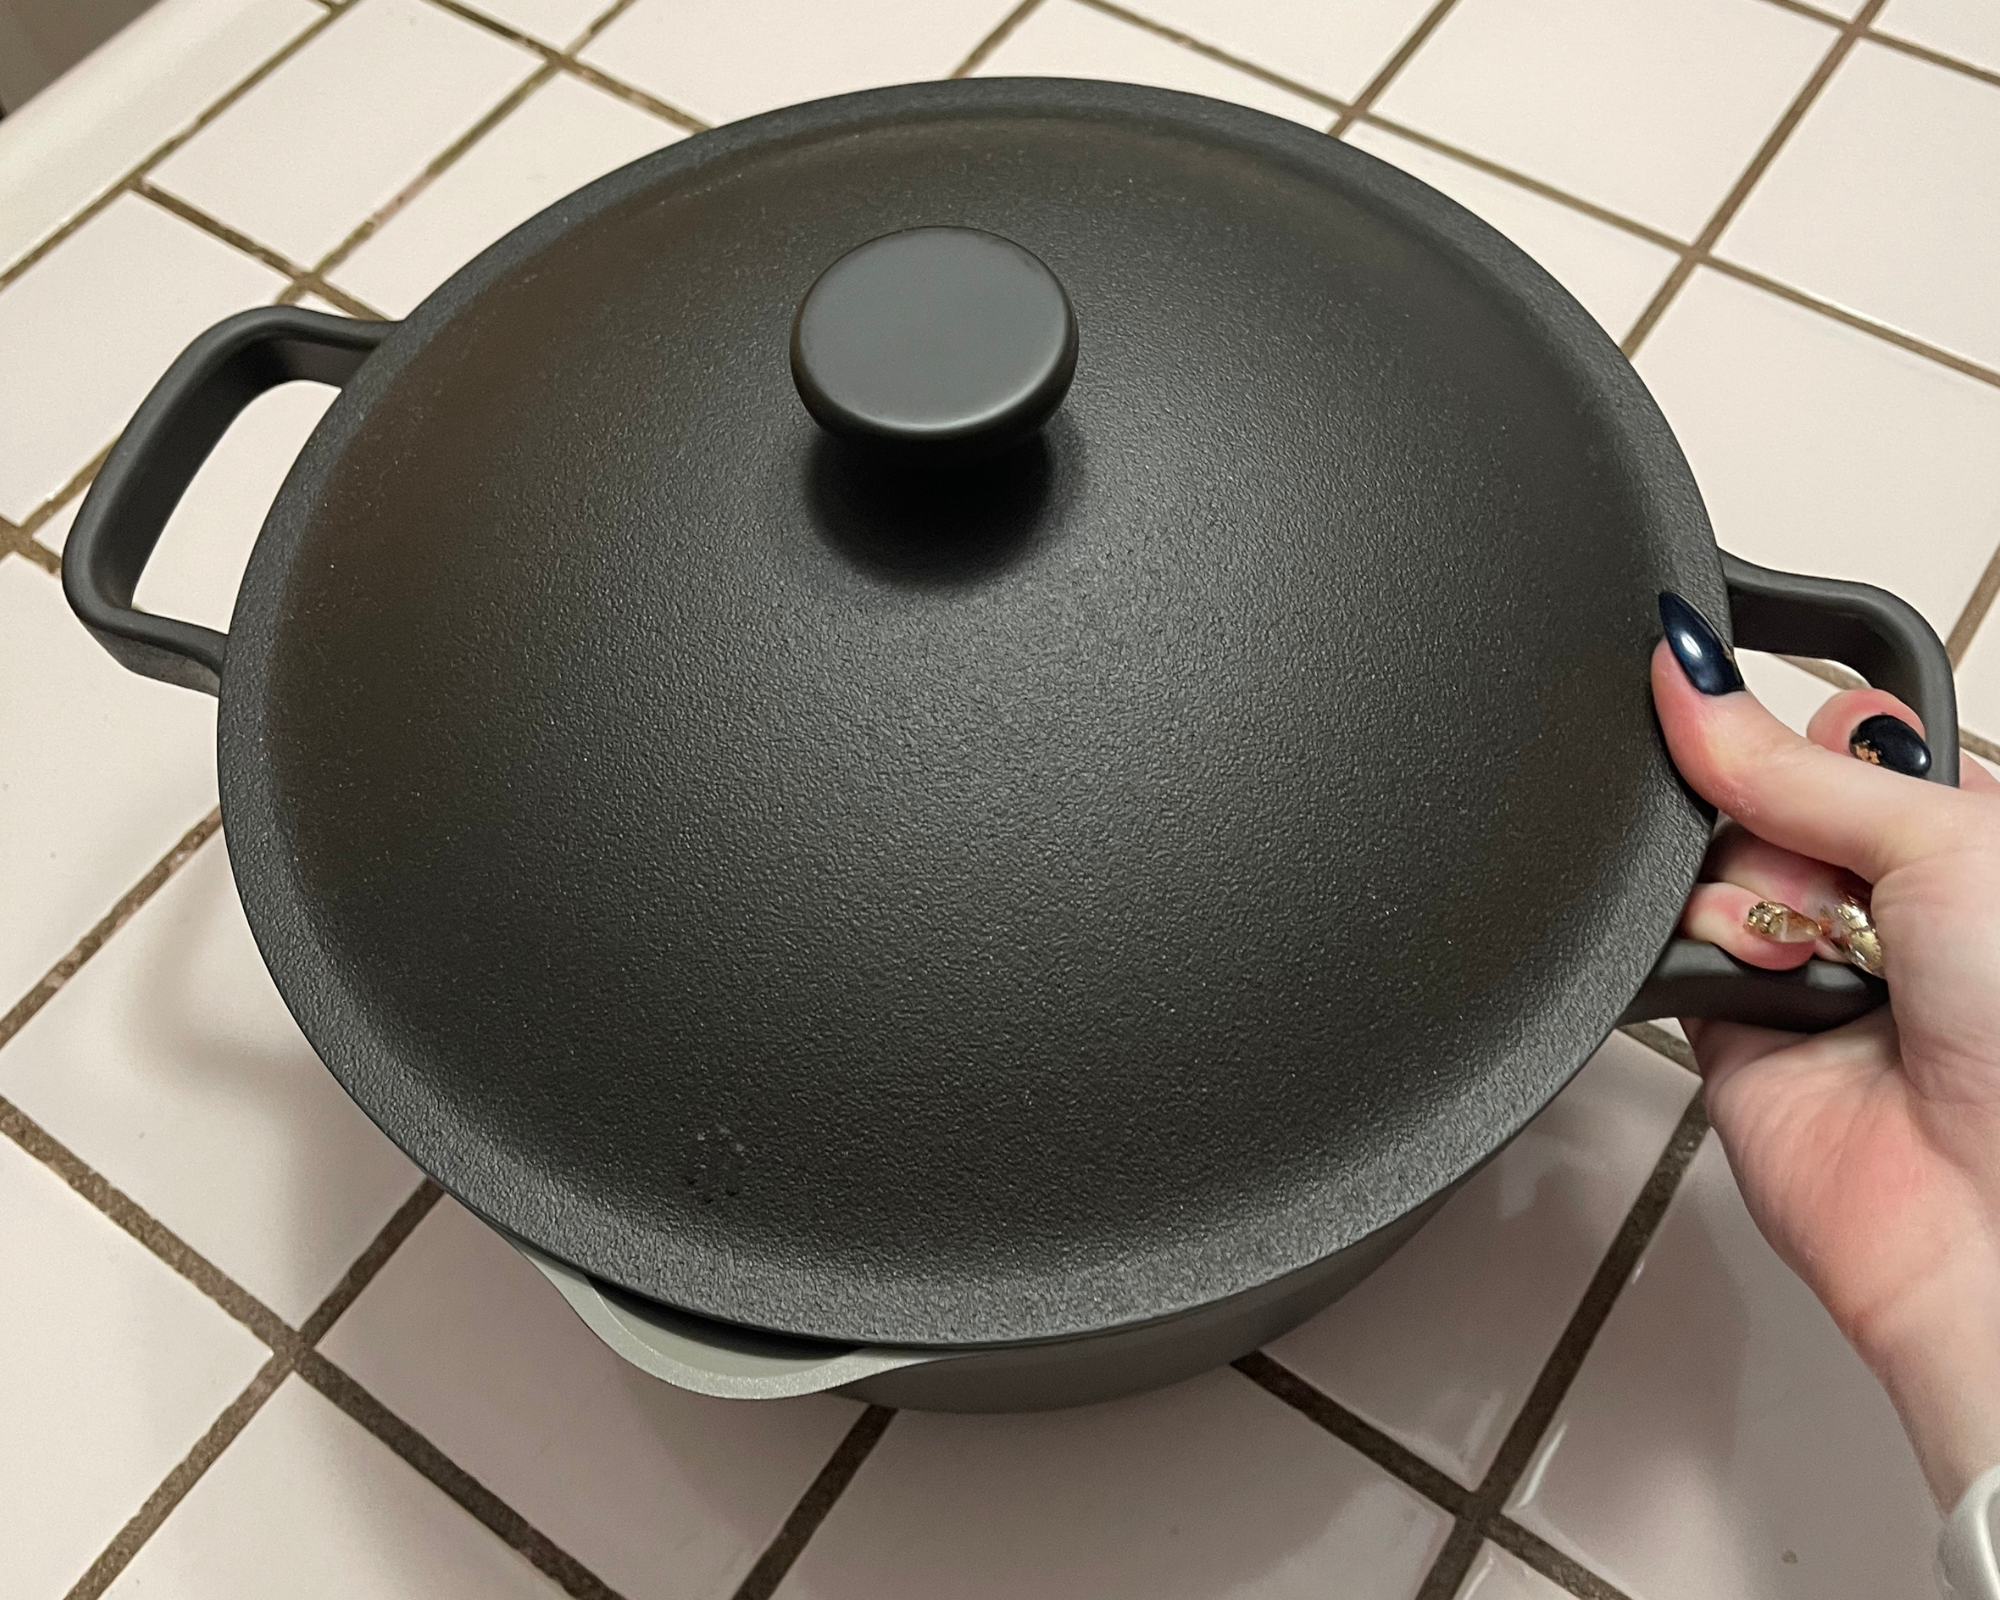
Cast Aluminum Straining Lid
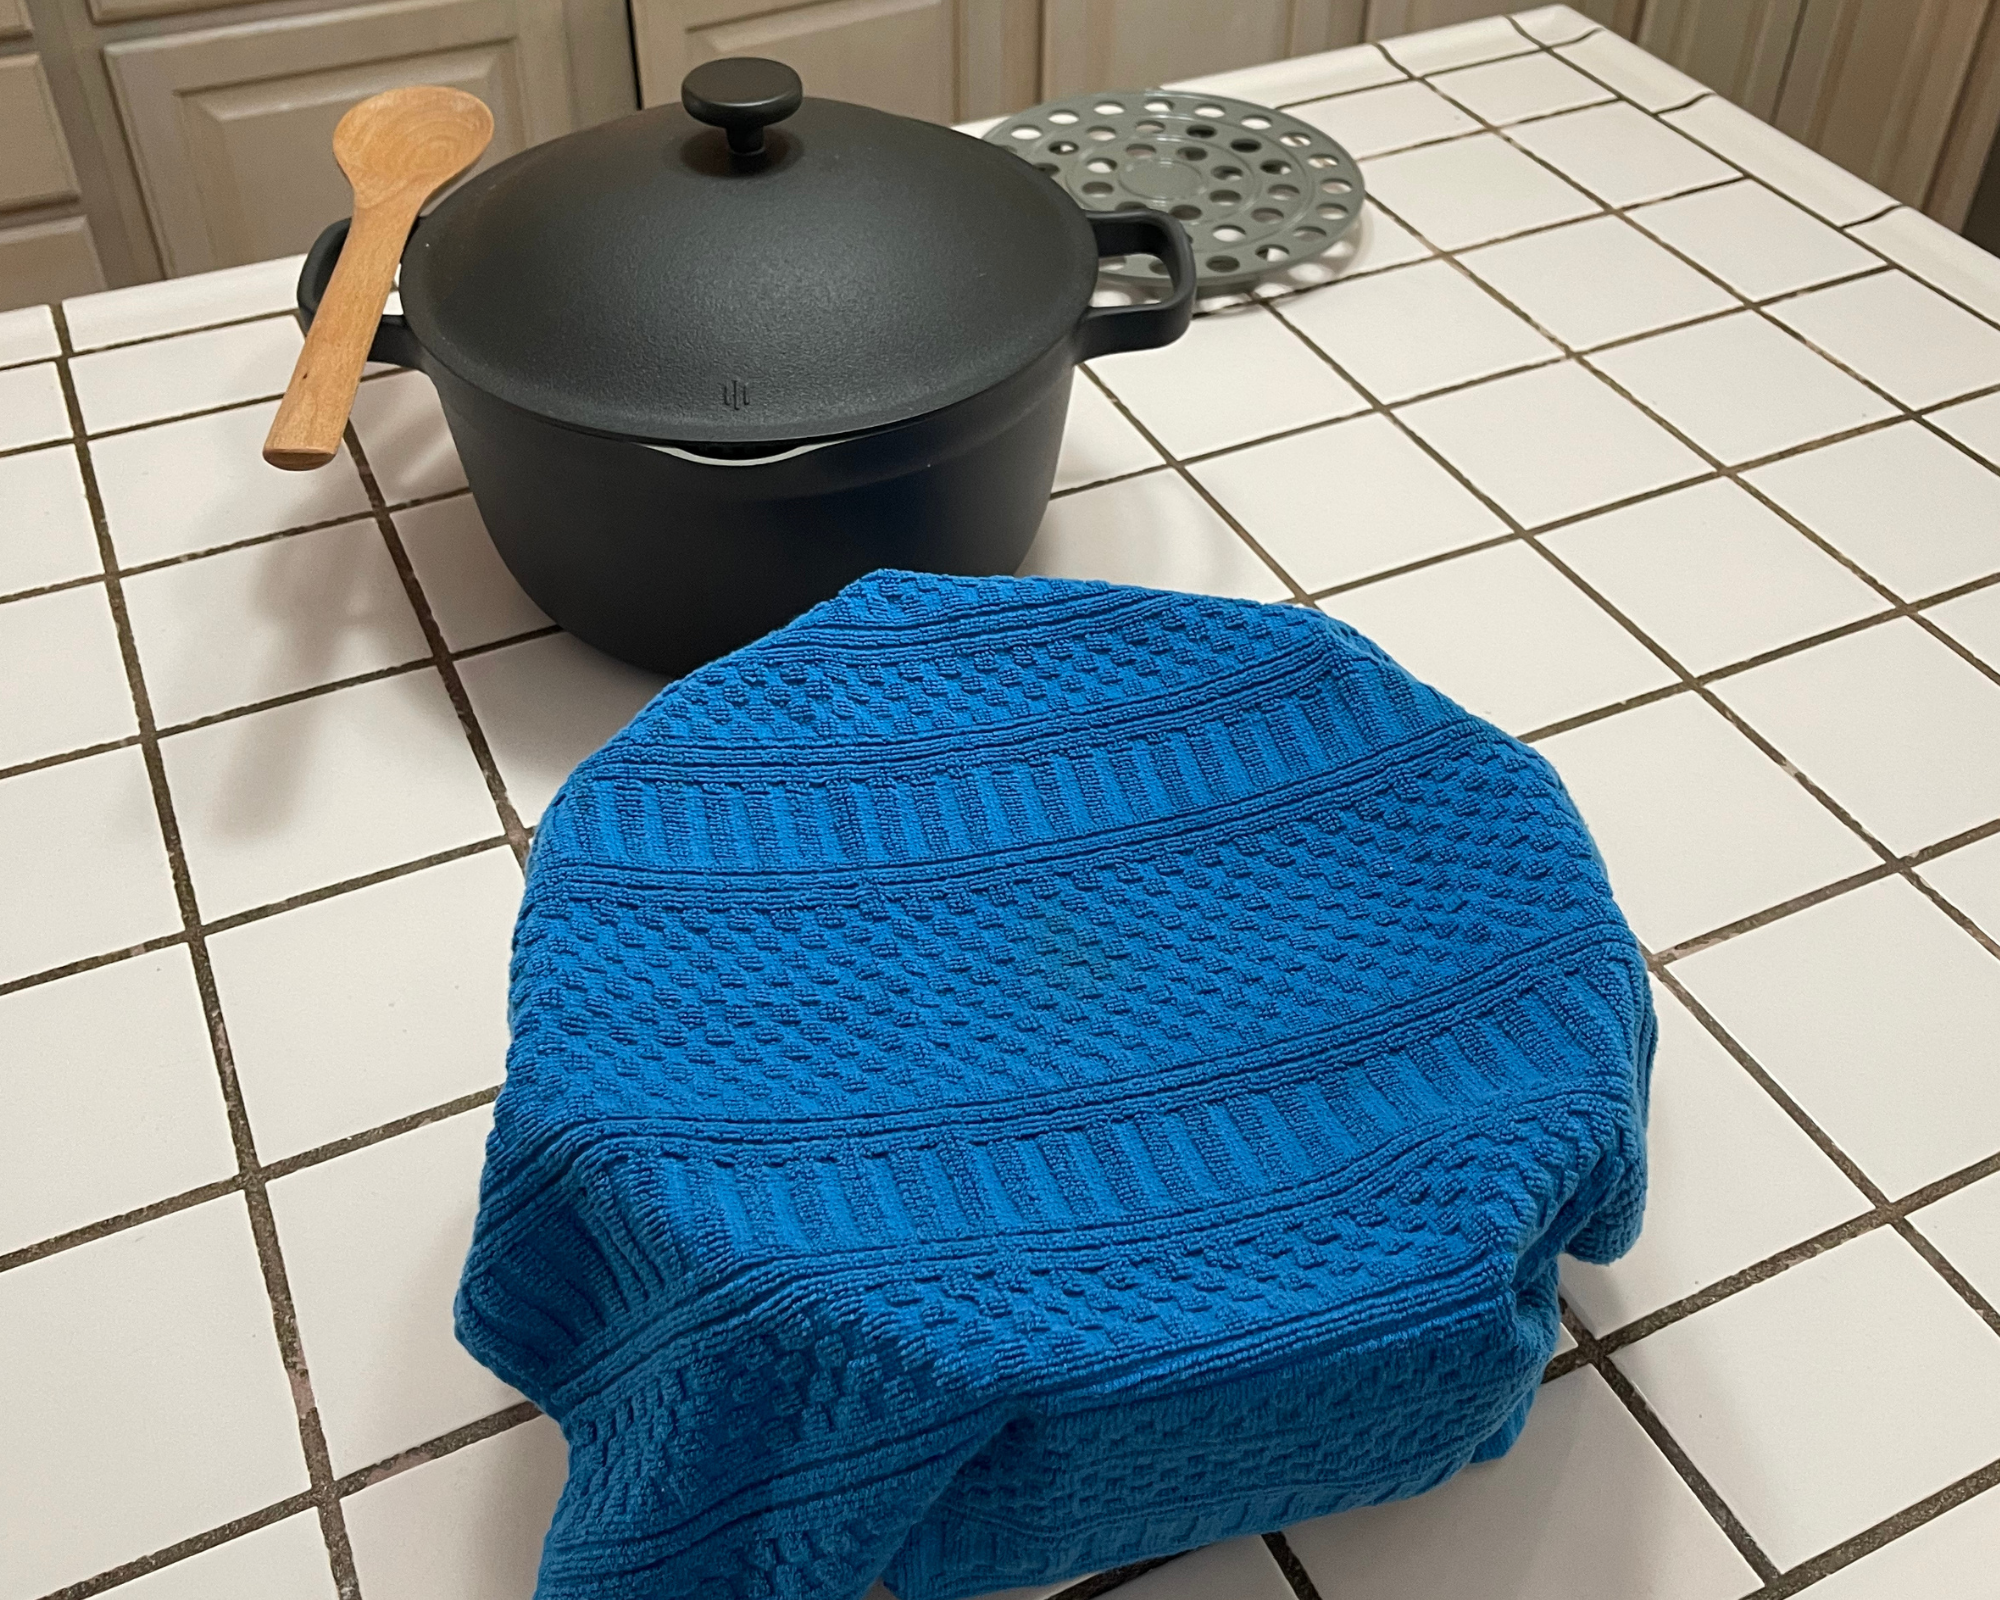
Beechwood Spoon with patent-pending notch system (I shrieked; the spoon rest is SO GOOD)
Cast Aluminum Nonstick Roasting Rack
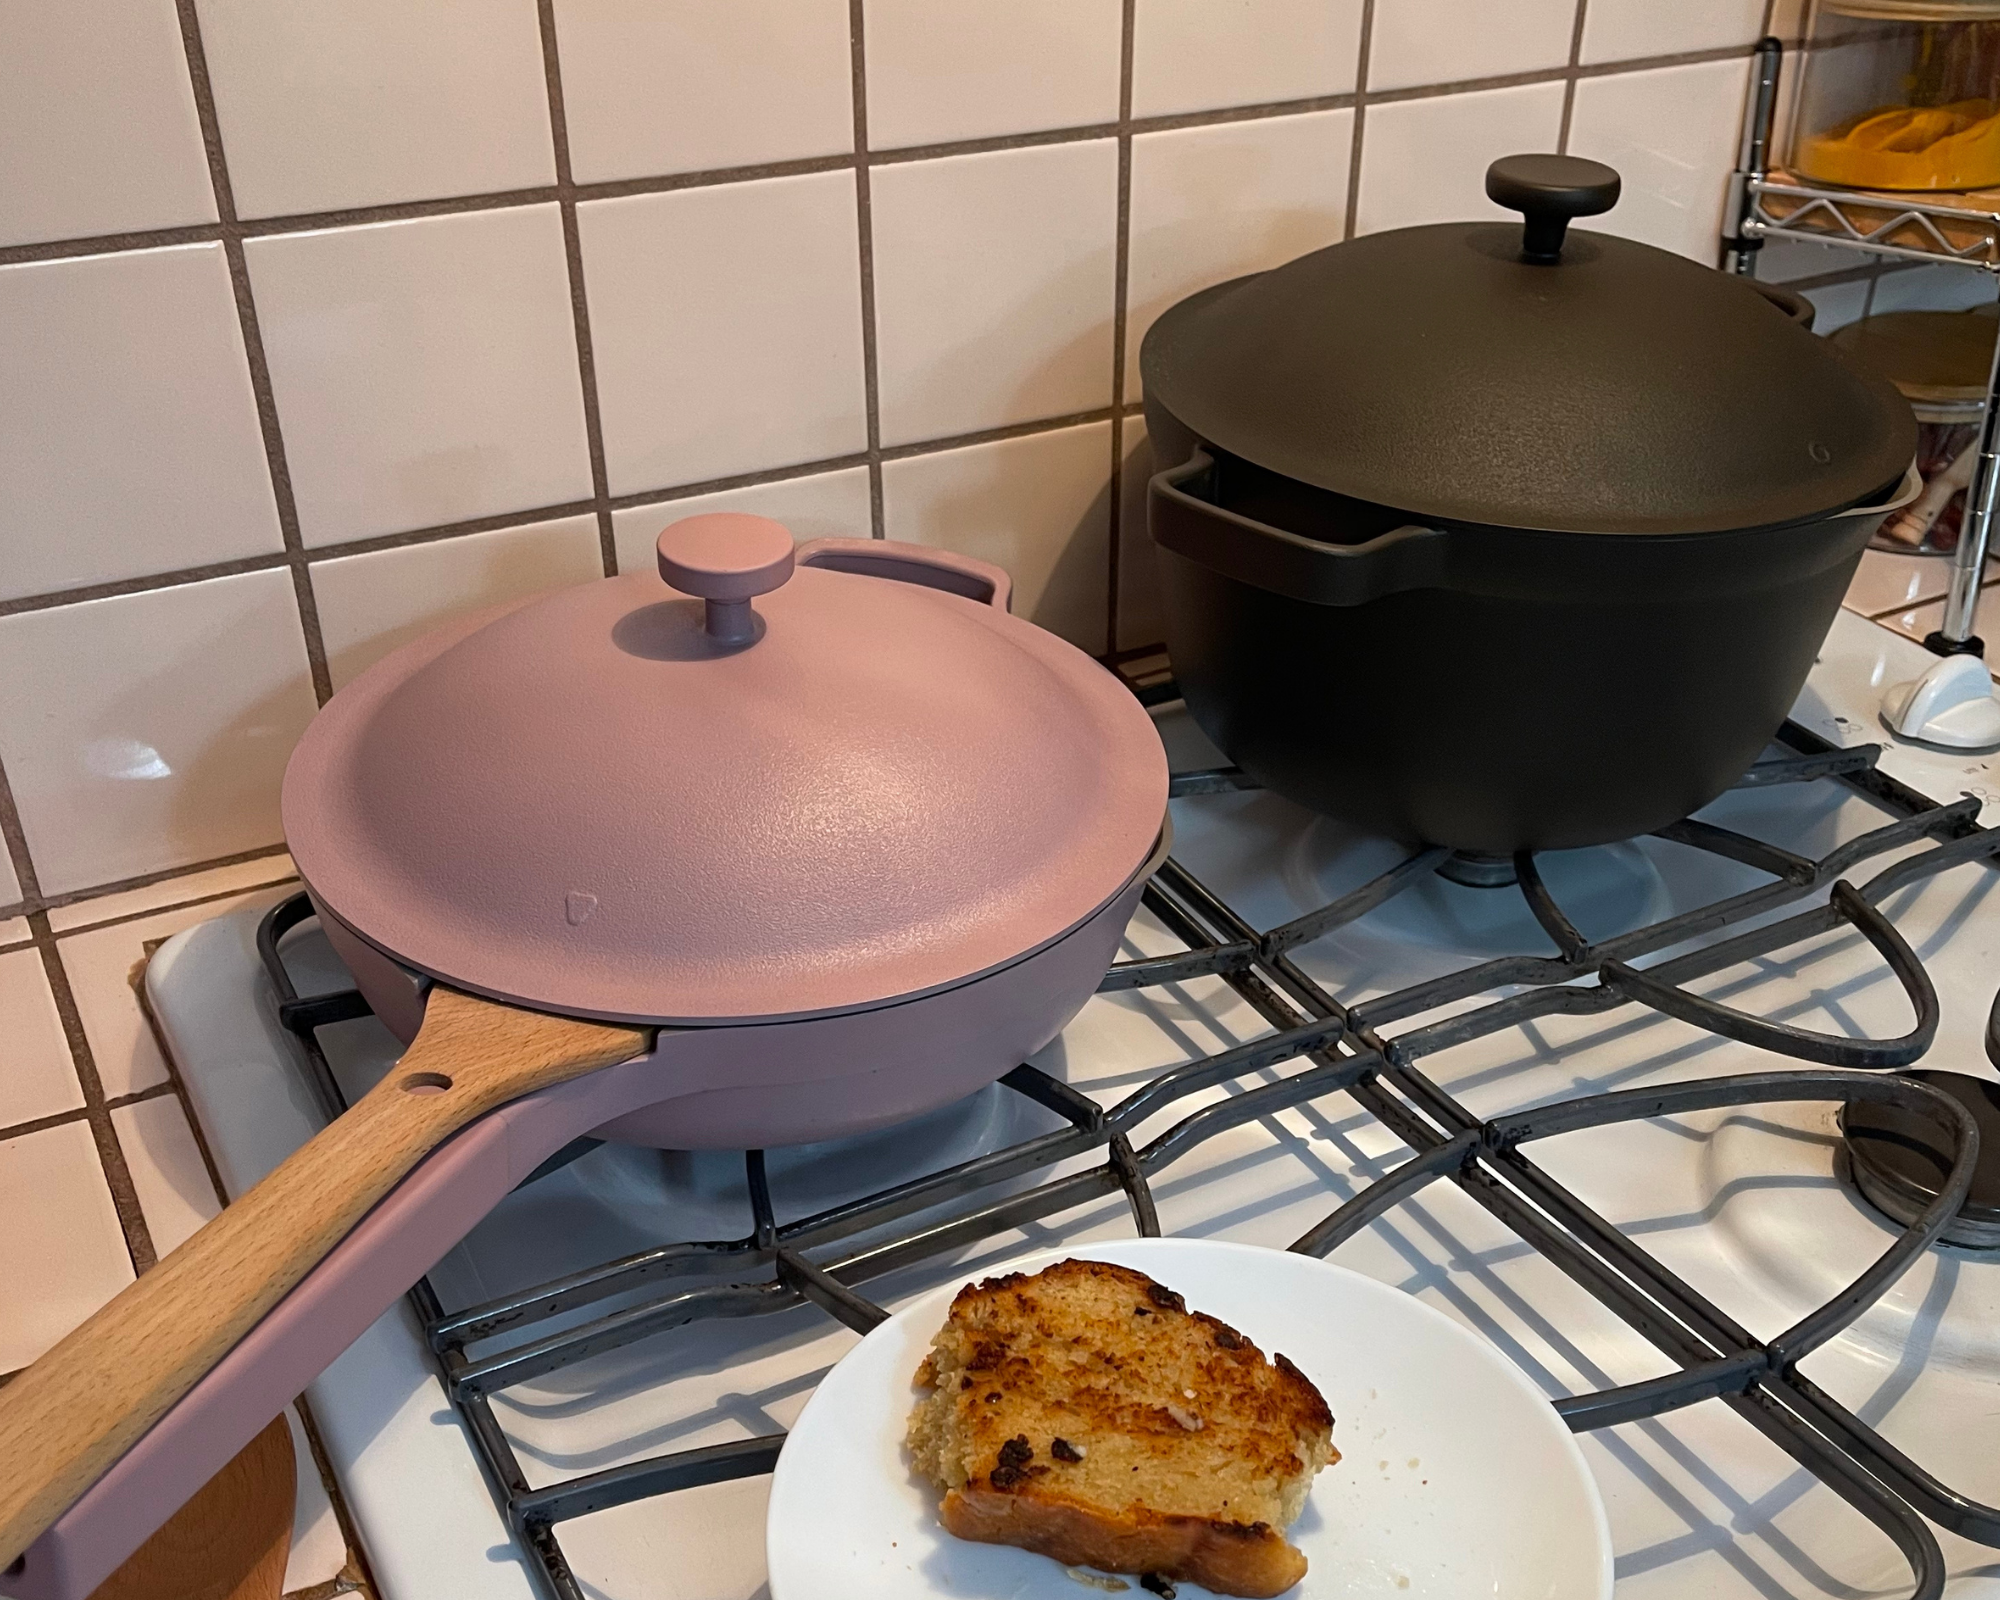
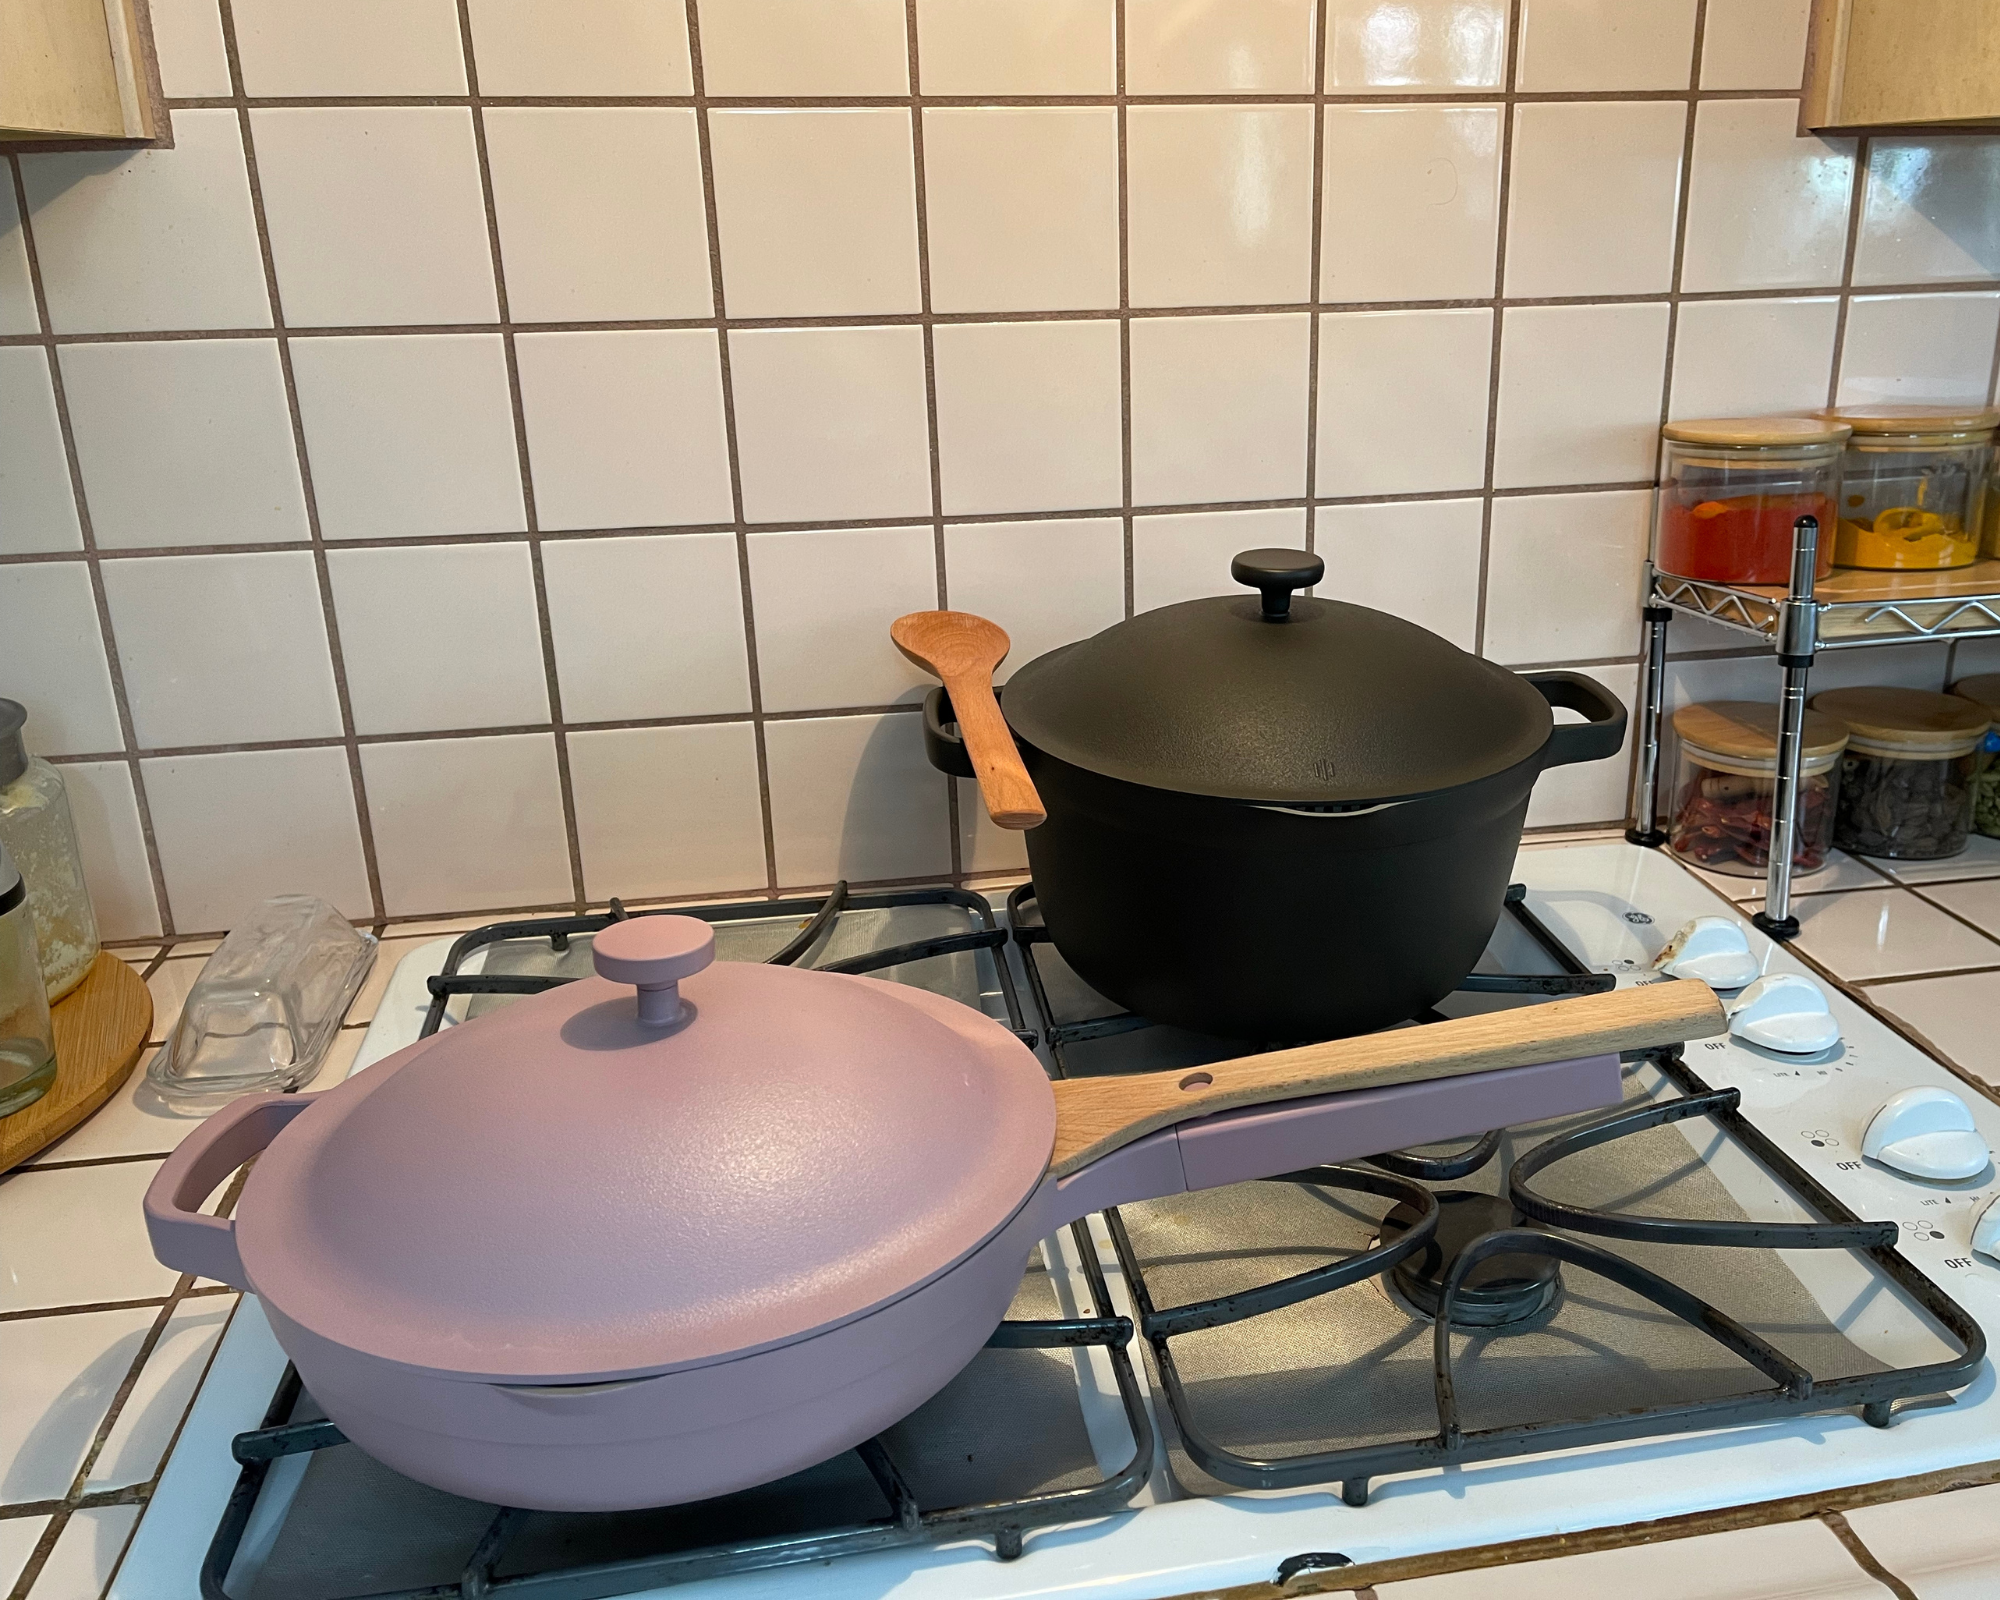
Currently the Perfect Pot comes in four colors (Spice, Steam, Blue Salt, and Char), but I suspect that Our Place will expand these as they did with the Always Pan!
Speaking of the Always Pan, Our Place is having a killer sale right now where you can combine the Perfect Pot and Always Pan for just $250 (regularly $310).
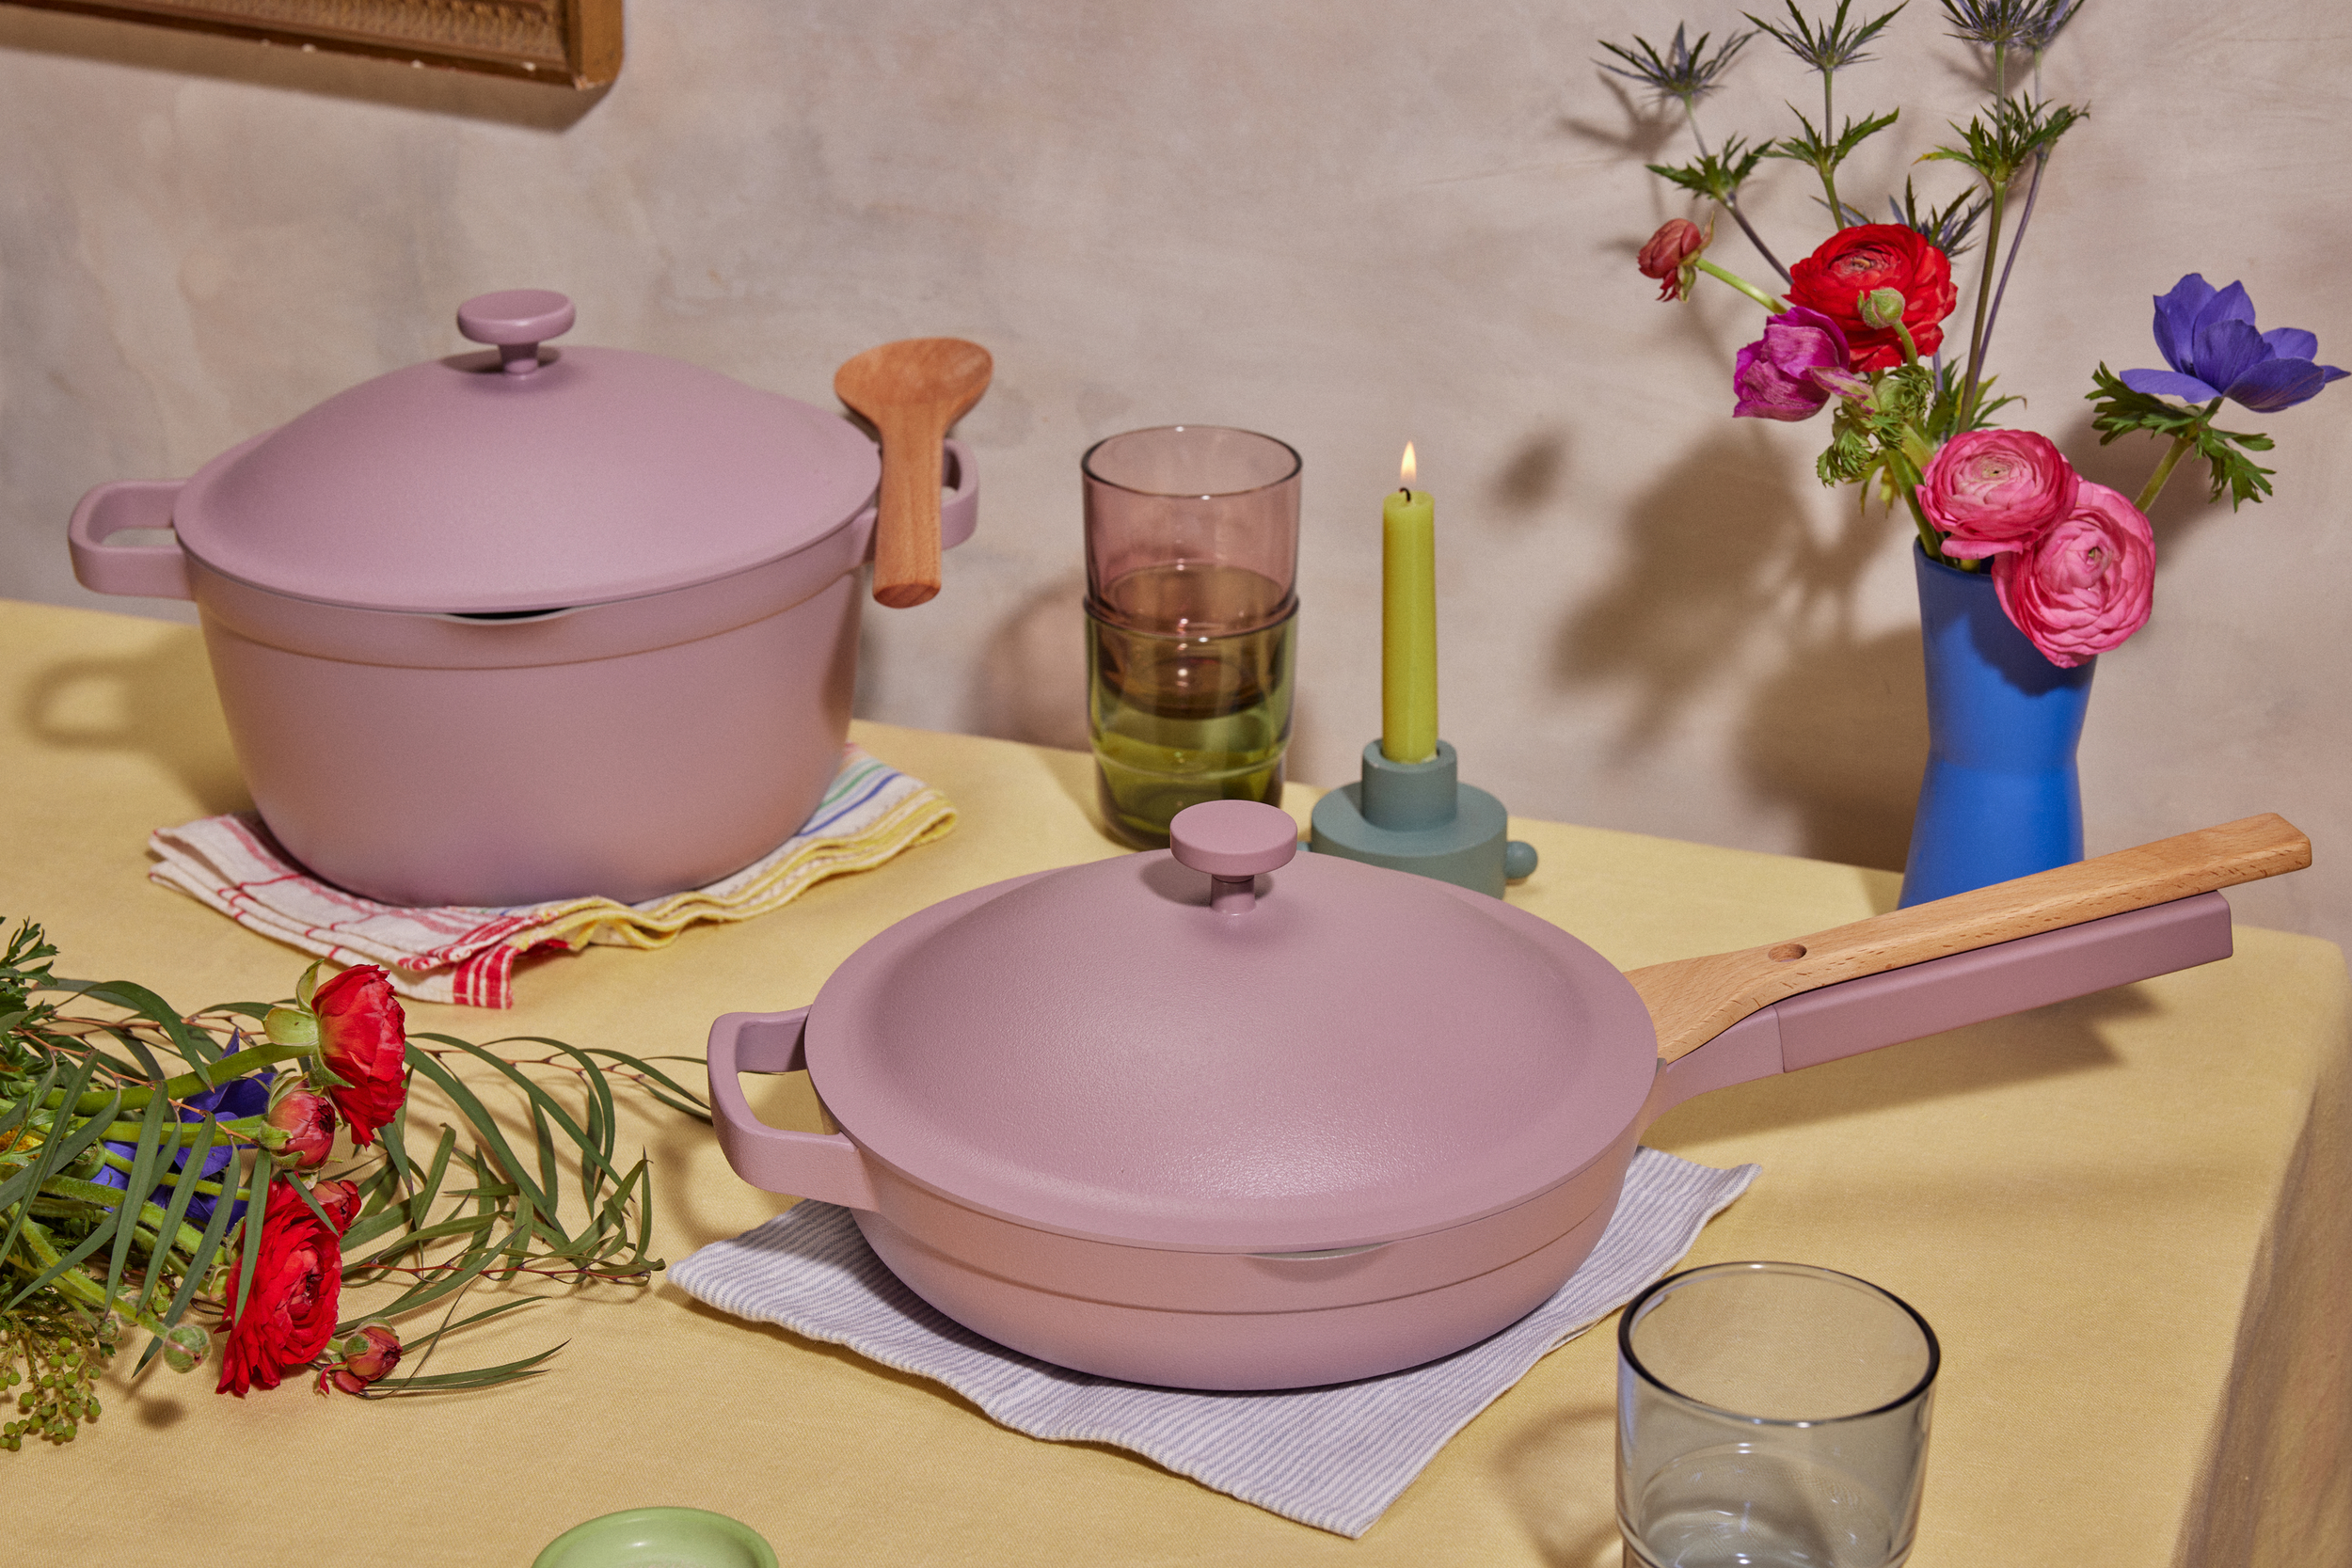
Edit: Since writing this, the Perfect Pot has expanded to include more colors, including often sold-out Lavender, as well as adding a chic little fry deck!!
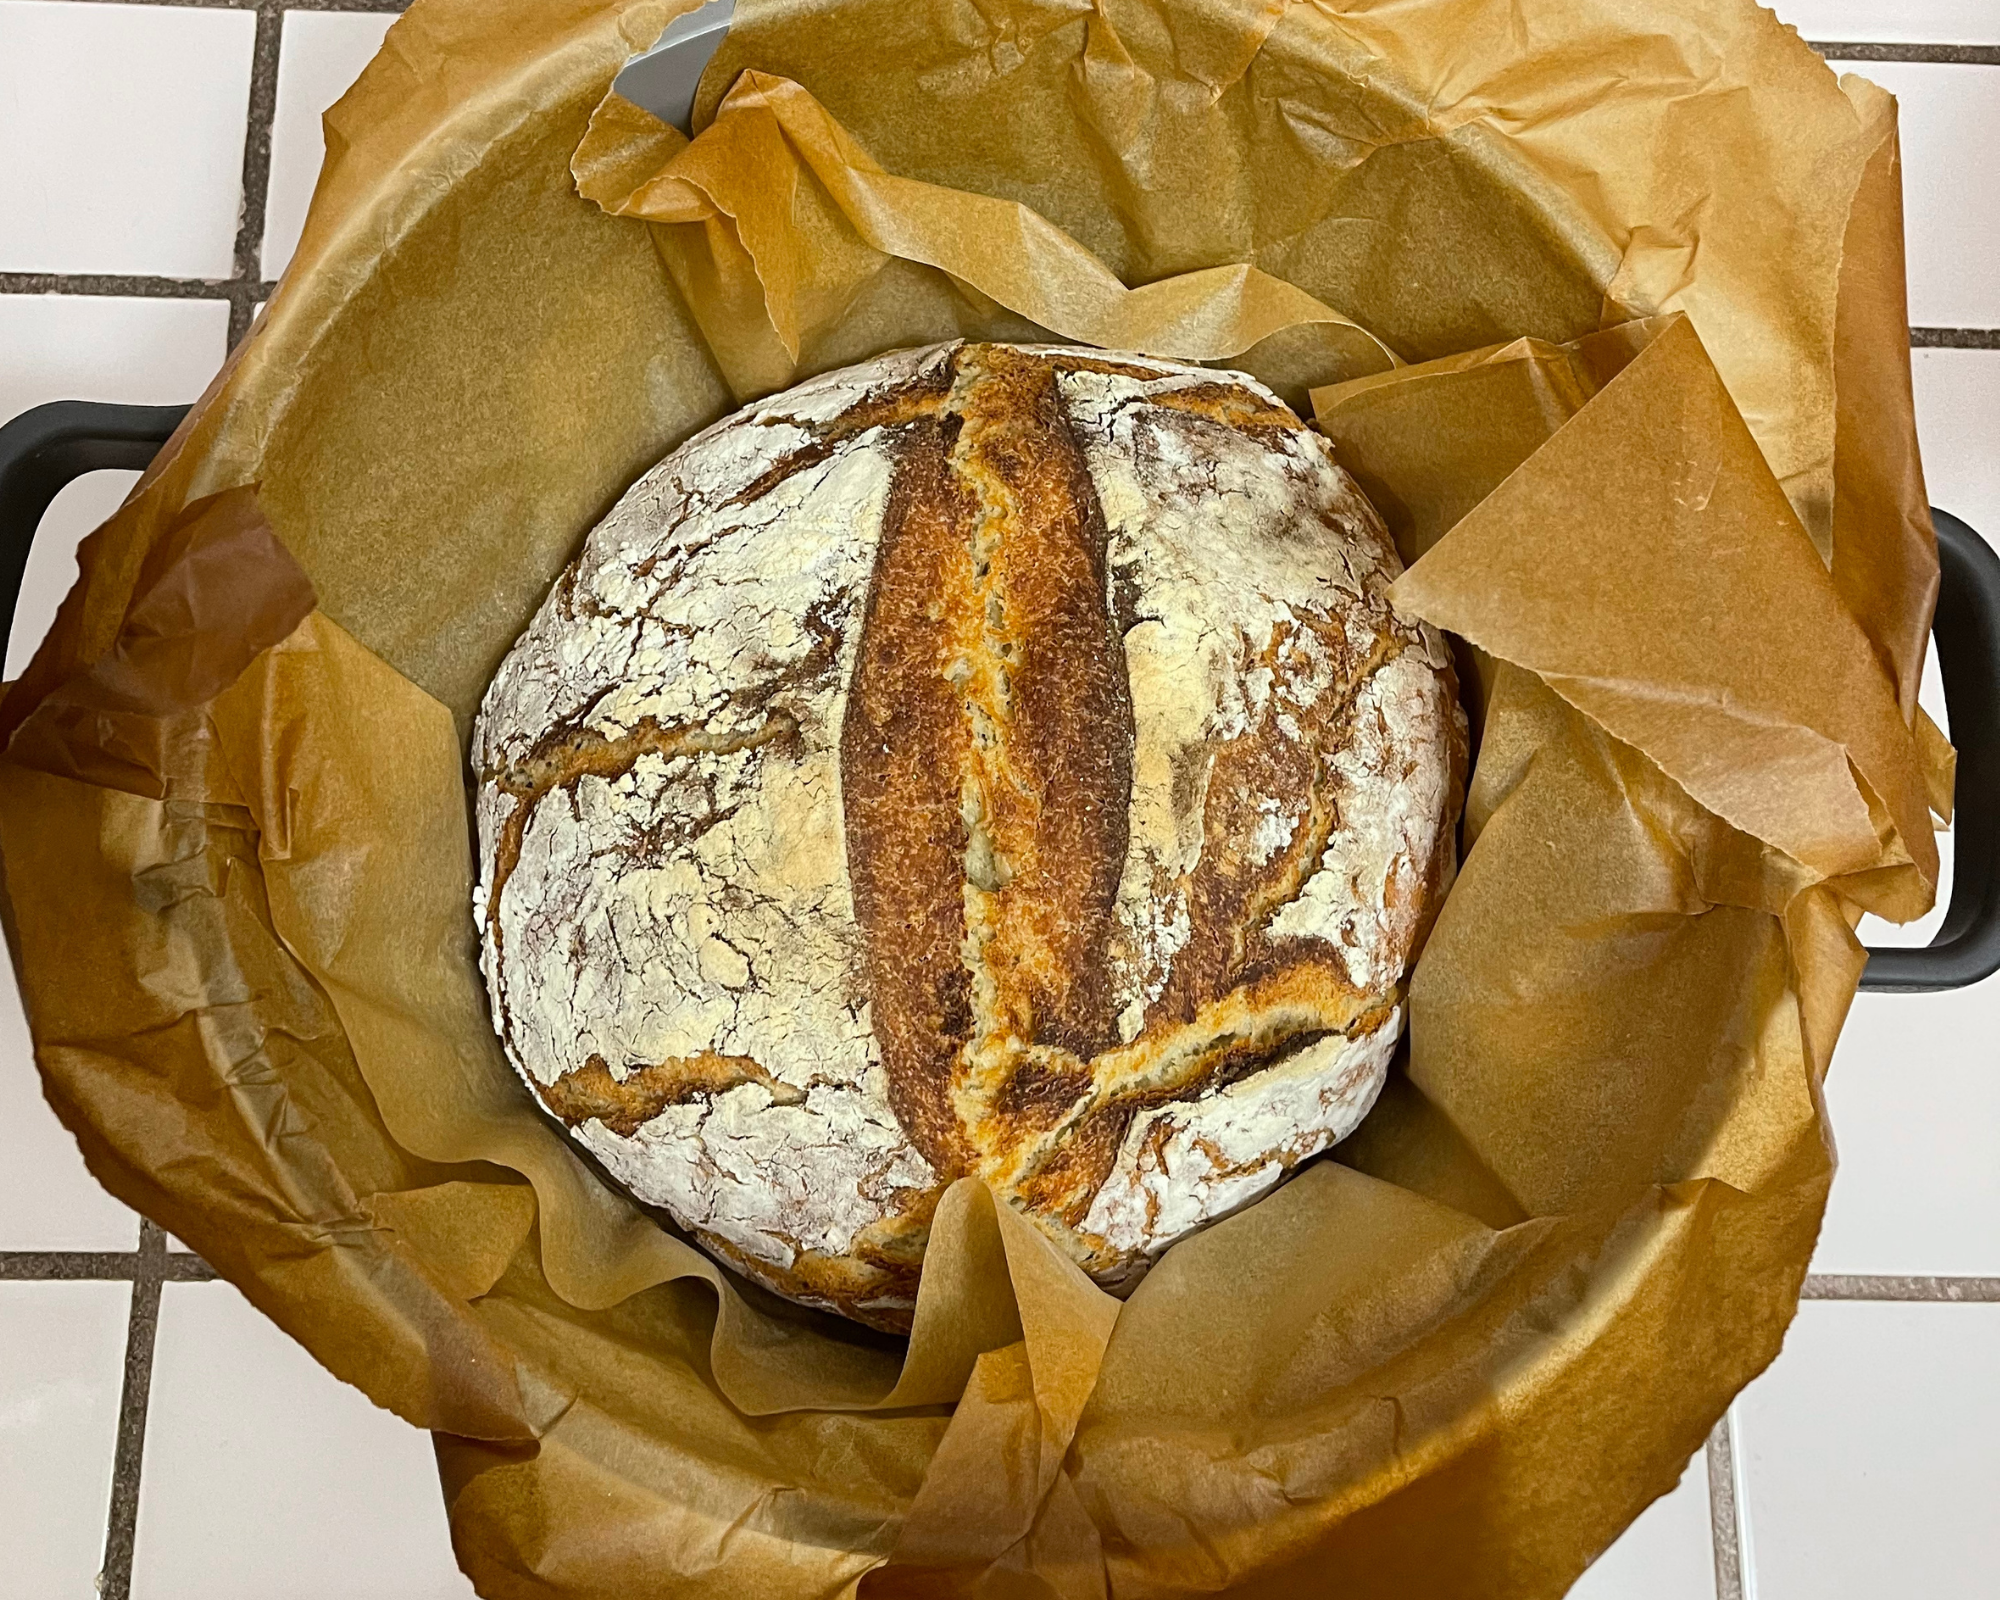
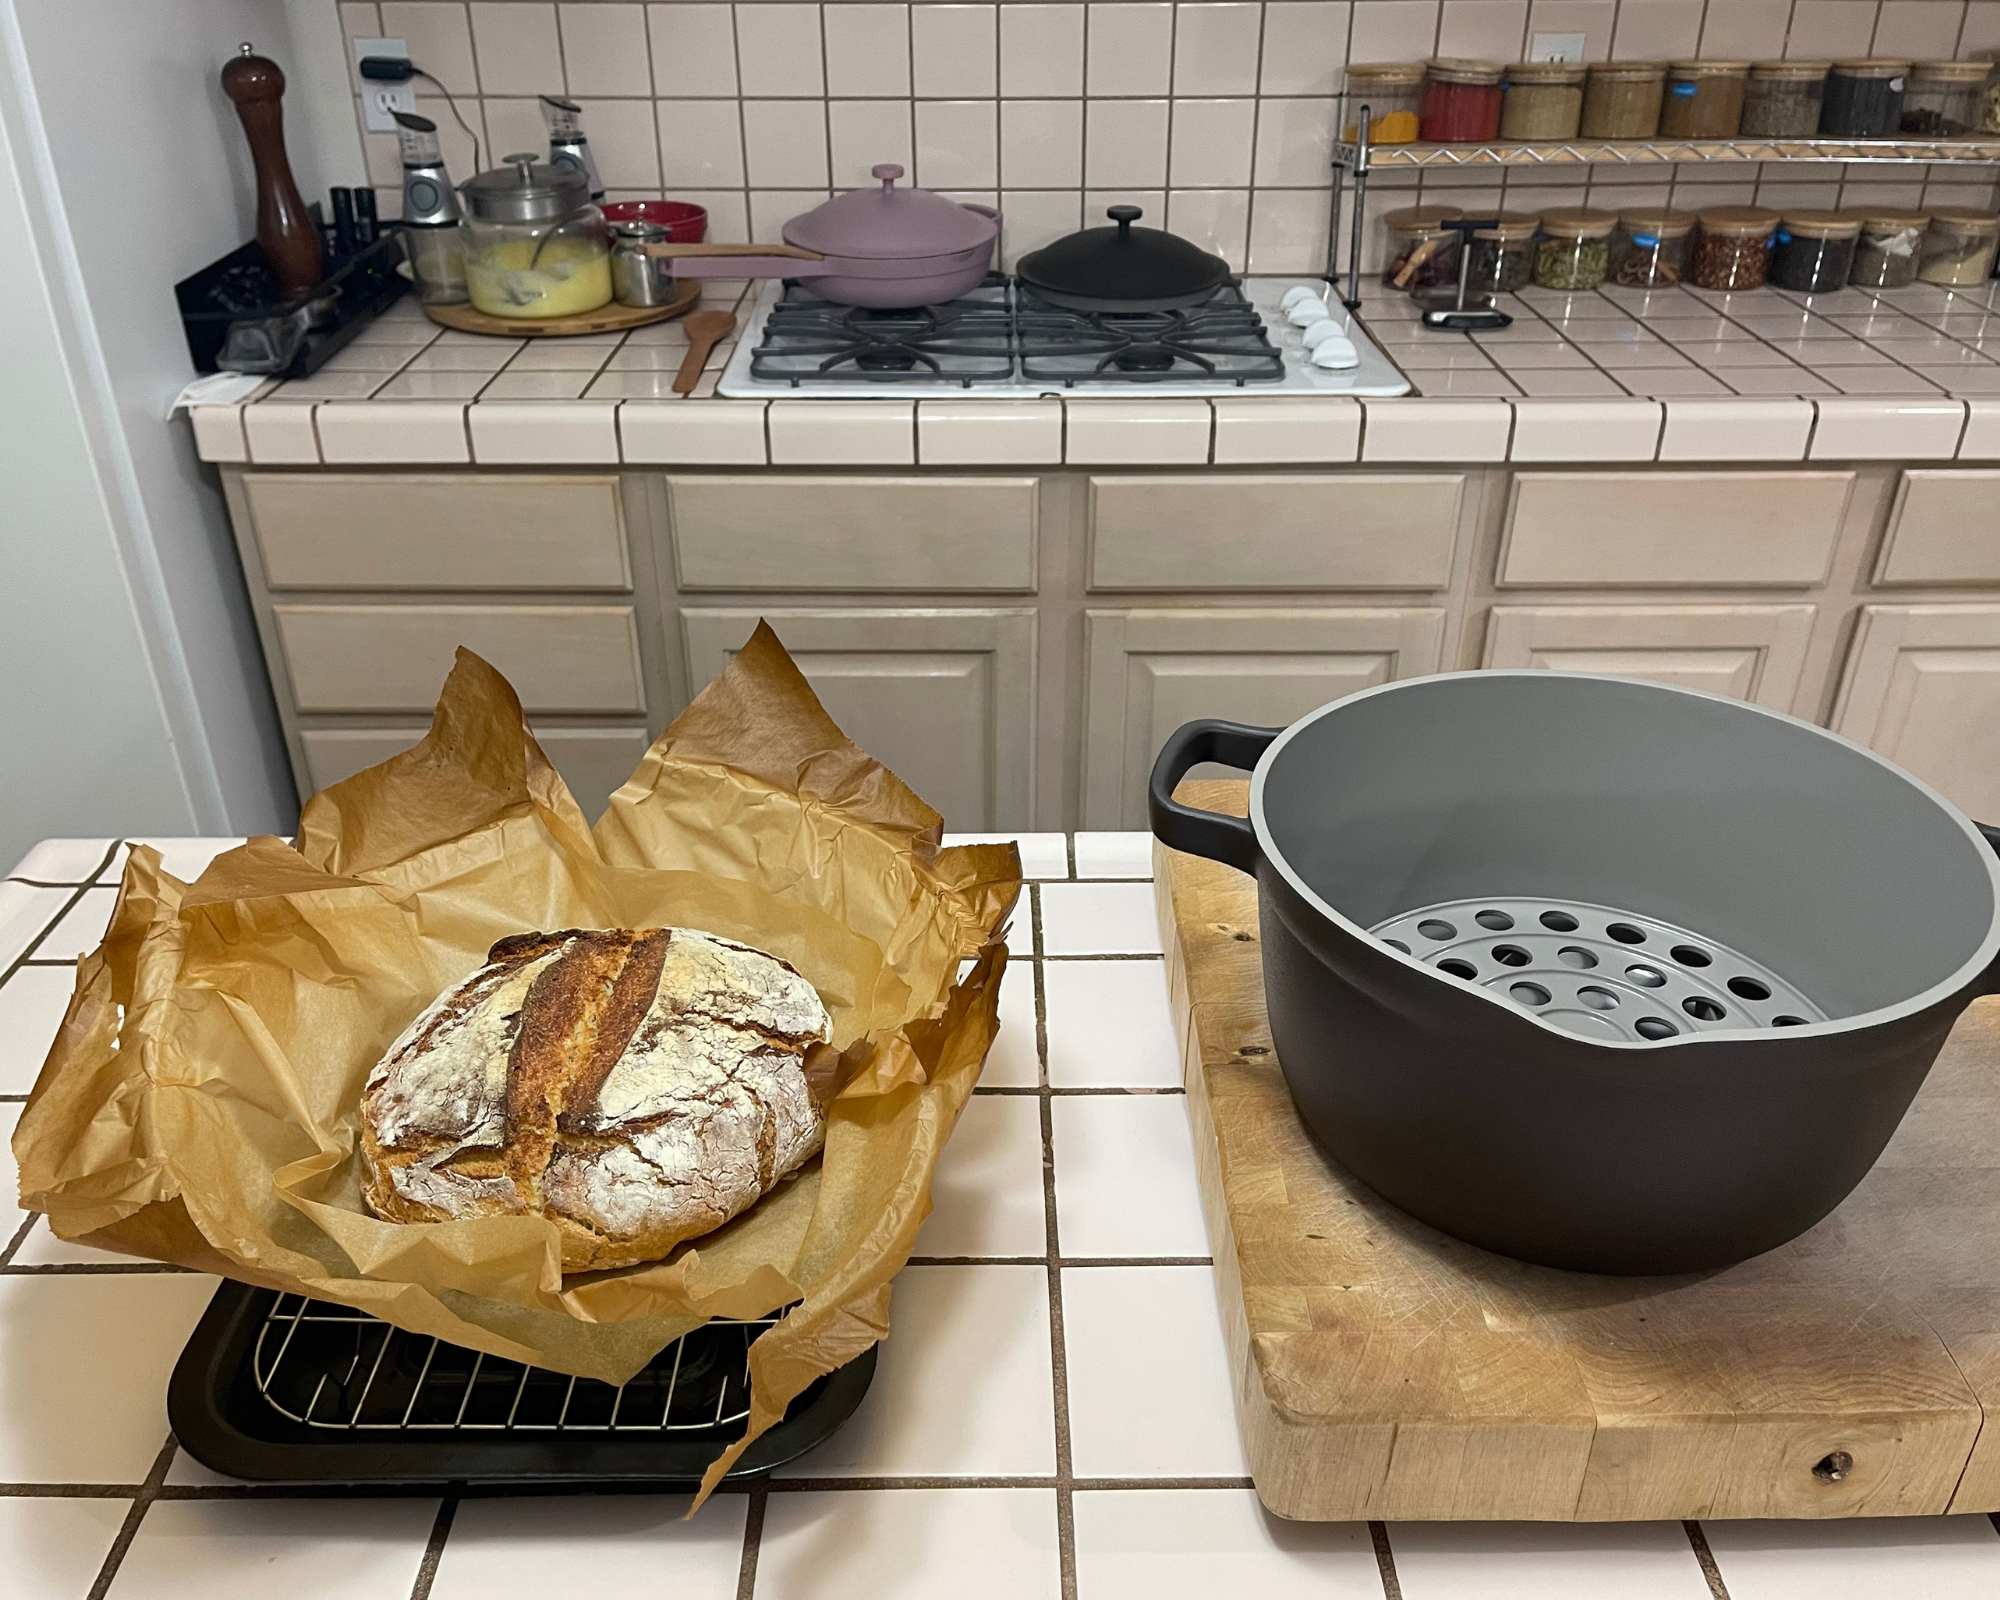
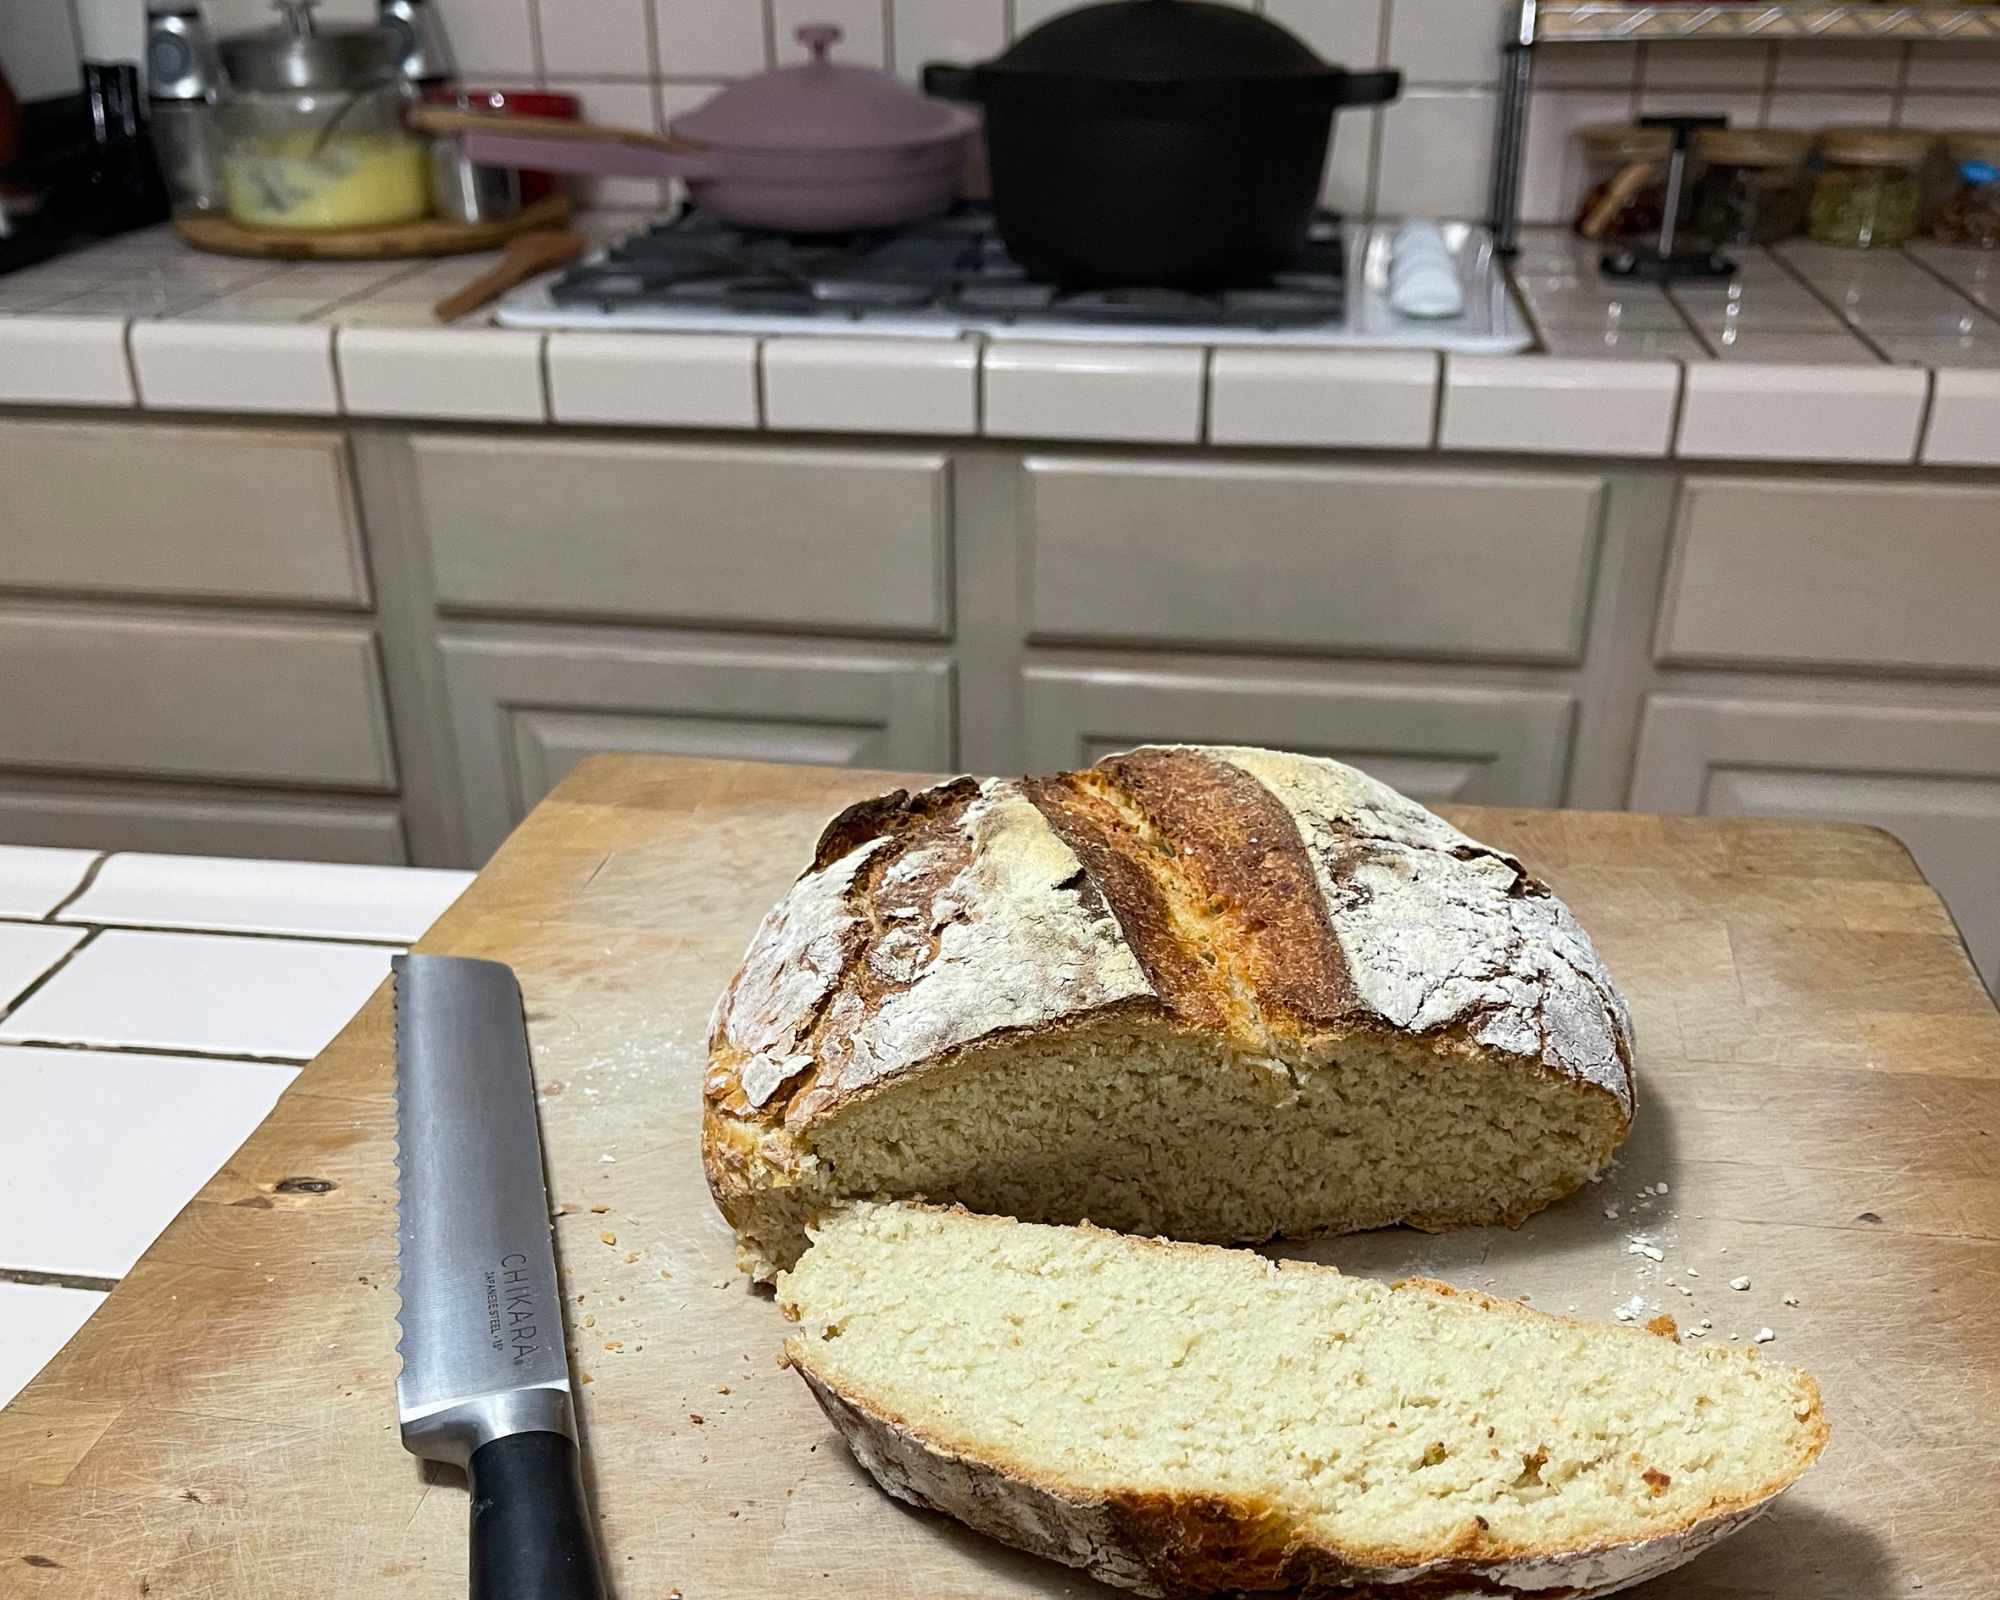
When it came to test out my pot, (Our Place was kind enough to gift me the Perfect Pot in Char!) I decided to finally jump on the artisan bread train and utilize the Perfect Pot in place of the Dutch Oven I didn’t have.
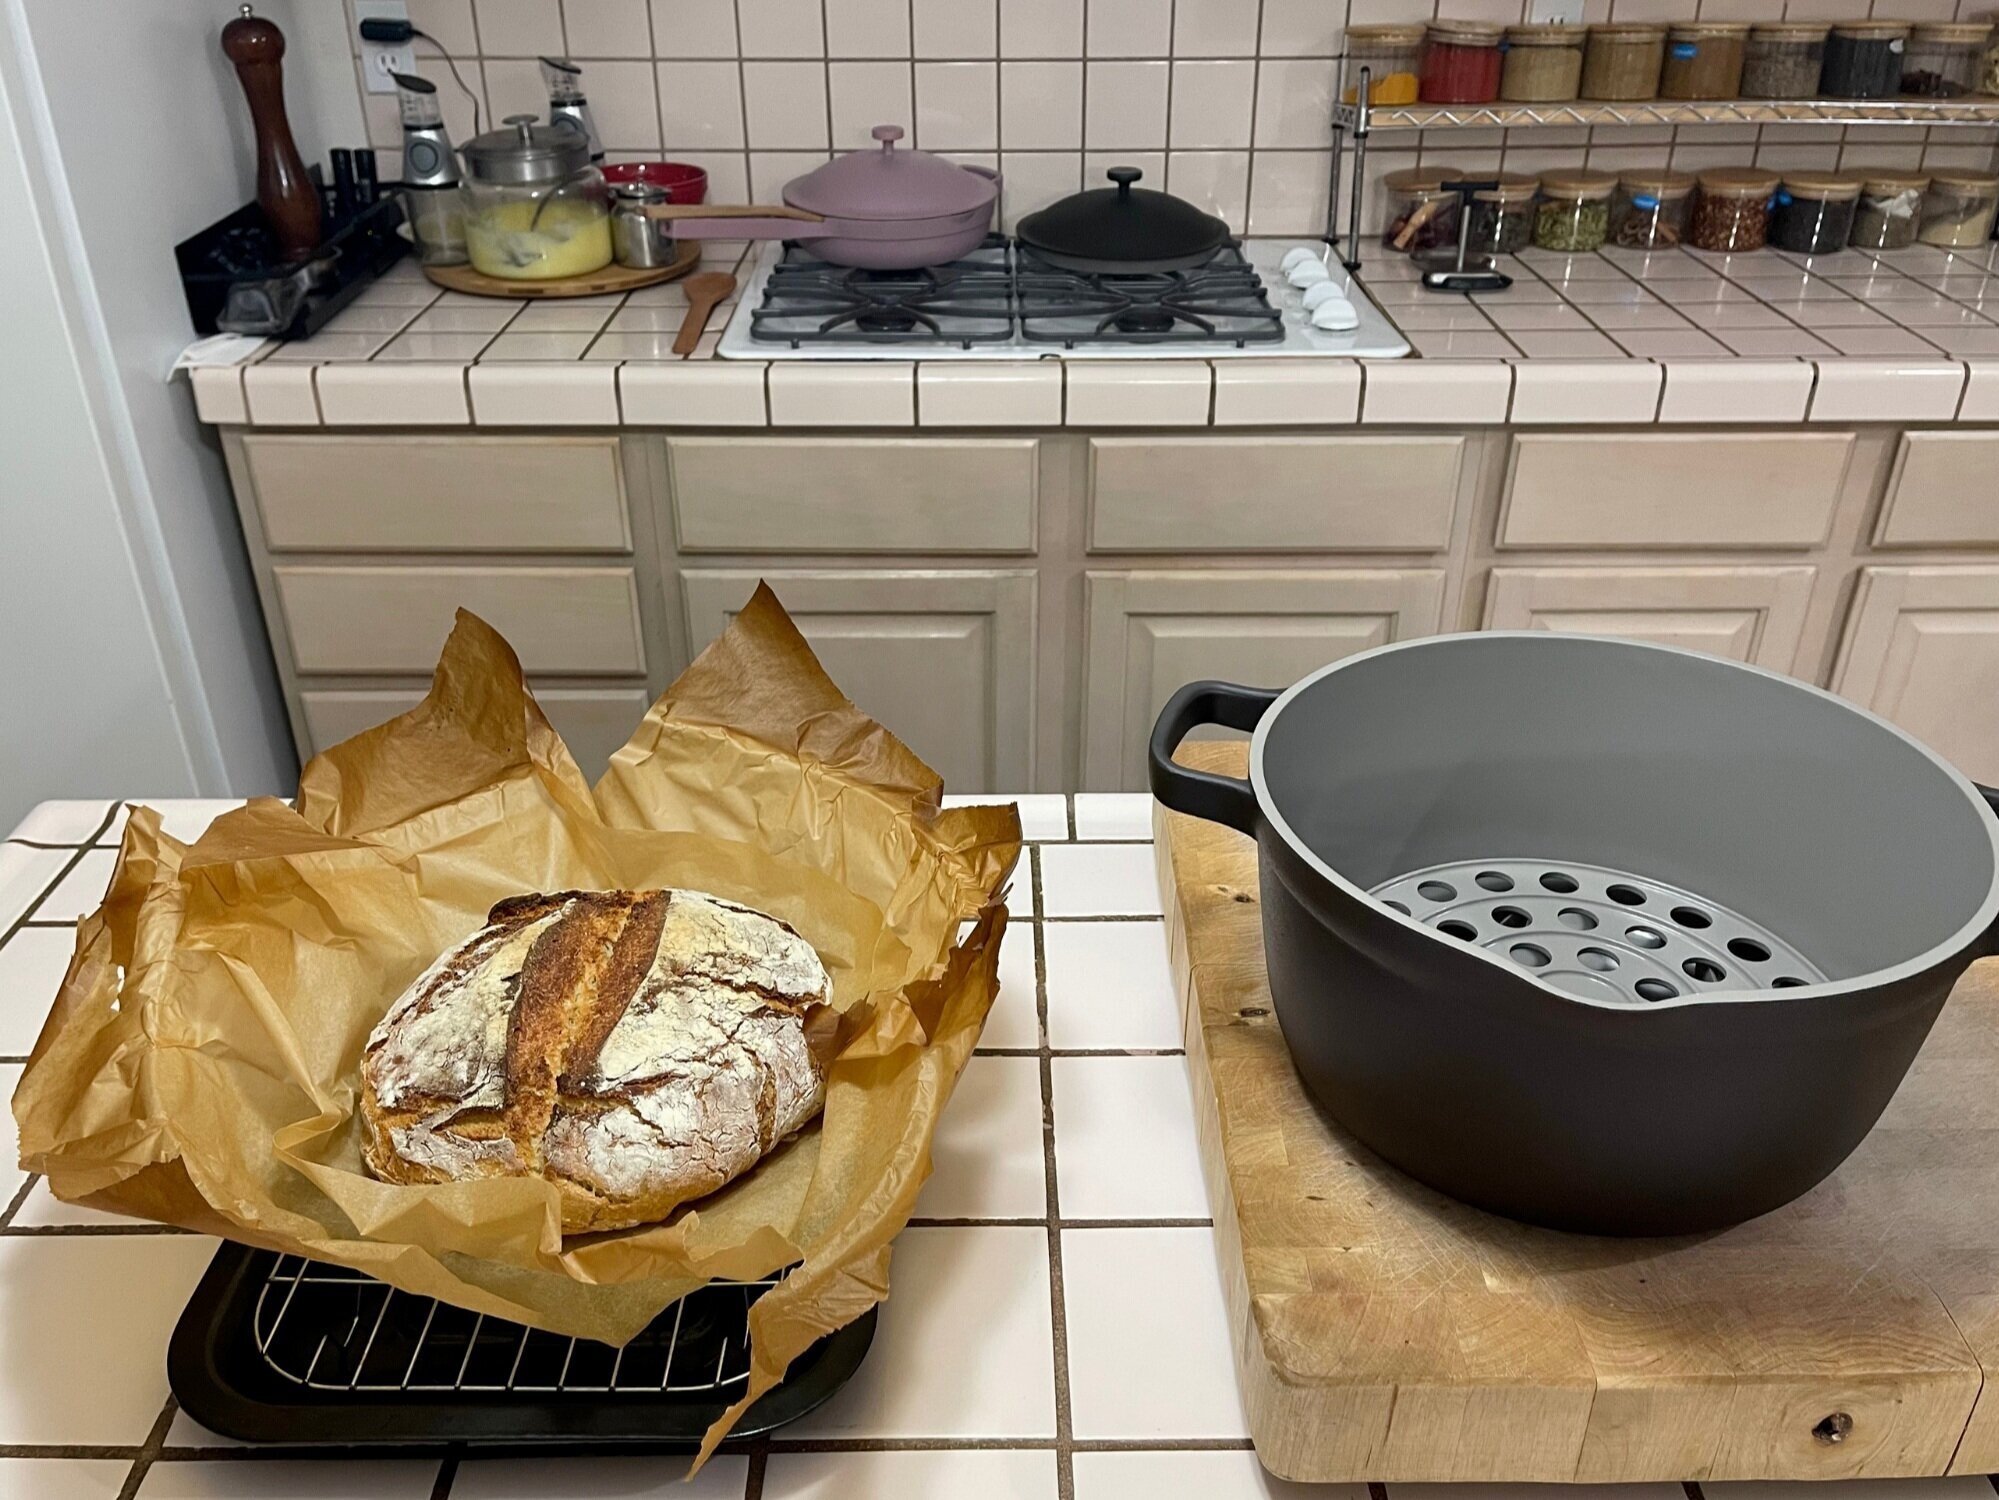
I was a little nervous since this was my first time creating my own bread recipe AND using a whole new piece of cookware, but as I learned when the loaf was fresh out of the oven, I had nothing to fear.
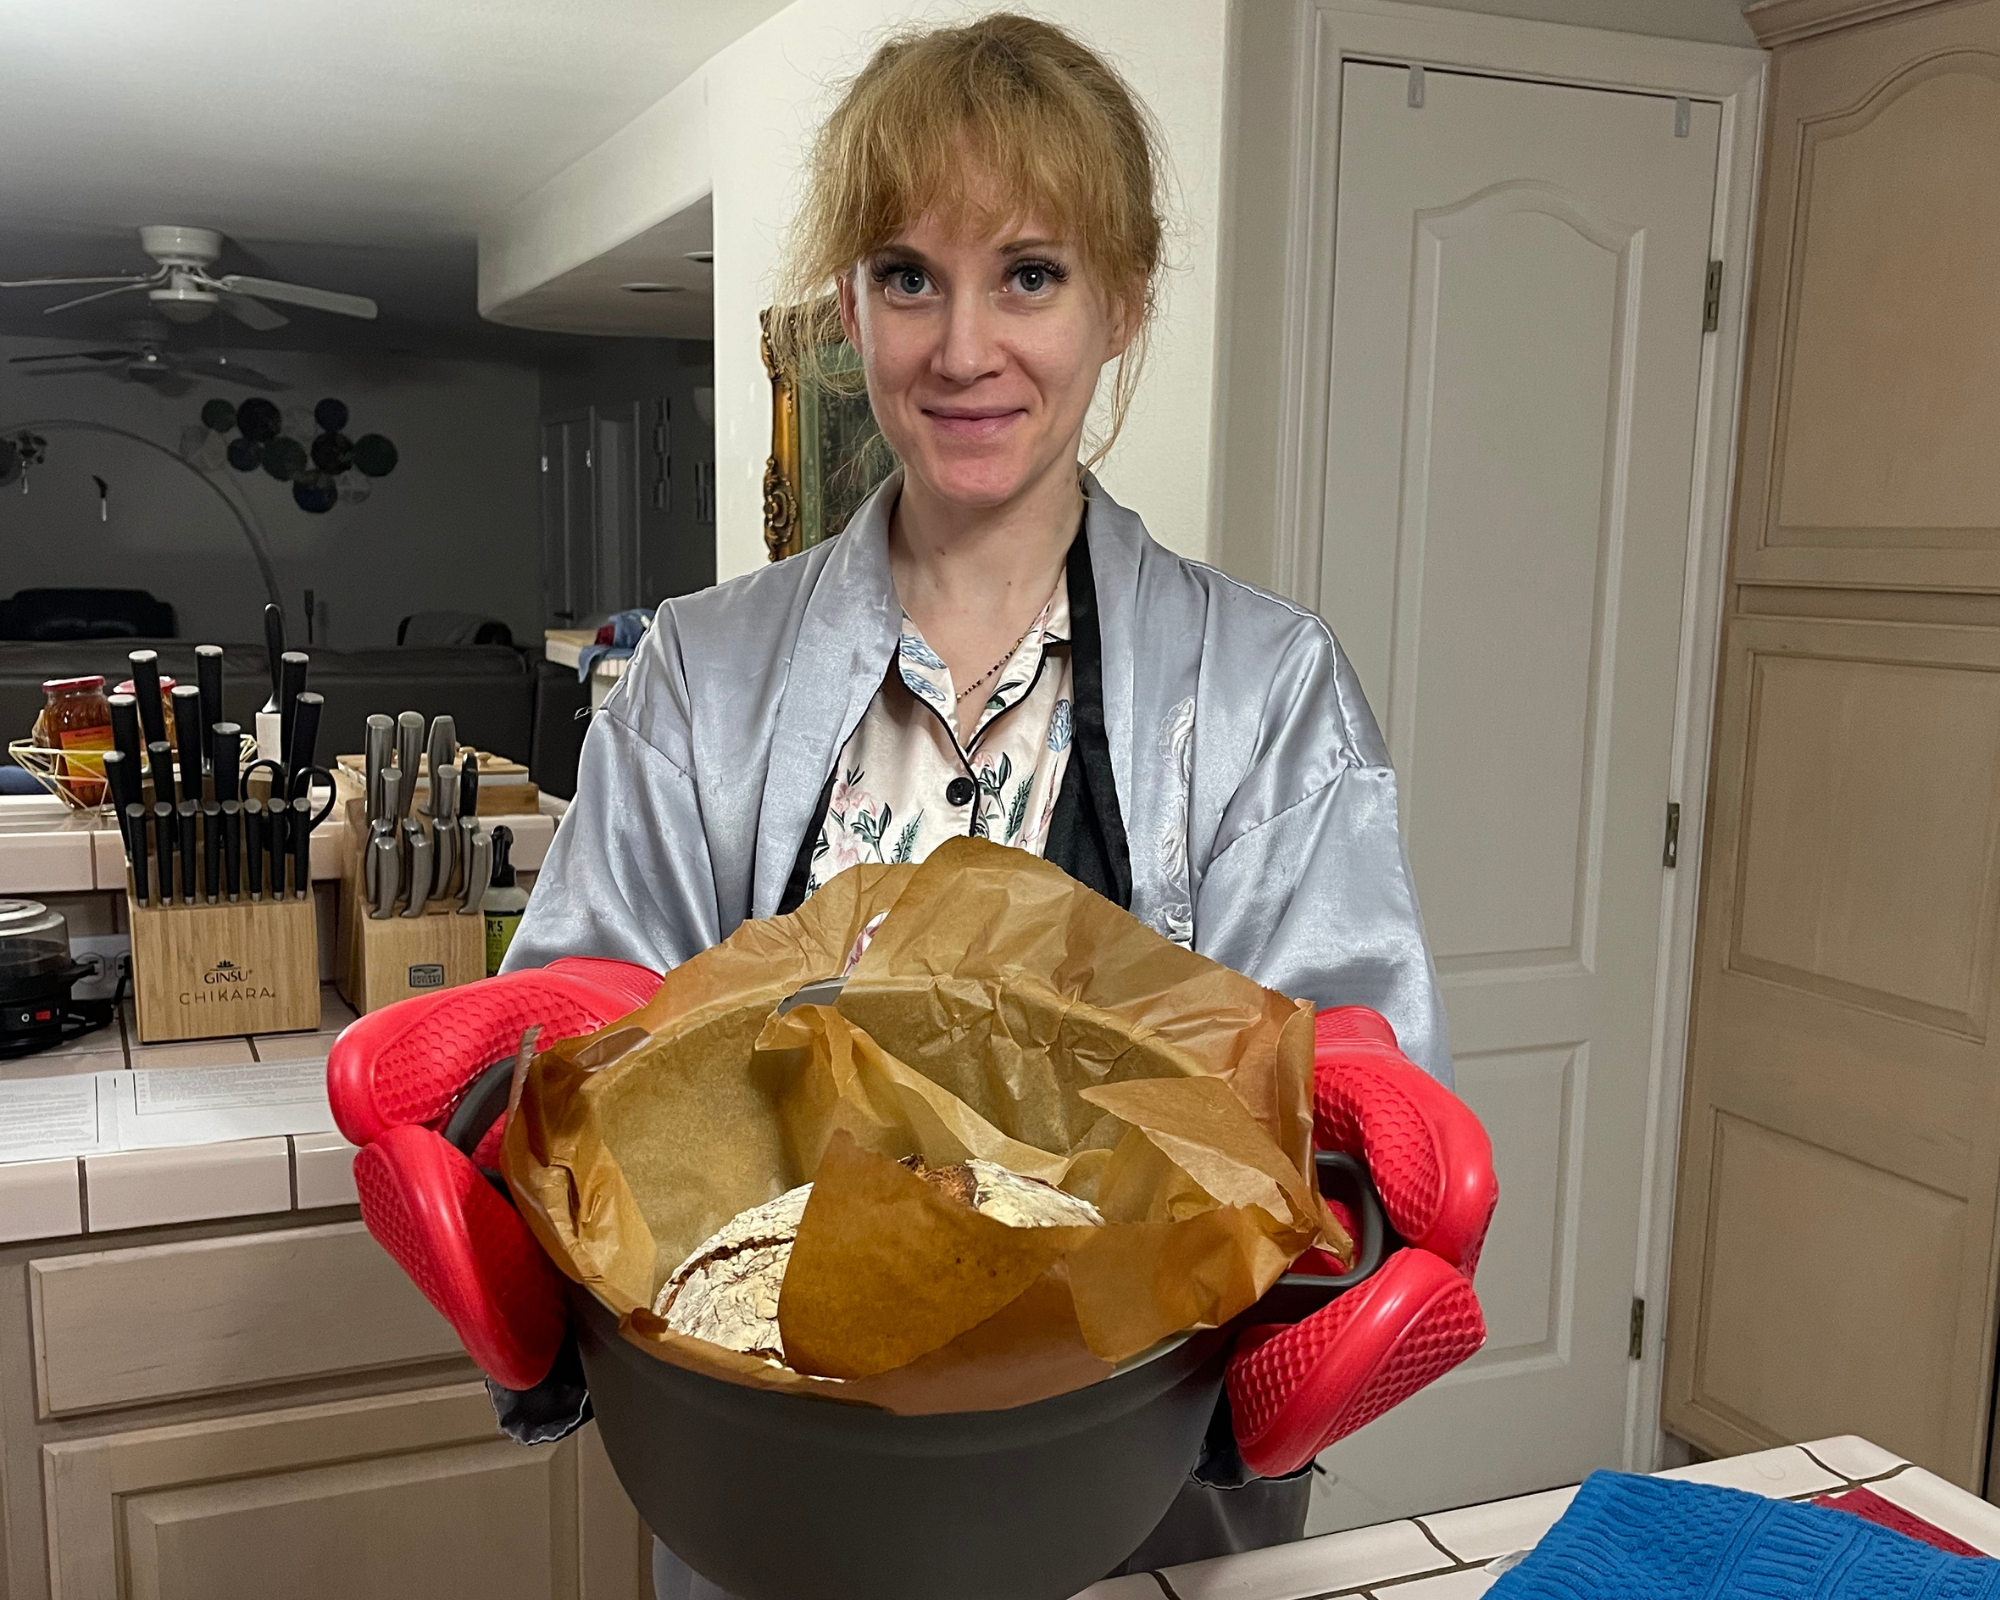
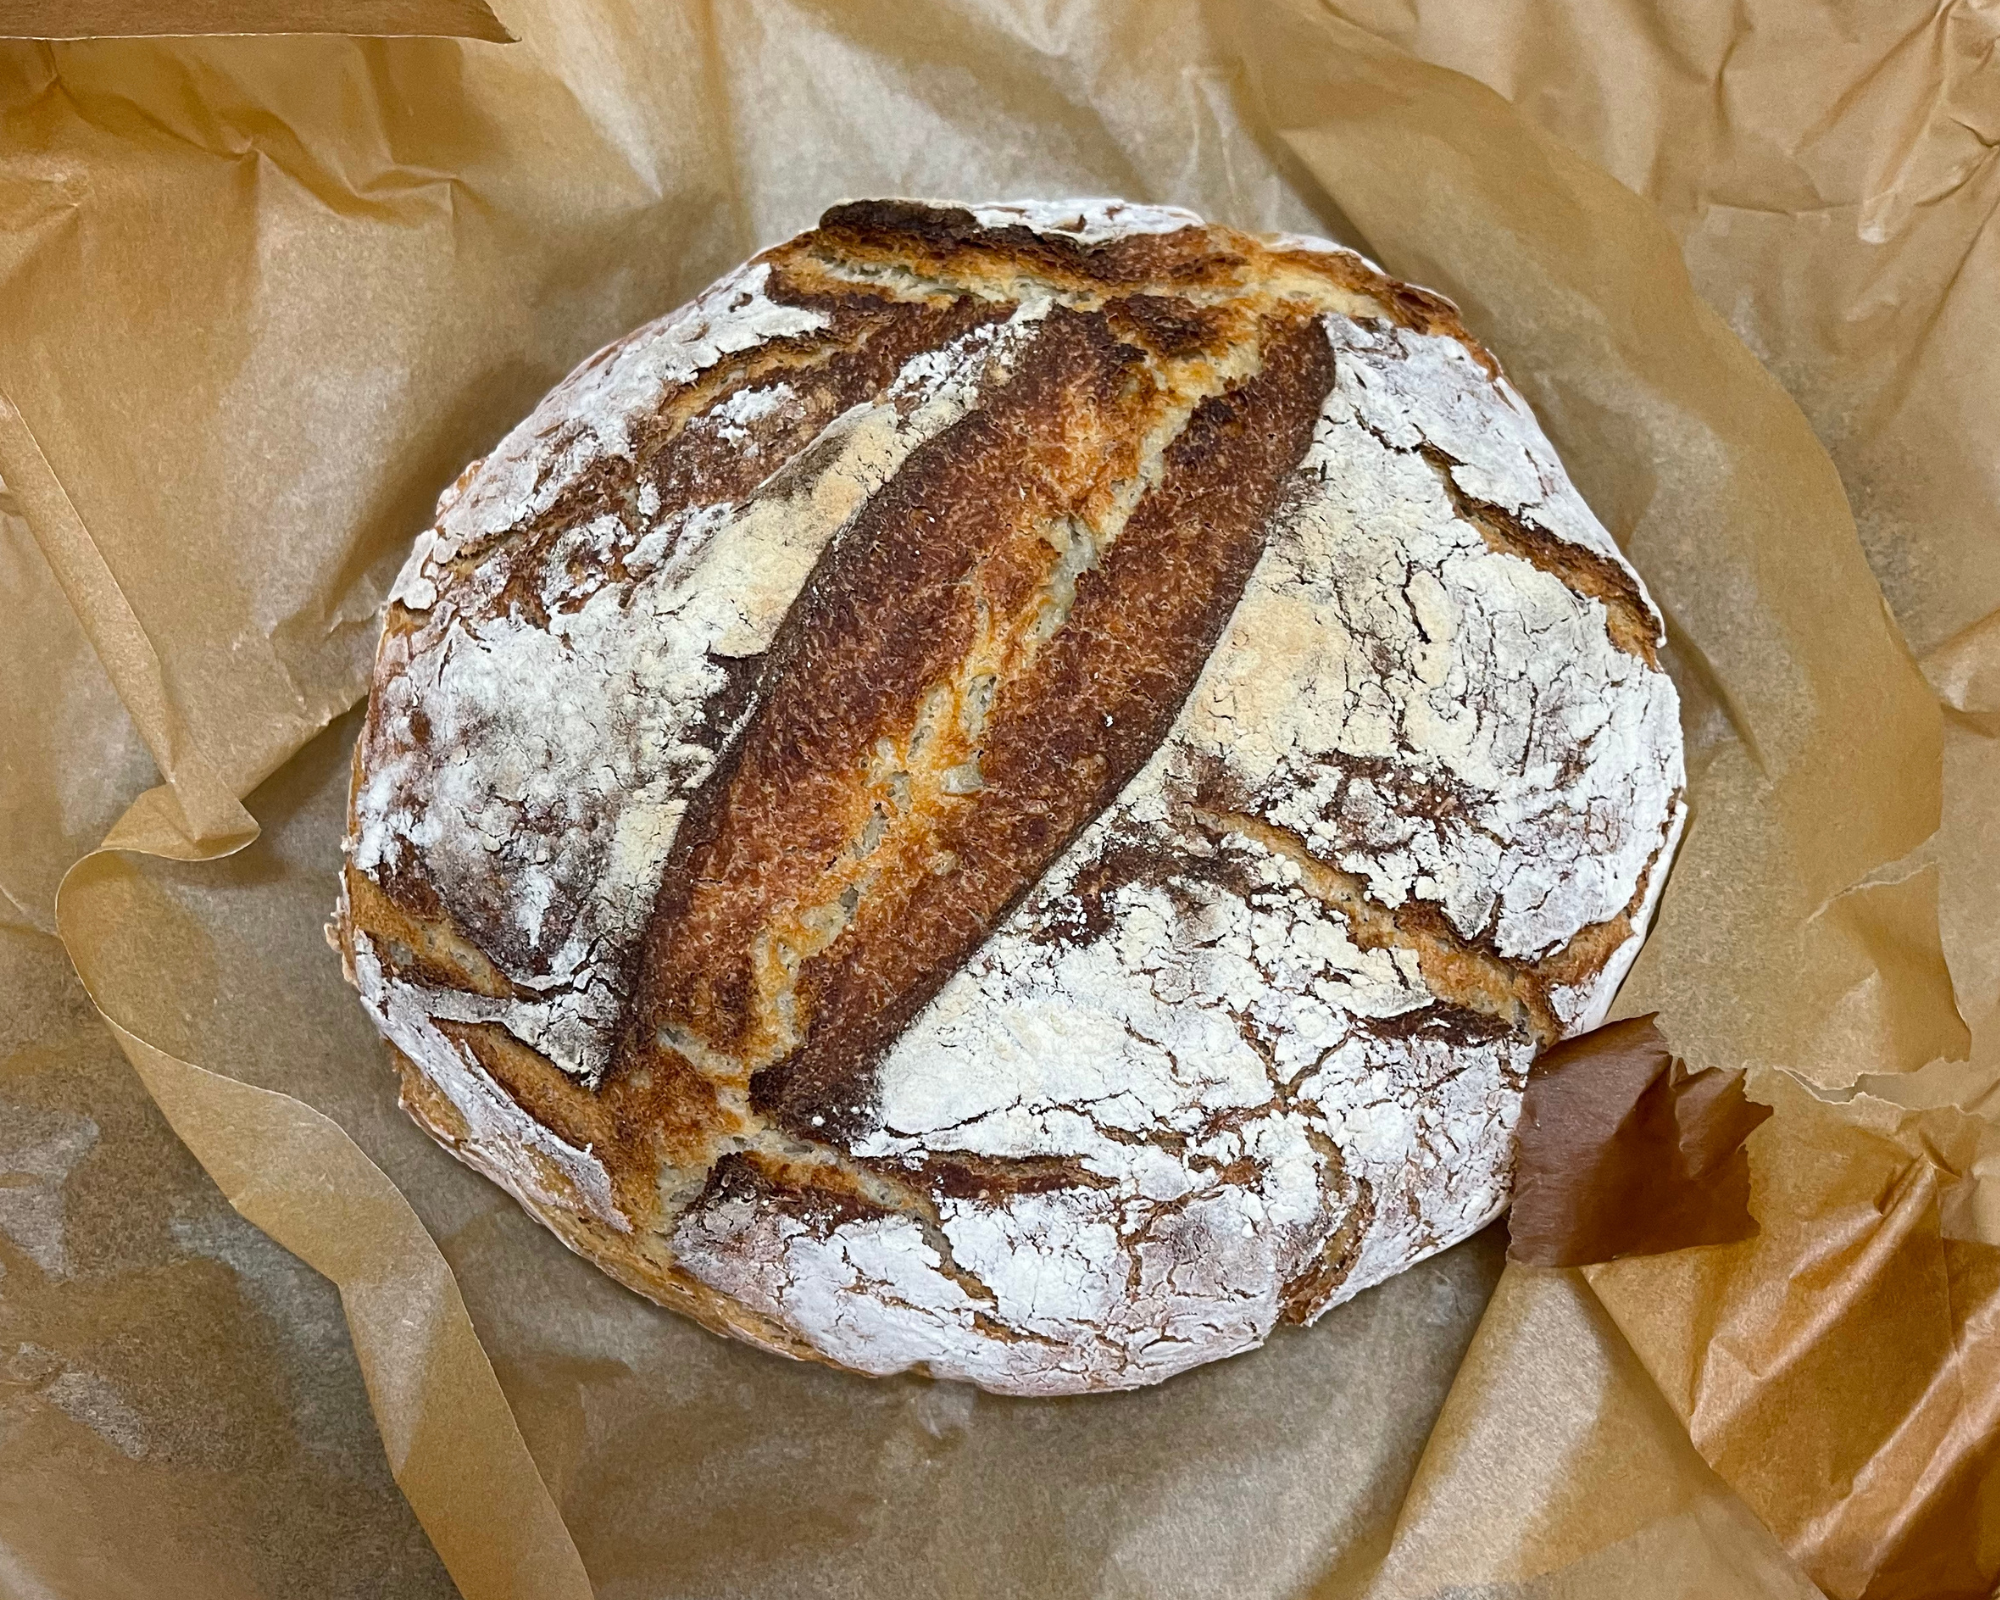
Check this baby out:
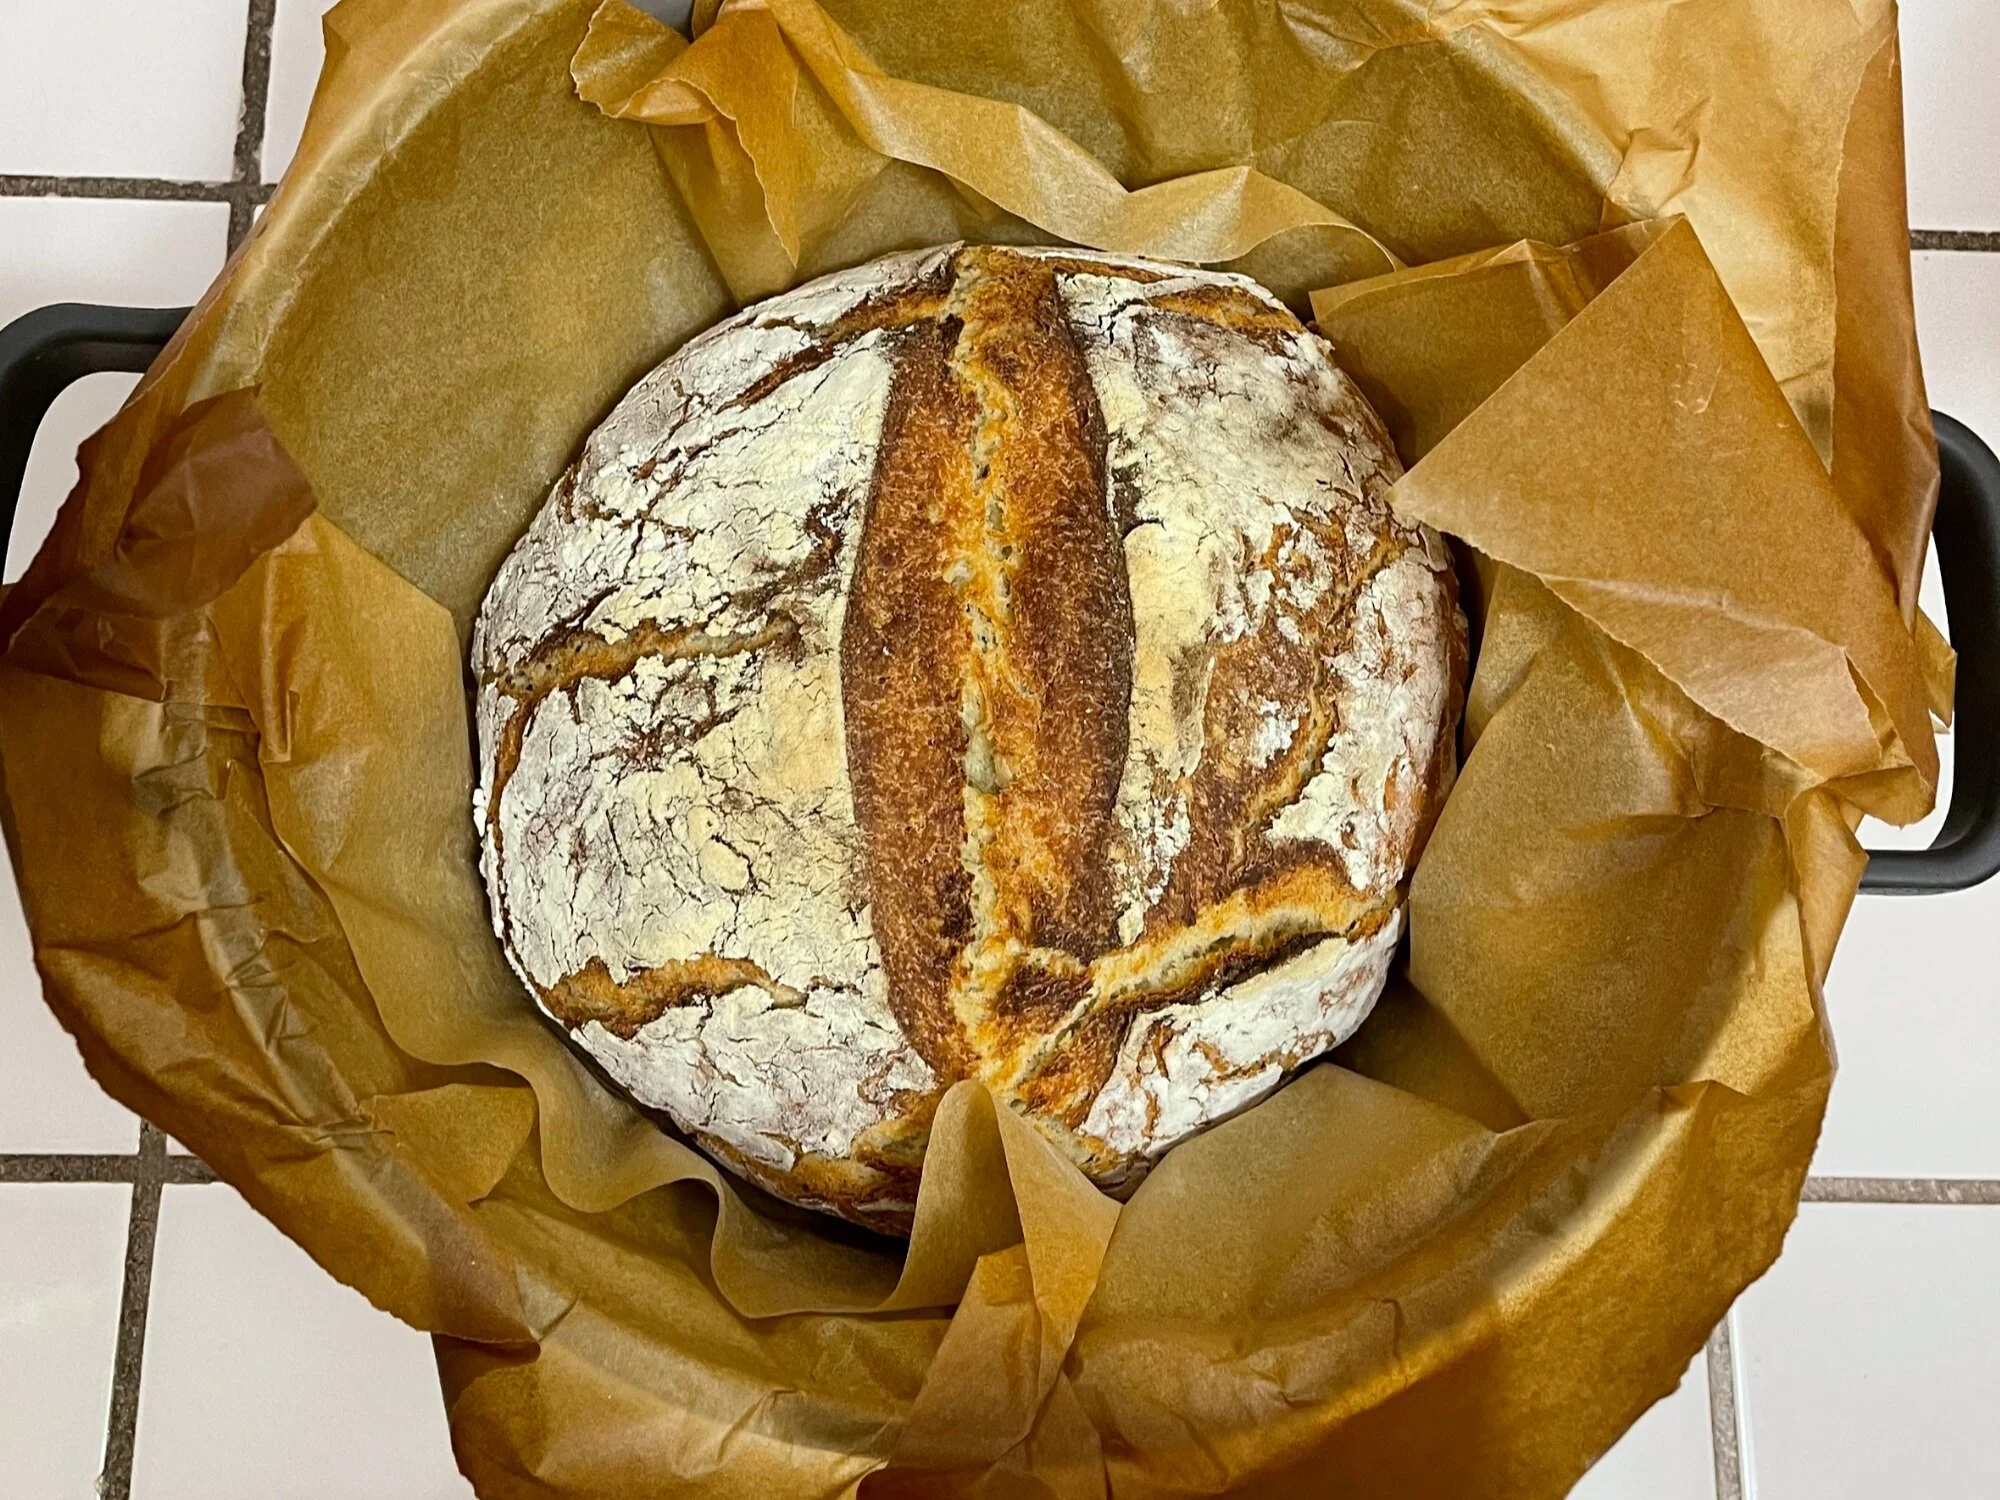
Yup. That’s all me, my pot, and a whole lot of waiting around anxiously right there in one perfect package of bread.
Here’s the recipe I created specifically for my Perfect Pot; I hope you enjoy it! Stay turned for more recipes to come; pretty sure this pot can do anything at this point.
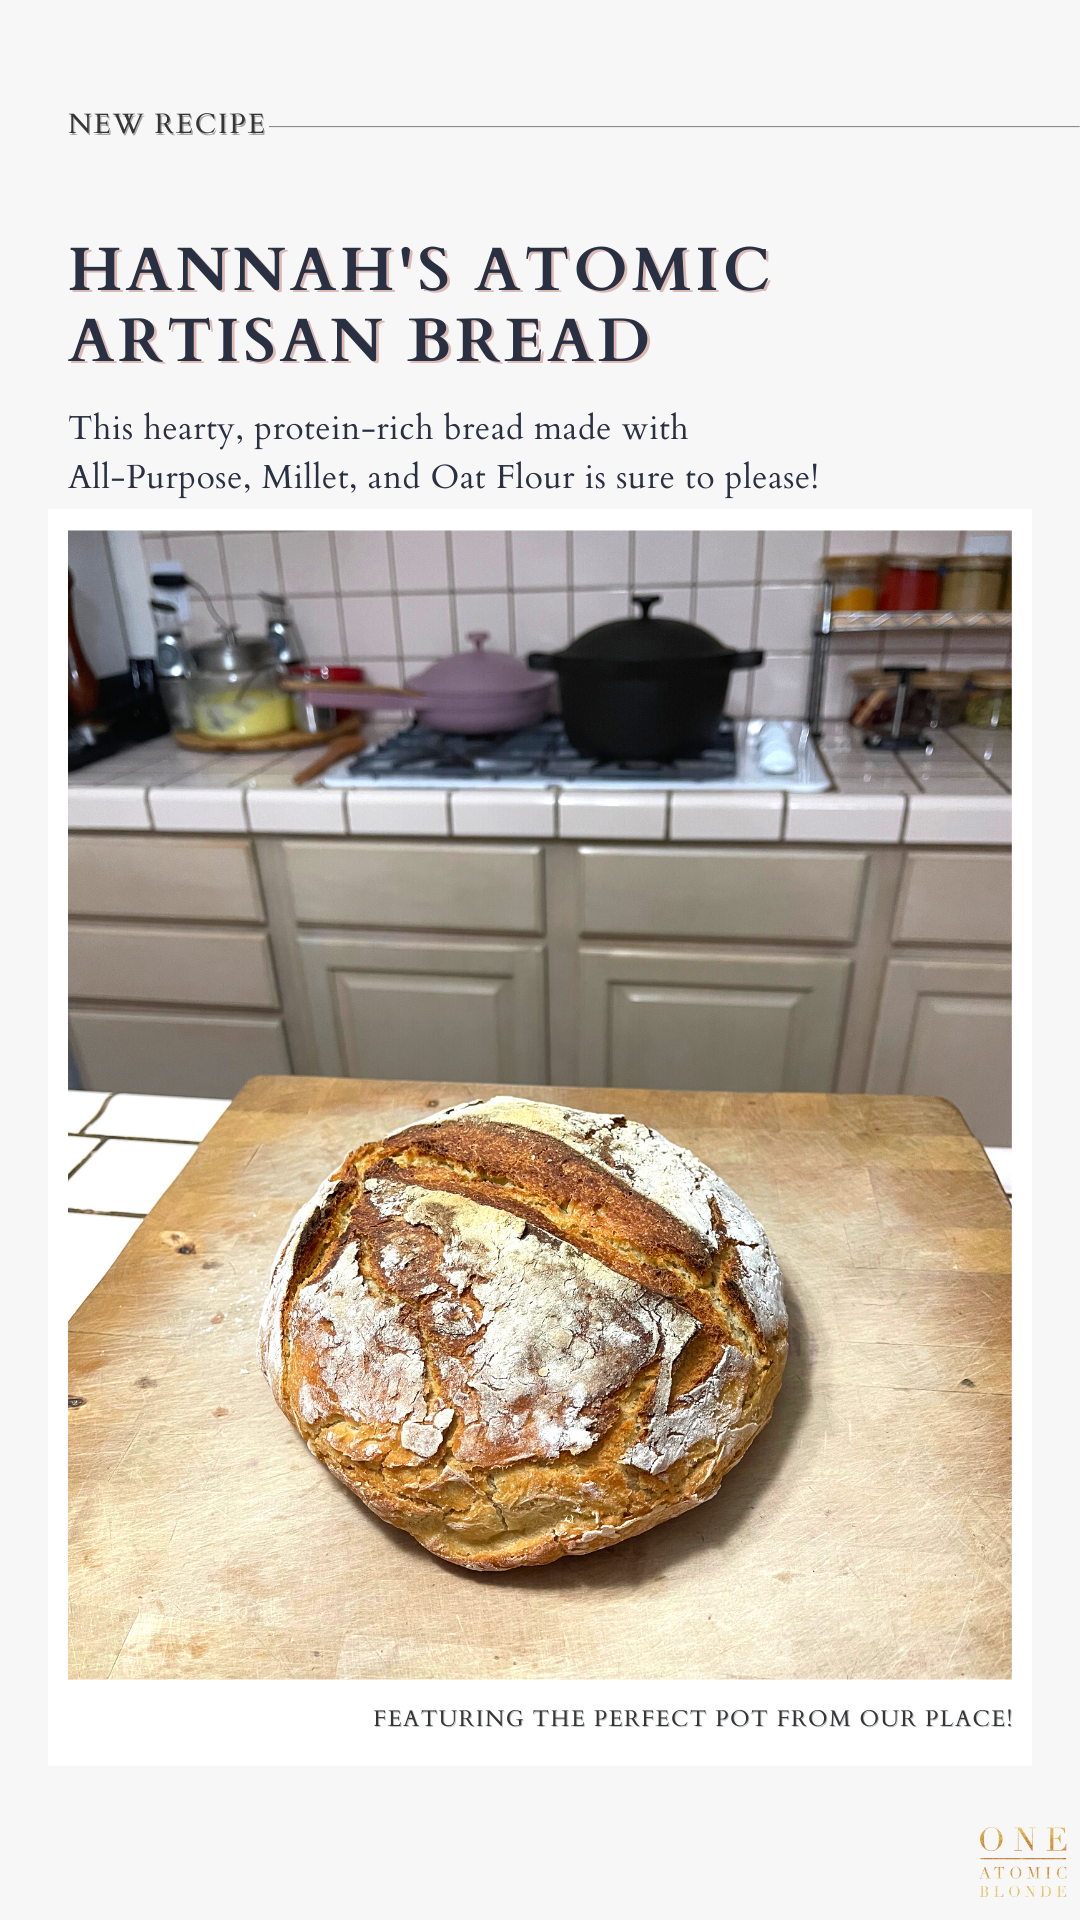
Hannah’s Atomic Artisan Bread
PREP TIME
2 hrs 30 mins
COOK TIME
50 mins
SERVINGS
10 slices give or take
EQUIPMENT
Measuring Cups/utensils
Silicon Spatula
Sifter
Whisk
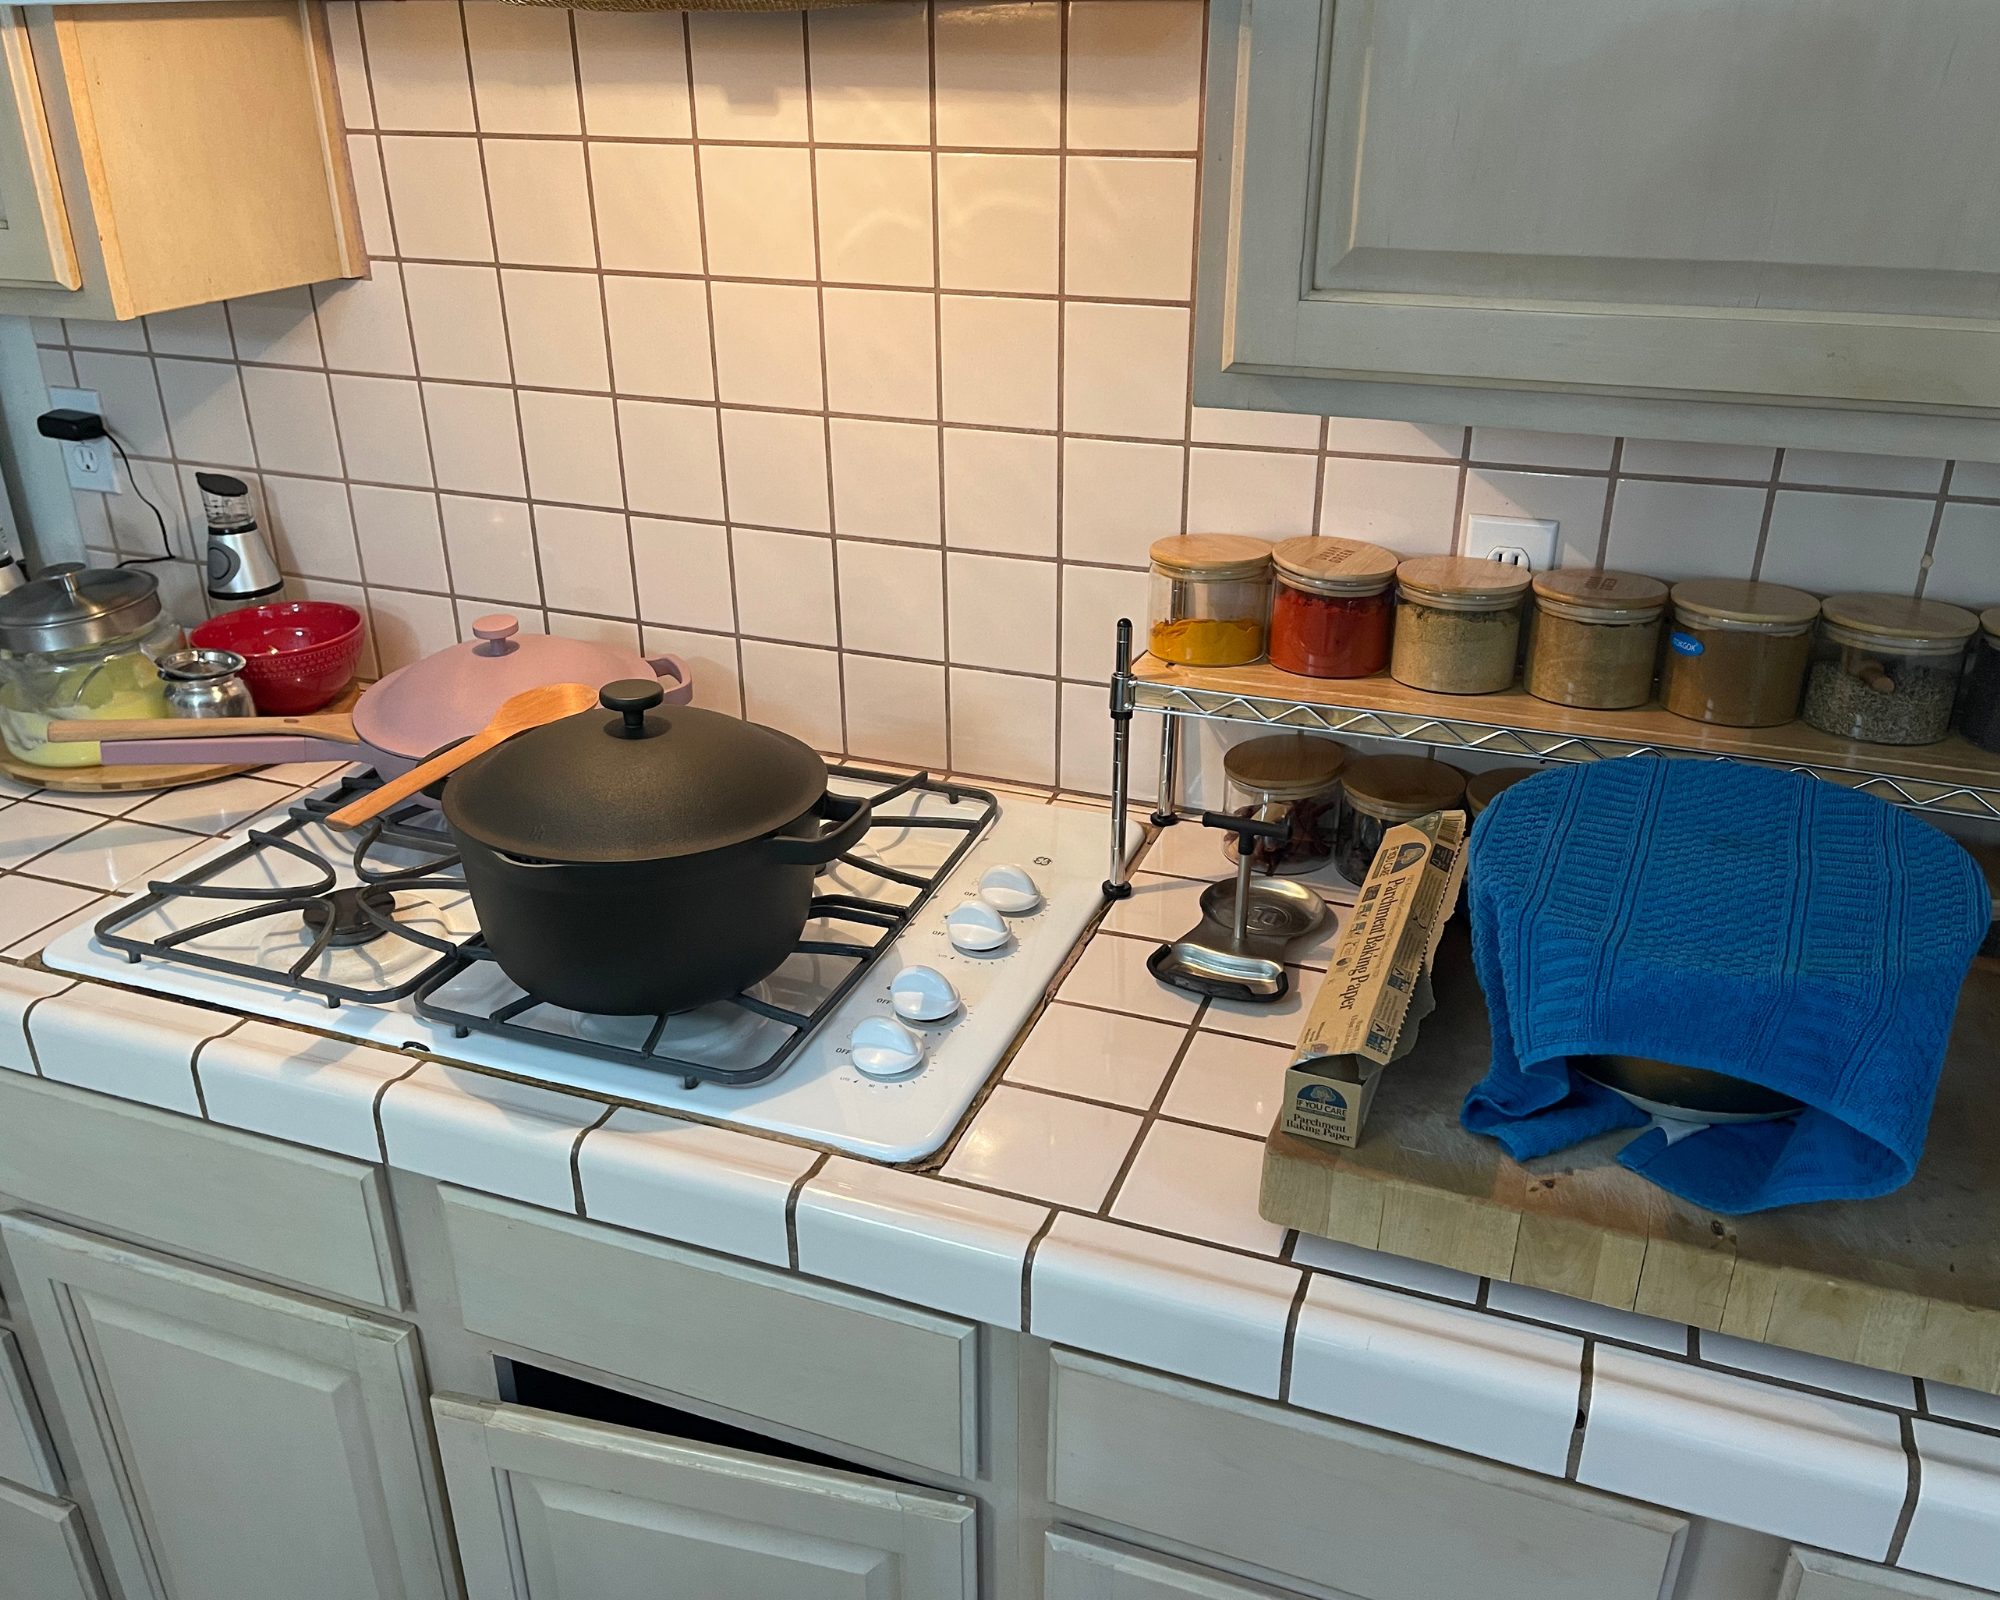
Parchment Paper
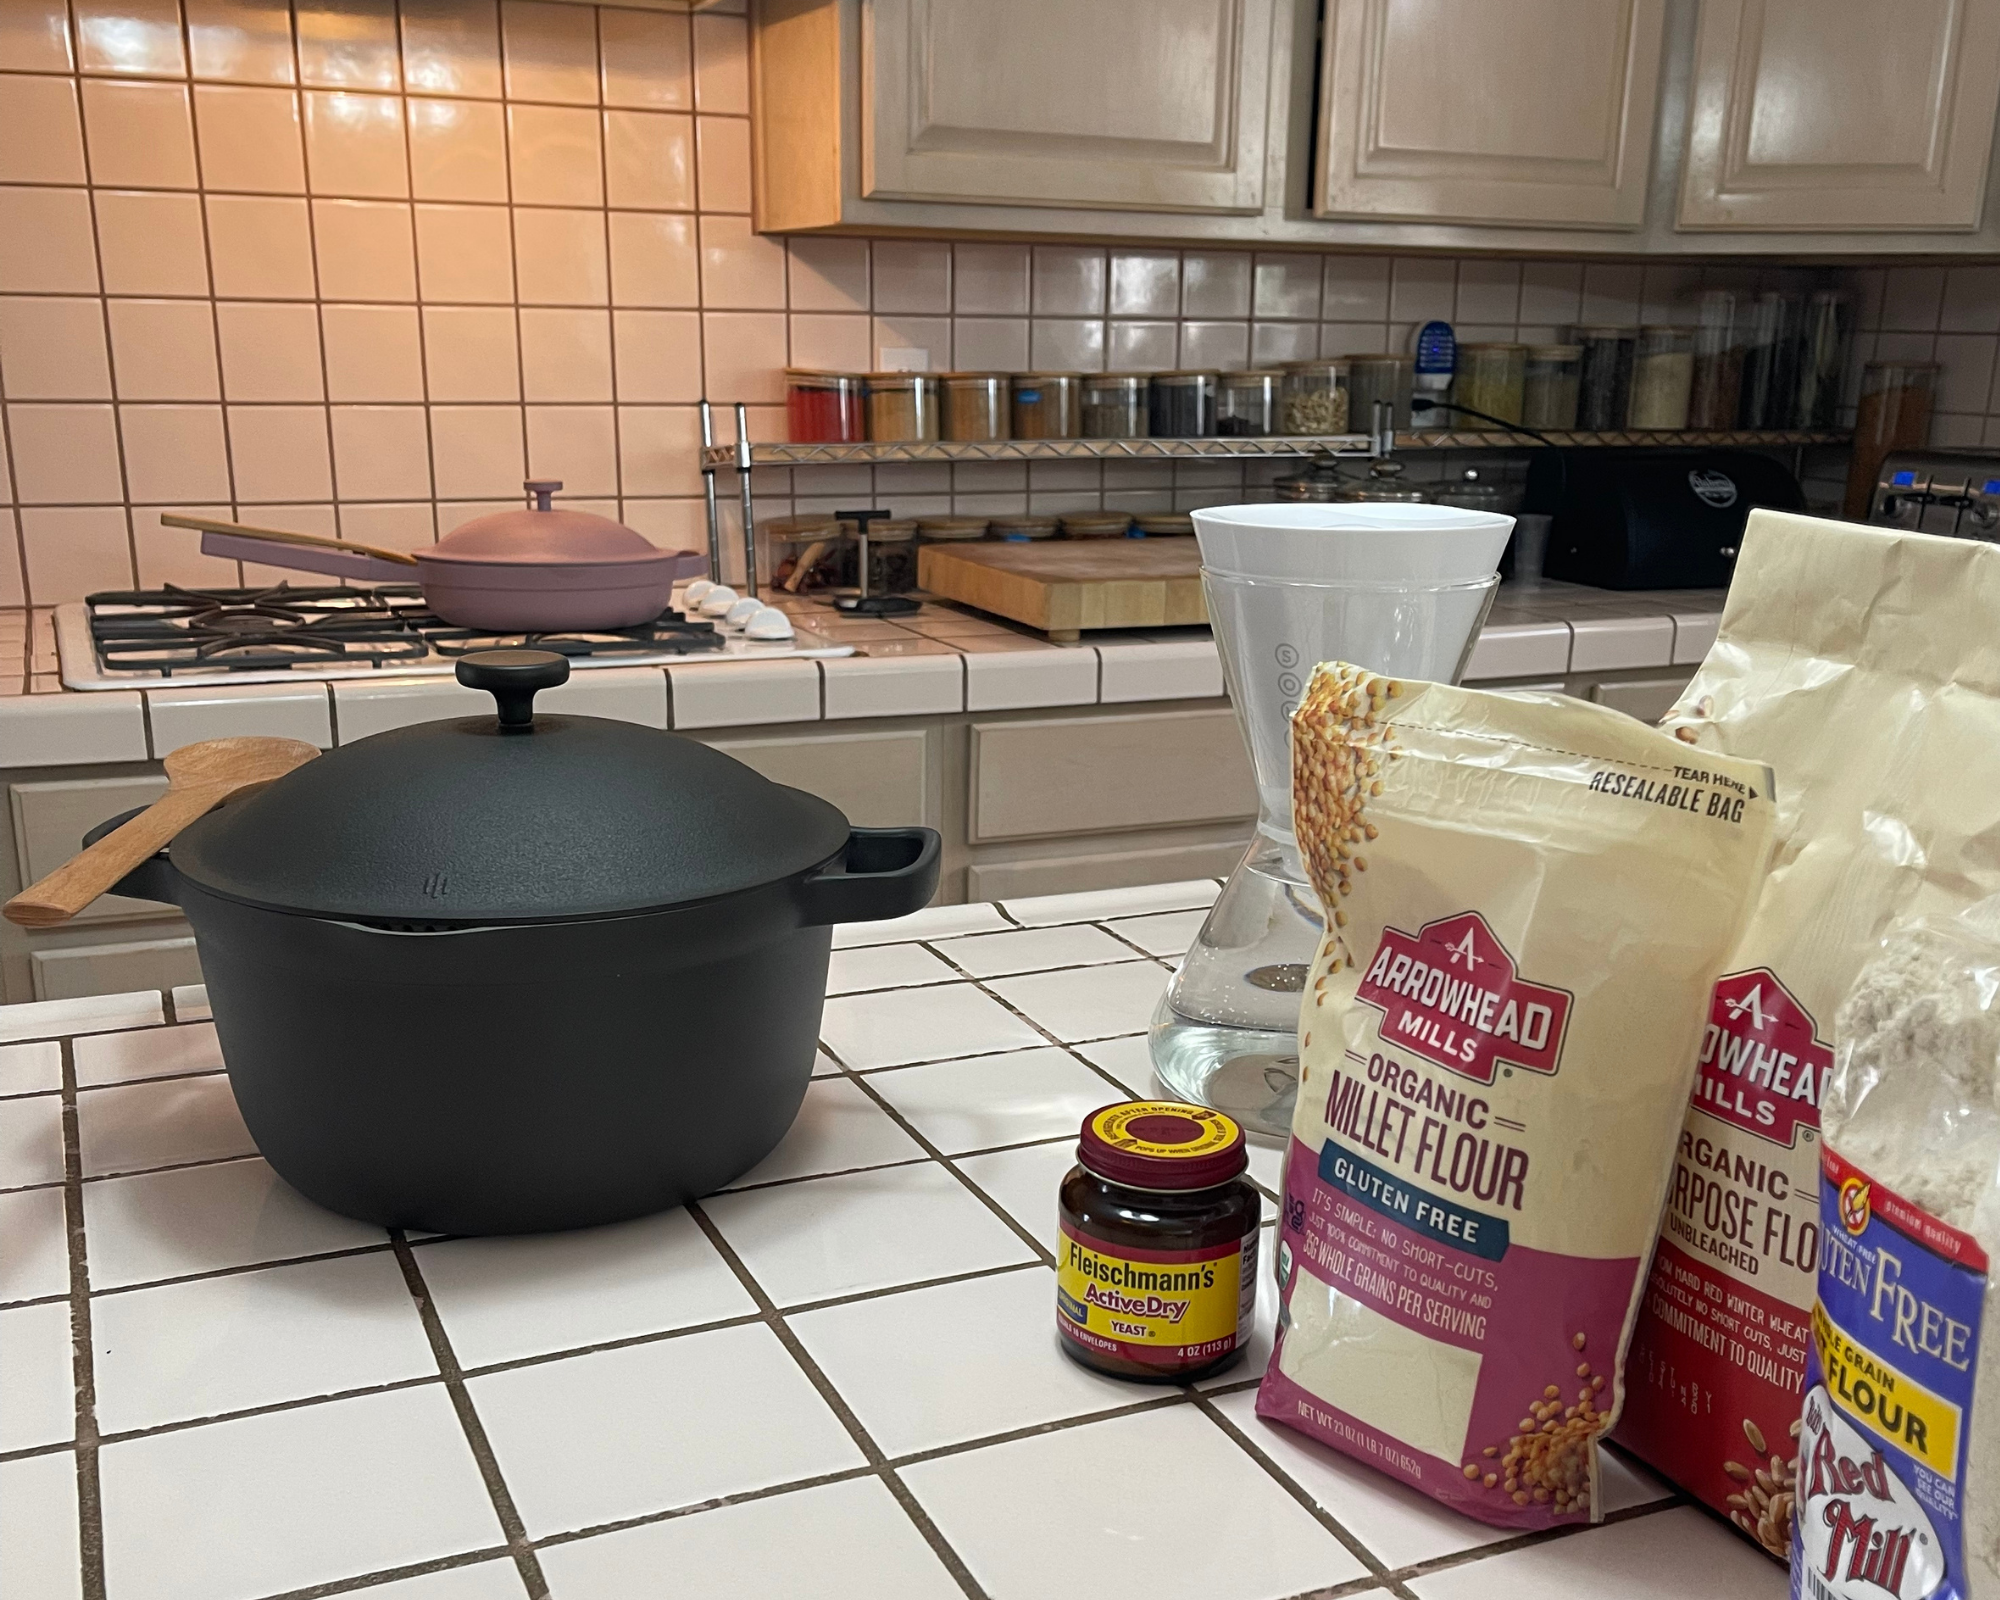
INGREDIENTS
2 cups All-Purpose flour
1 cup Millet flour
1 cup Oat flour
2 tsp instant dry yeast
1 tablespoon salt
2 cups water (room temperature)
1 tsp maple syrup
INSTRUCTIONS
Sift flour into a large mixing bowl and gently whisk together
Add yeast and salt; gently whisk to combine
Add maple syrup to water and stir until it dissolves
Add wet ingredients into the flour. Stir together with silicon spatula or something not too hard.
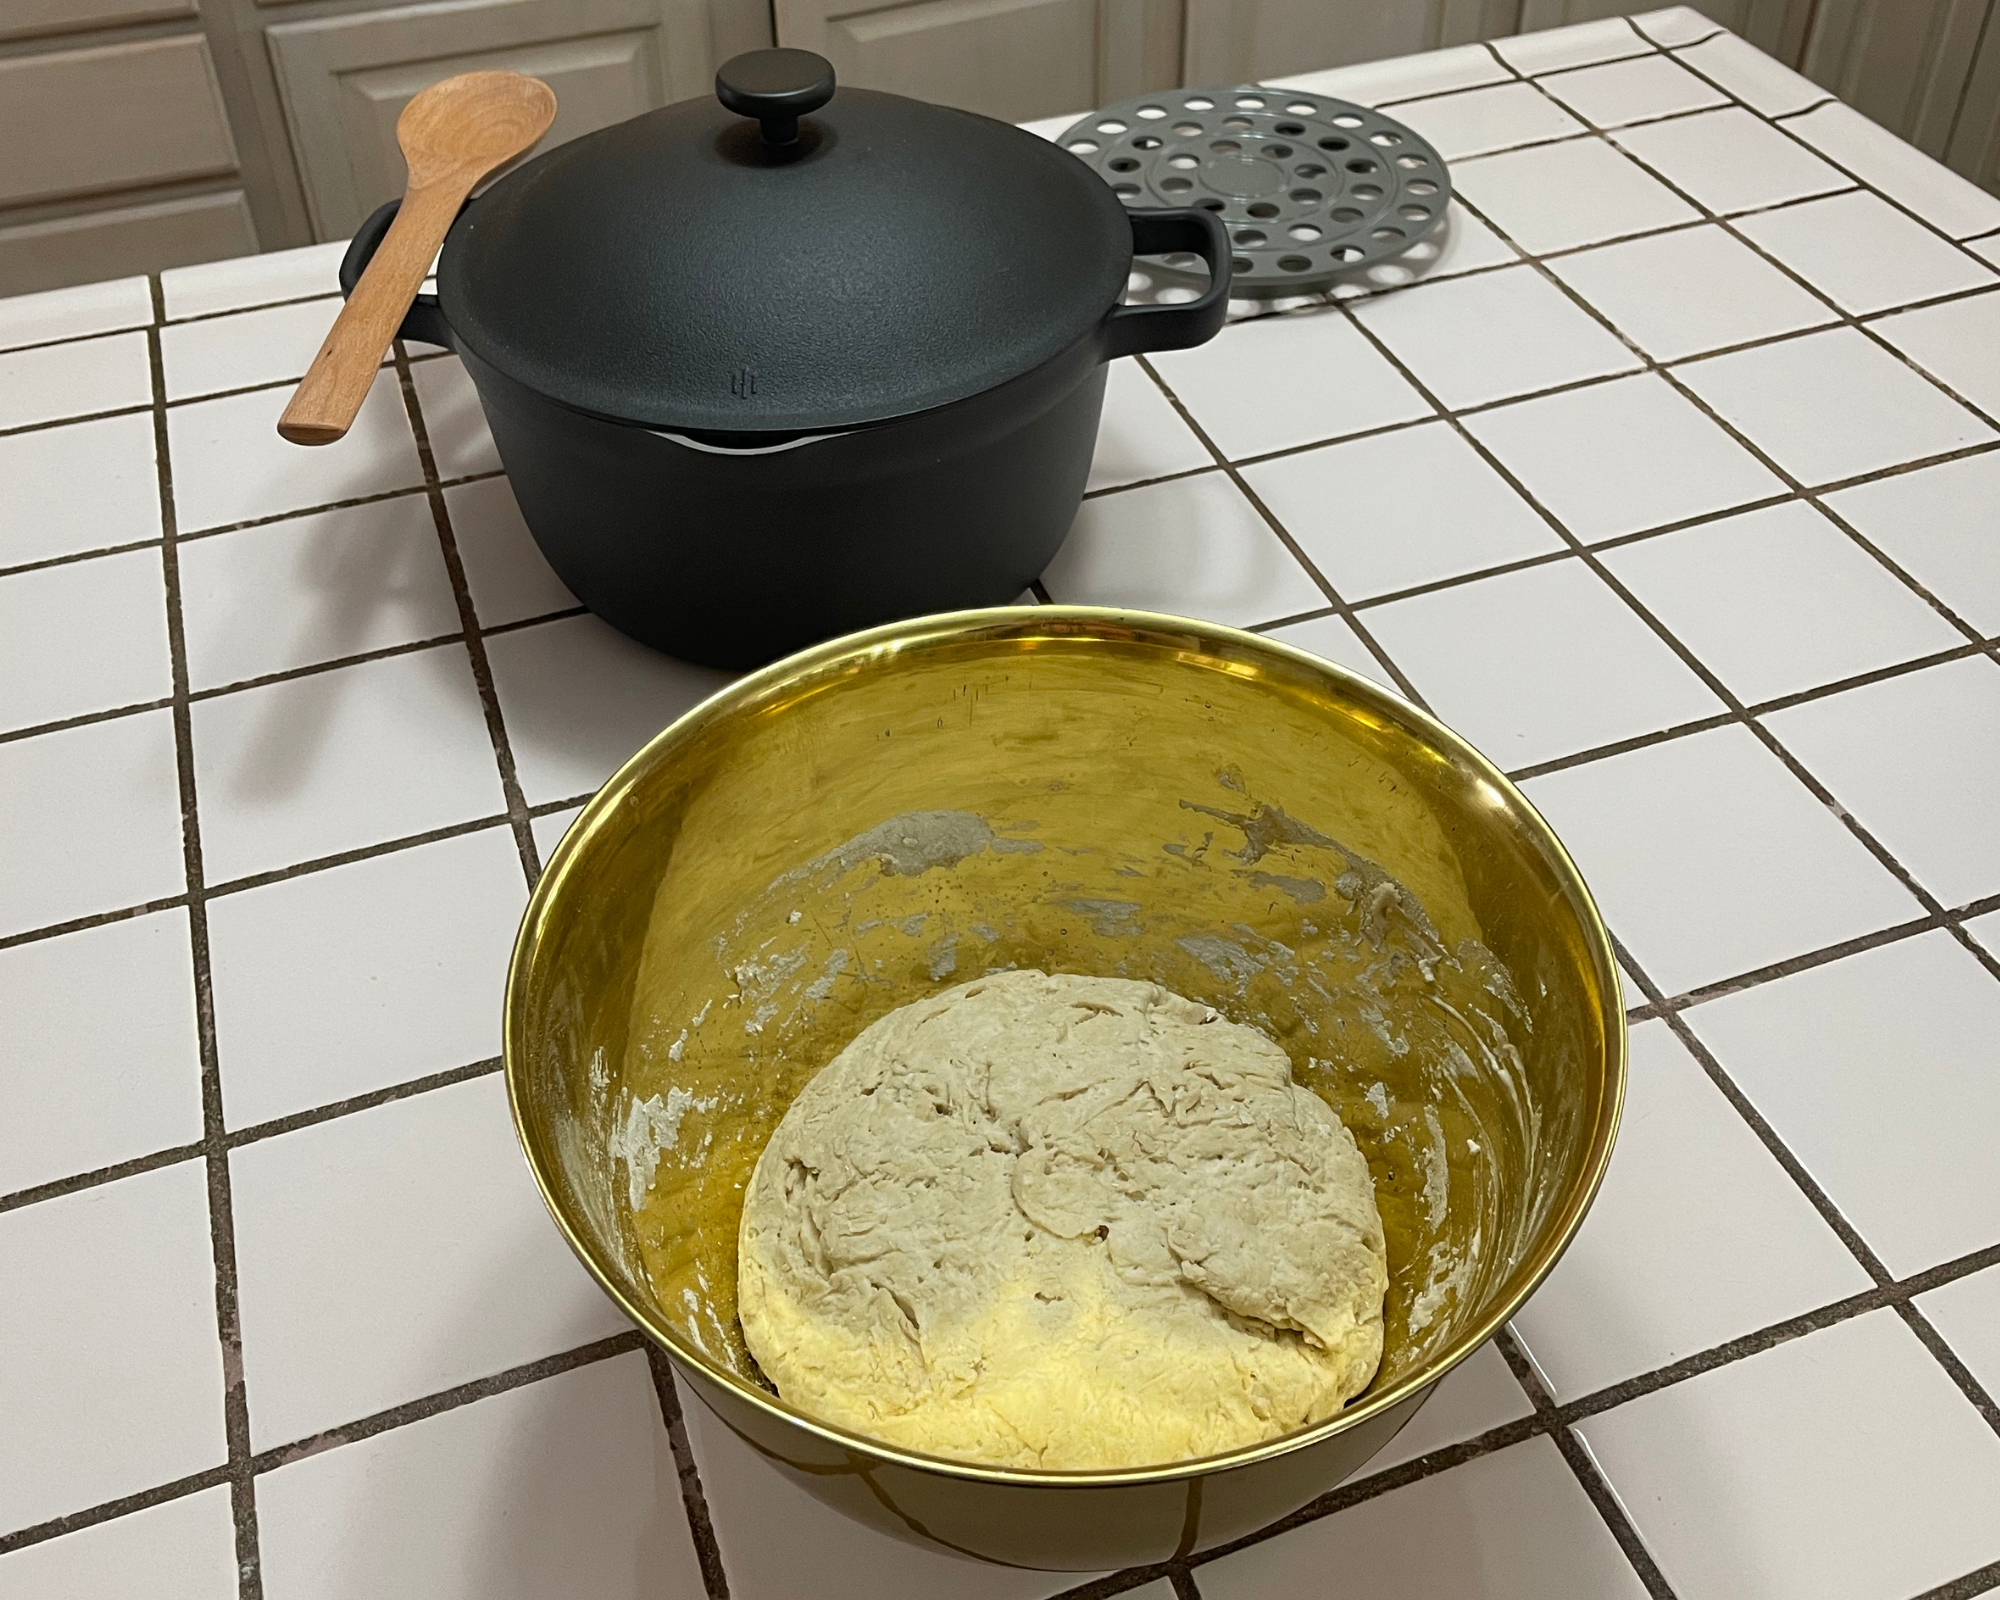
Use your hands to work the remainder of the flour into a dough ball, folding and kneading. Do not overwork dough.
Cover bowl with a clean dish cloth and let it sit for 1 hour
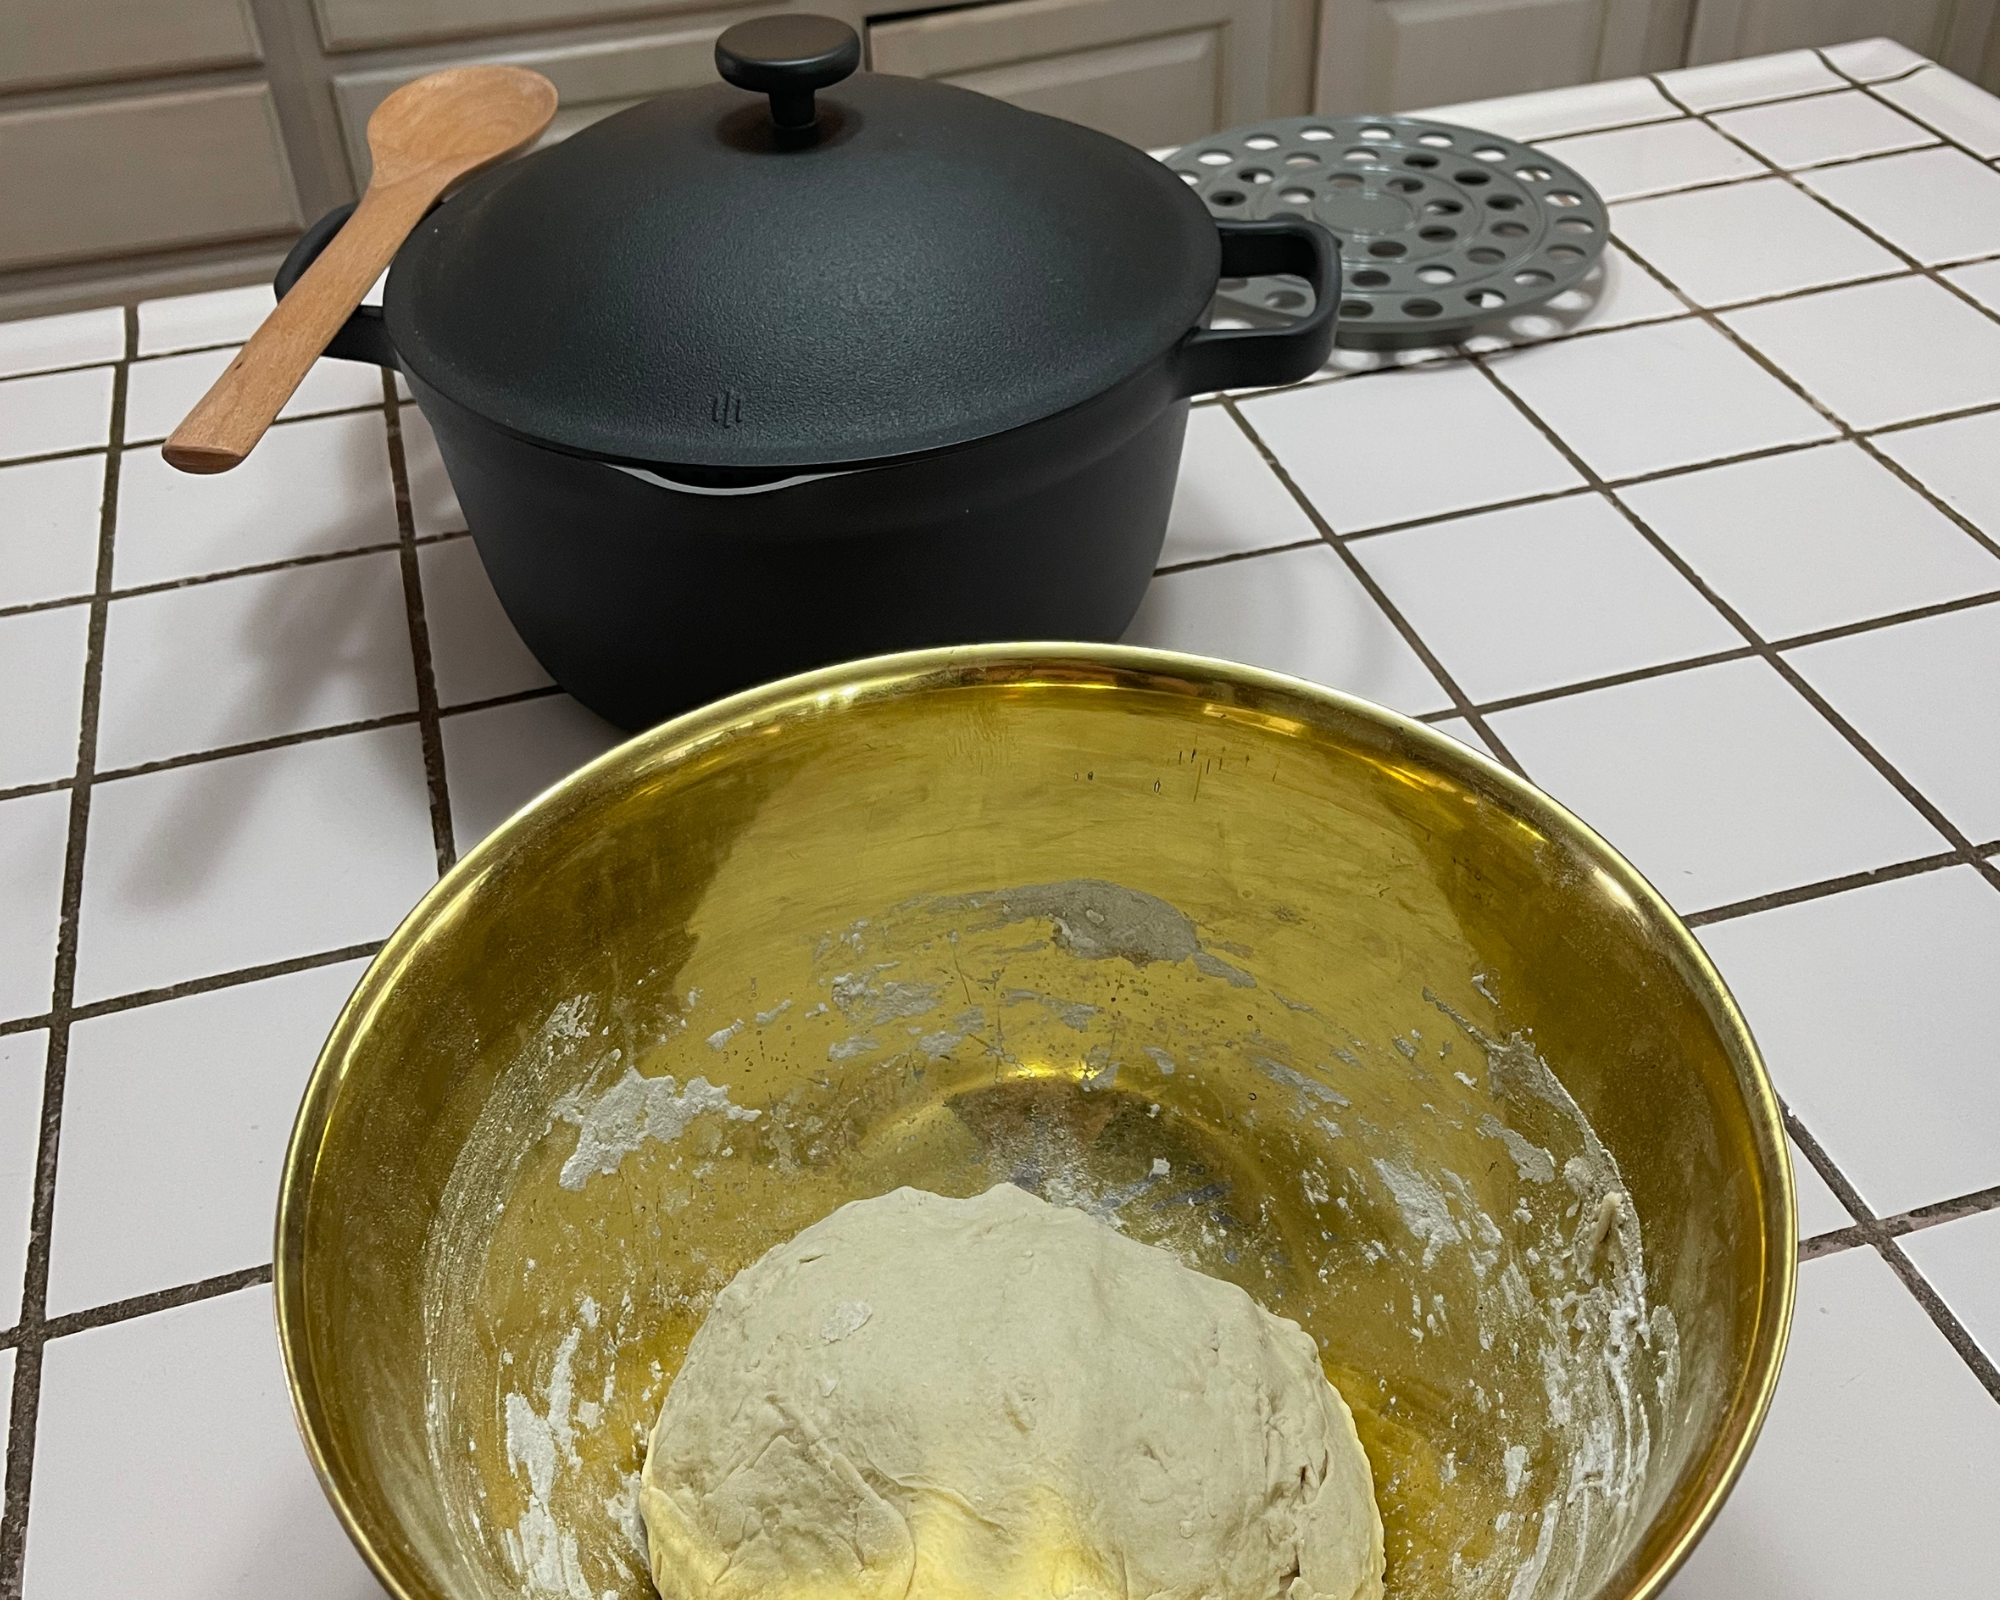
After 1 hour, uncover dough and sprinkle a dusting of flour around the edges of the dough ball. Use your hands and knead and fold the dough inside the bowl for about 2-3 minutes.
Cover again with dish cloth and let rise for one more hour, or until the dough has doubled in size.
Once dough has fully risen, place empty Perfect Pot including cover inside the oven and preheat oven to 475 degrees F (This is really important as the Pot and oven need to preheat together!)
While oven is heating, remove dough from bowl and place onto a lightly floured surface (your cutting board or counter top). Lightly dust your hands with flour. Using your hands, shape the dough into a rough ball. It’s ok if this isn’t the prettiest ball you’ve ever made, just do your best.
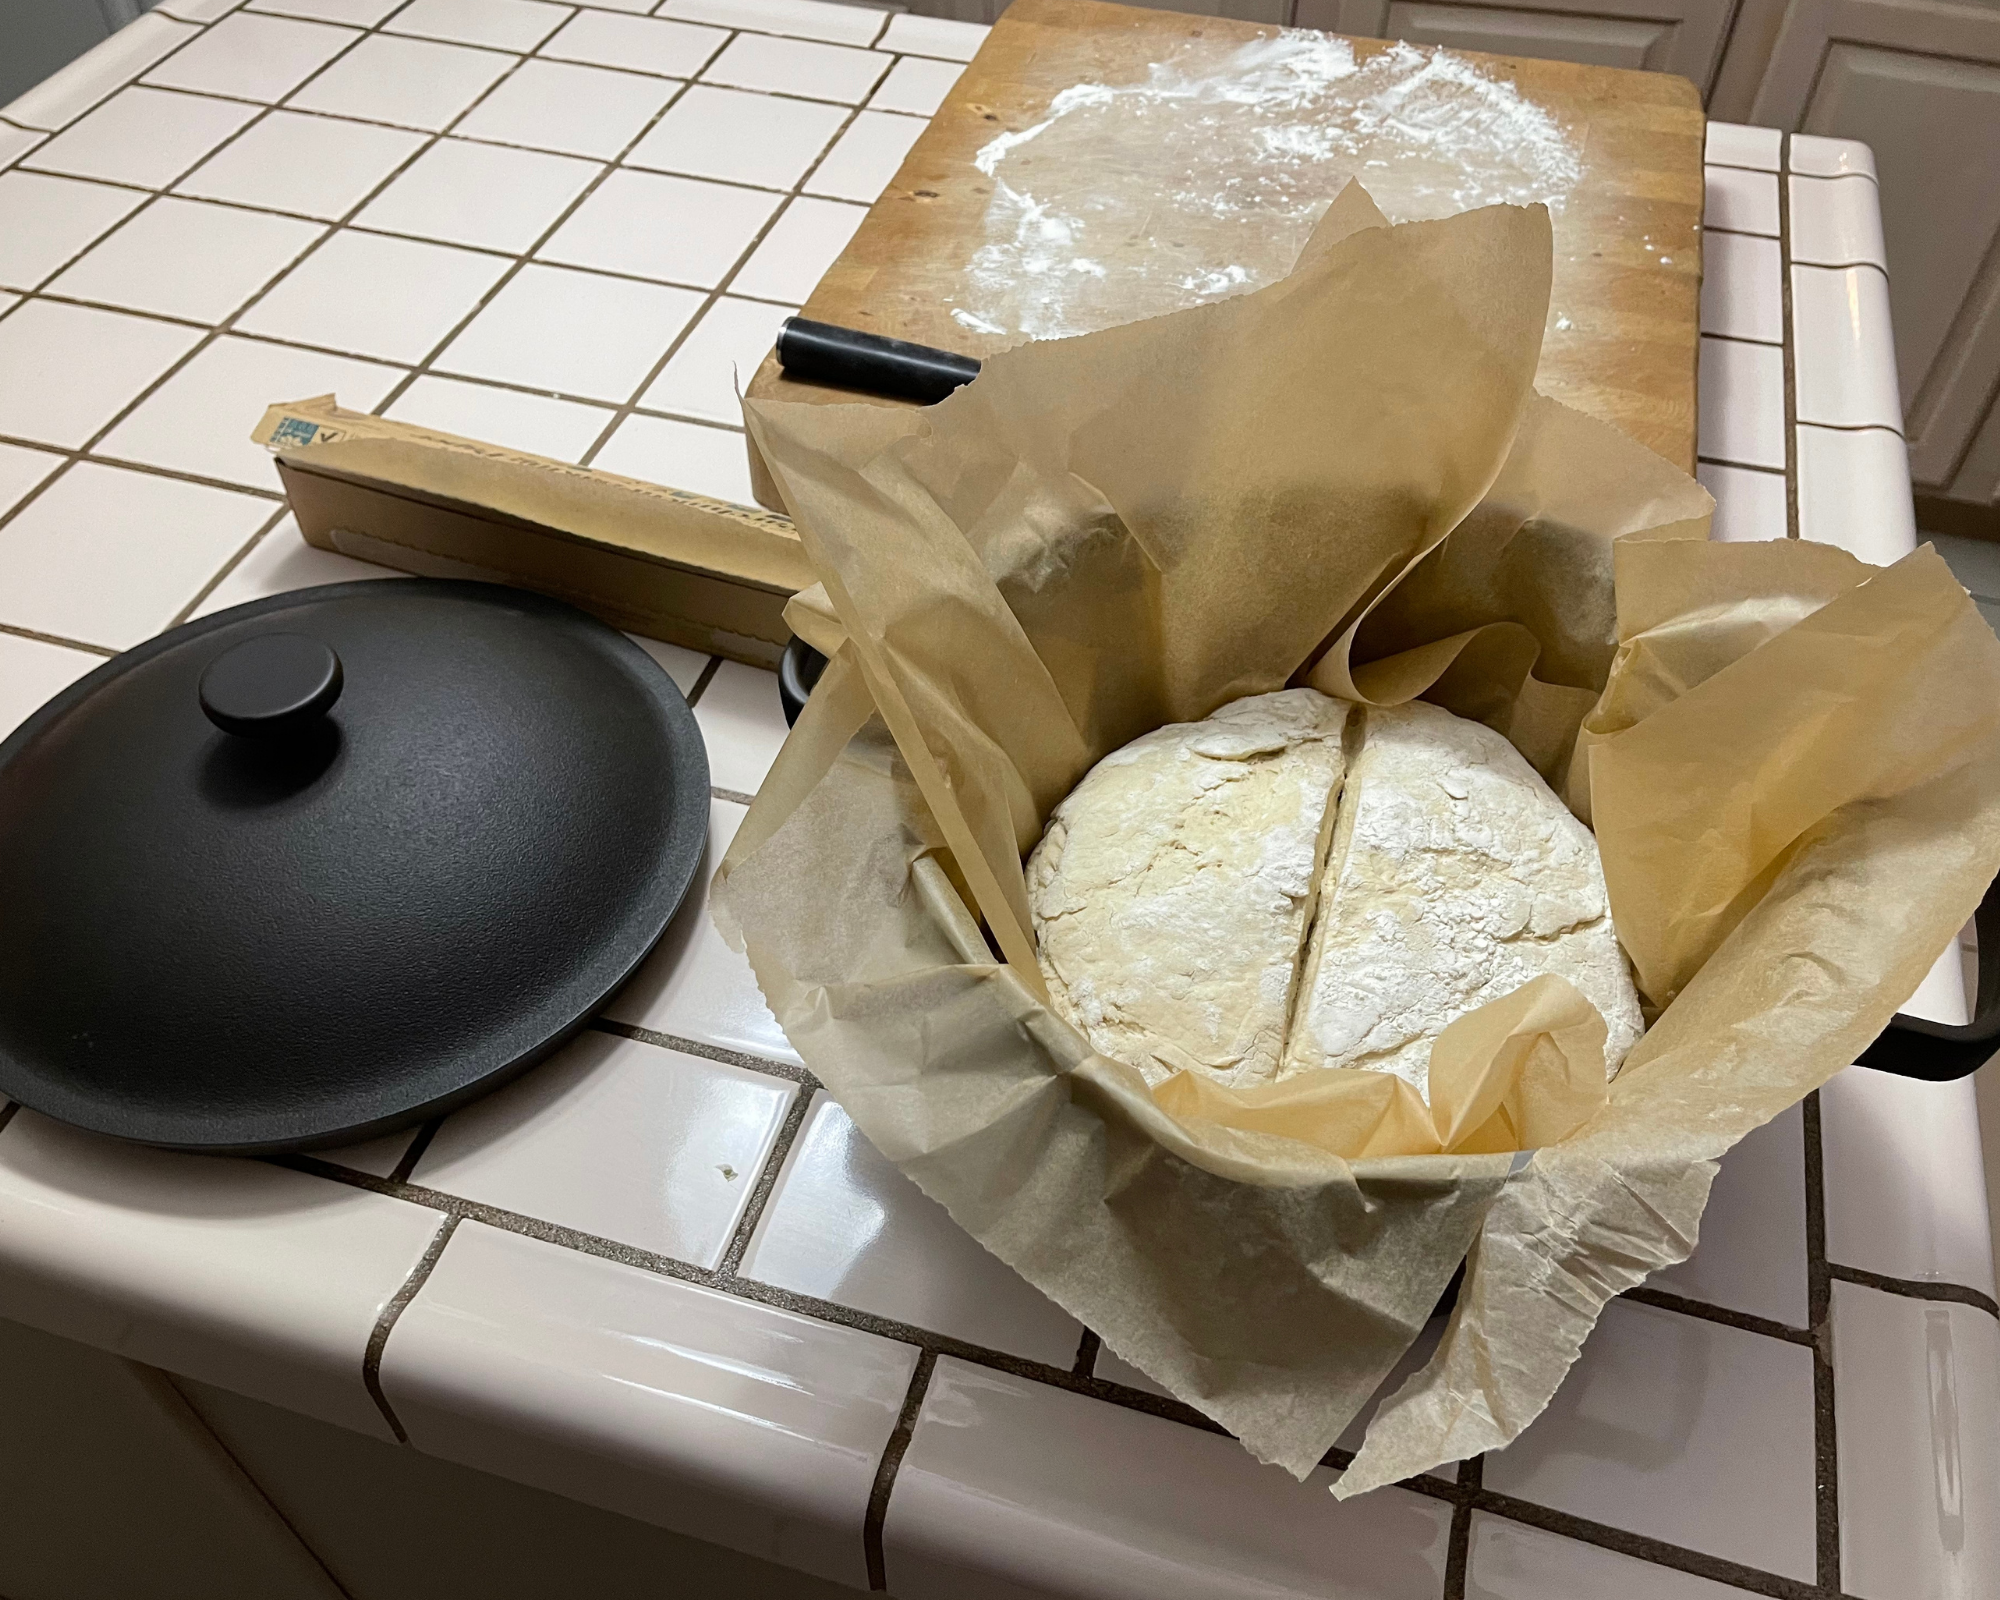
Transfer said dough ball to center of 2 pieces of parchment paper overlapped in an ‘x’ pattern (sheets should be long enough so that the paper comes at least 2" above the brim of your Perfect Pot on each side when flattened inside with the lid on).
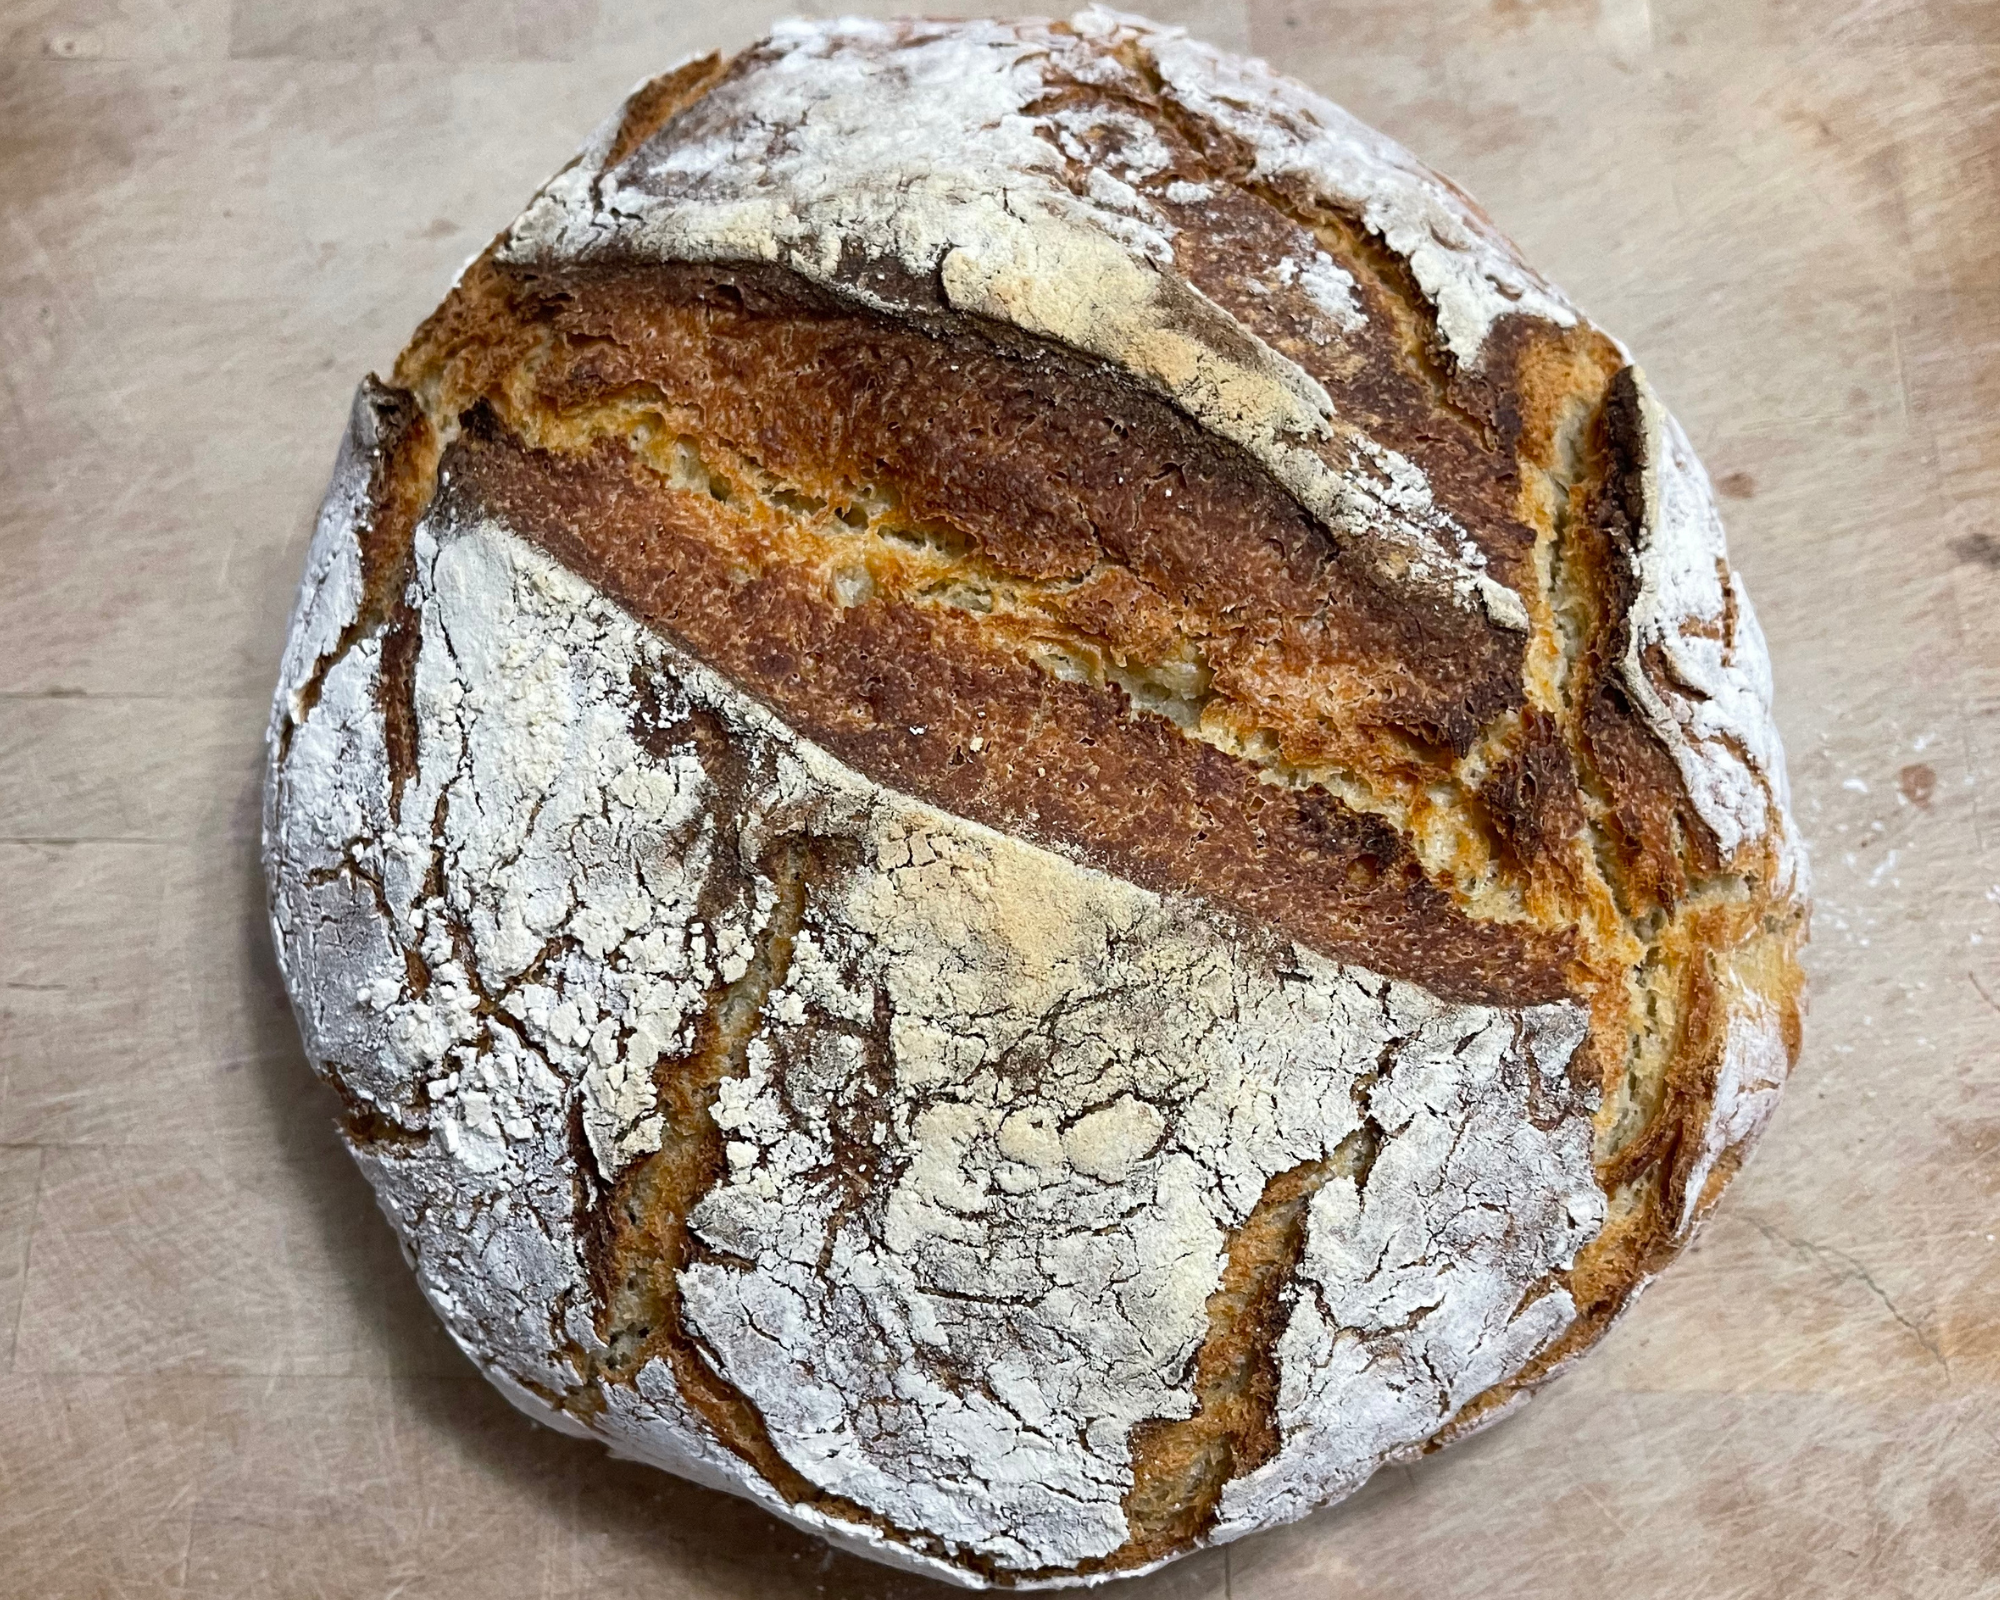
“Score” the top of your dough with a sharp knife, making a cut that runs about 2/3rds the length of the loaf and is about 1/2” deep. Do your best!
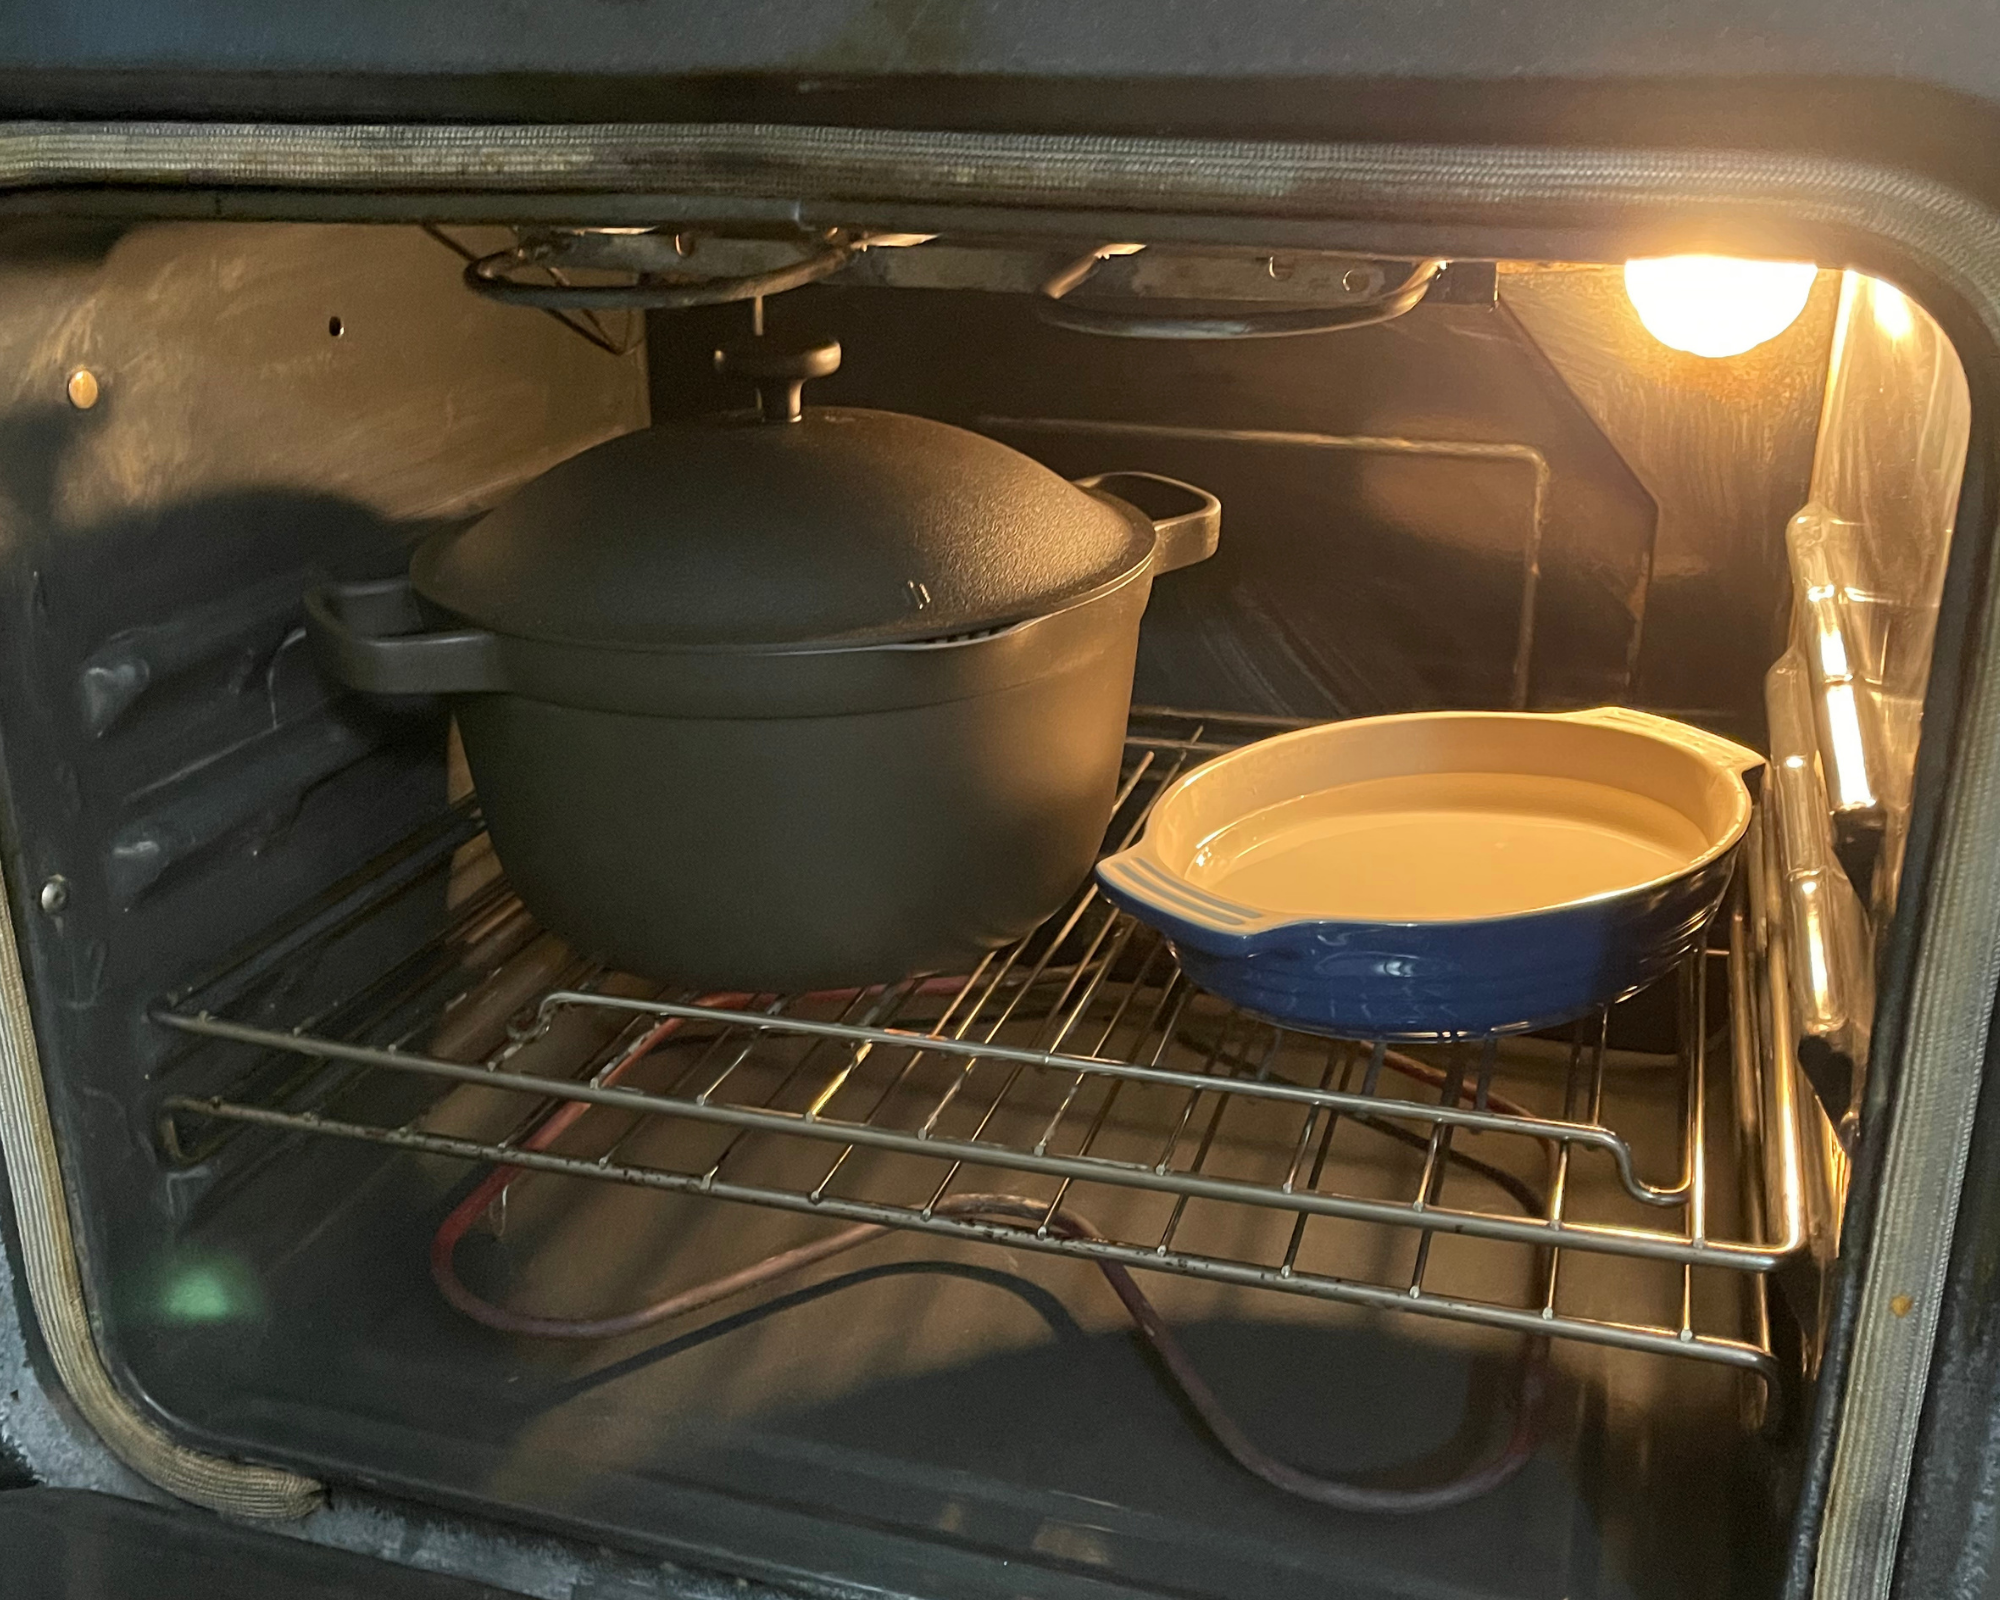
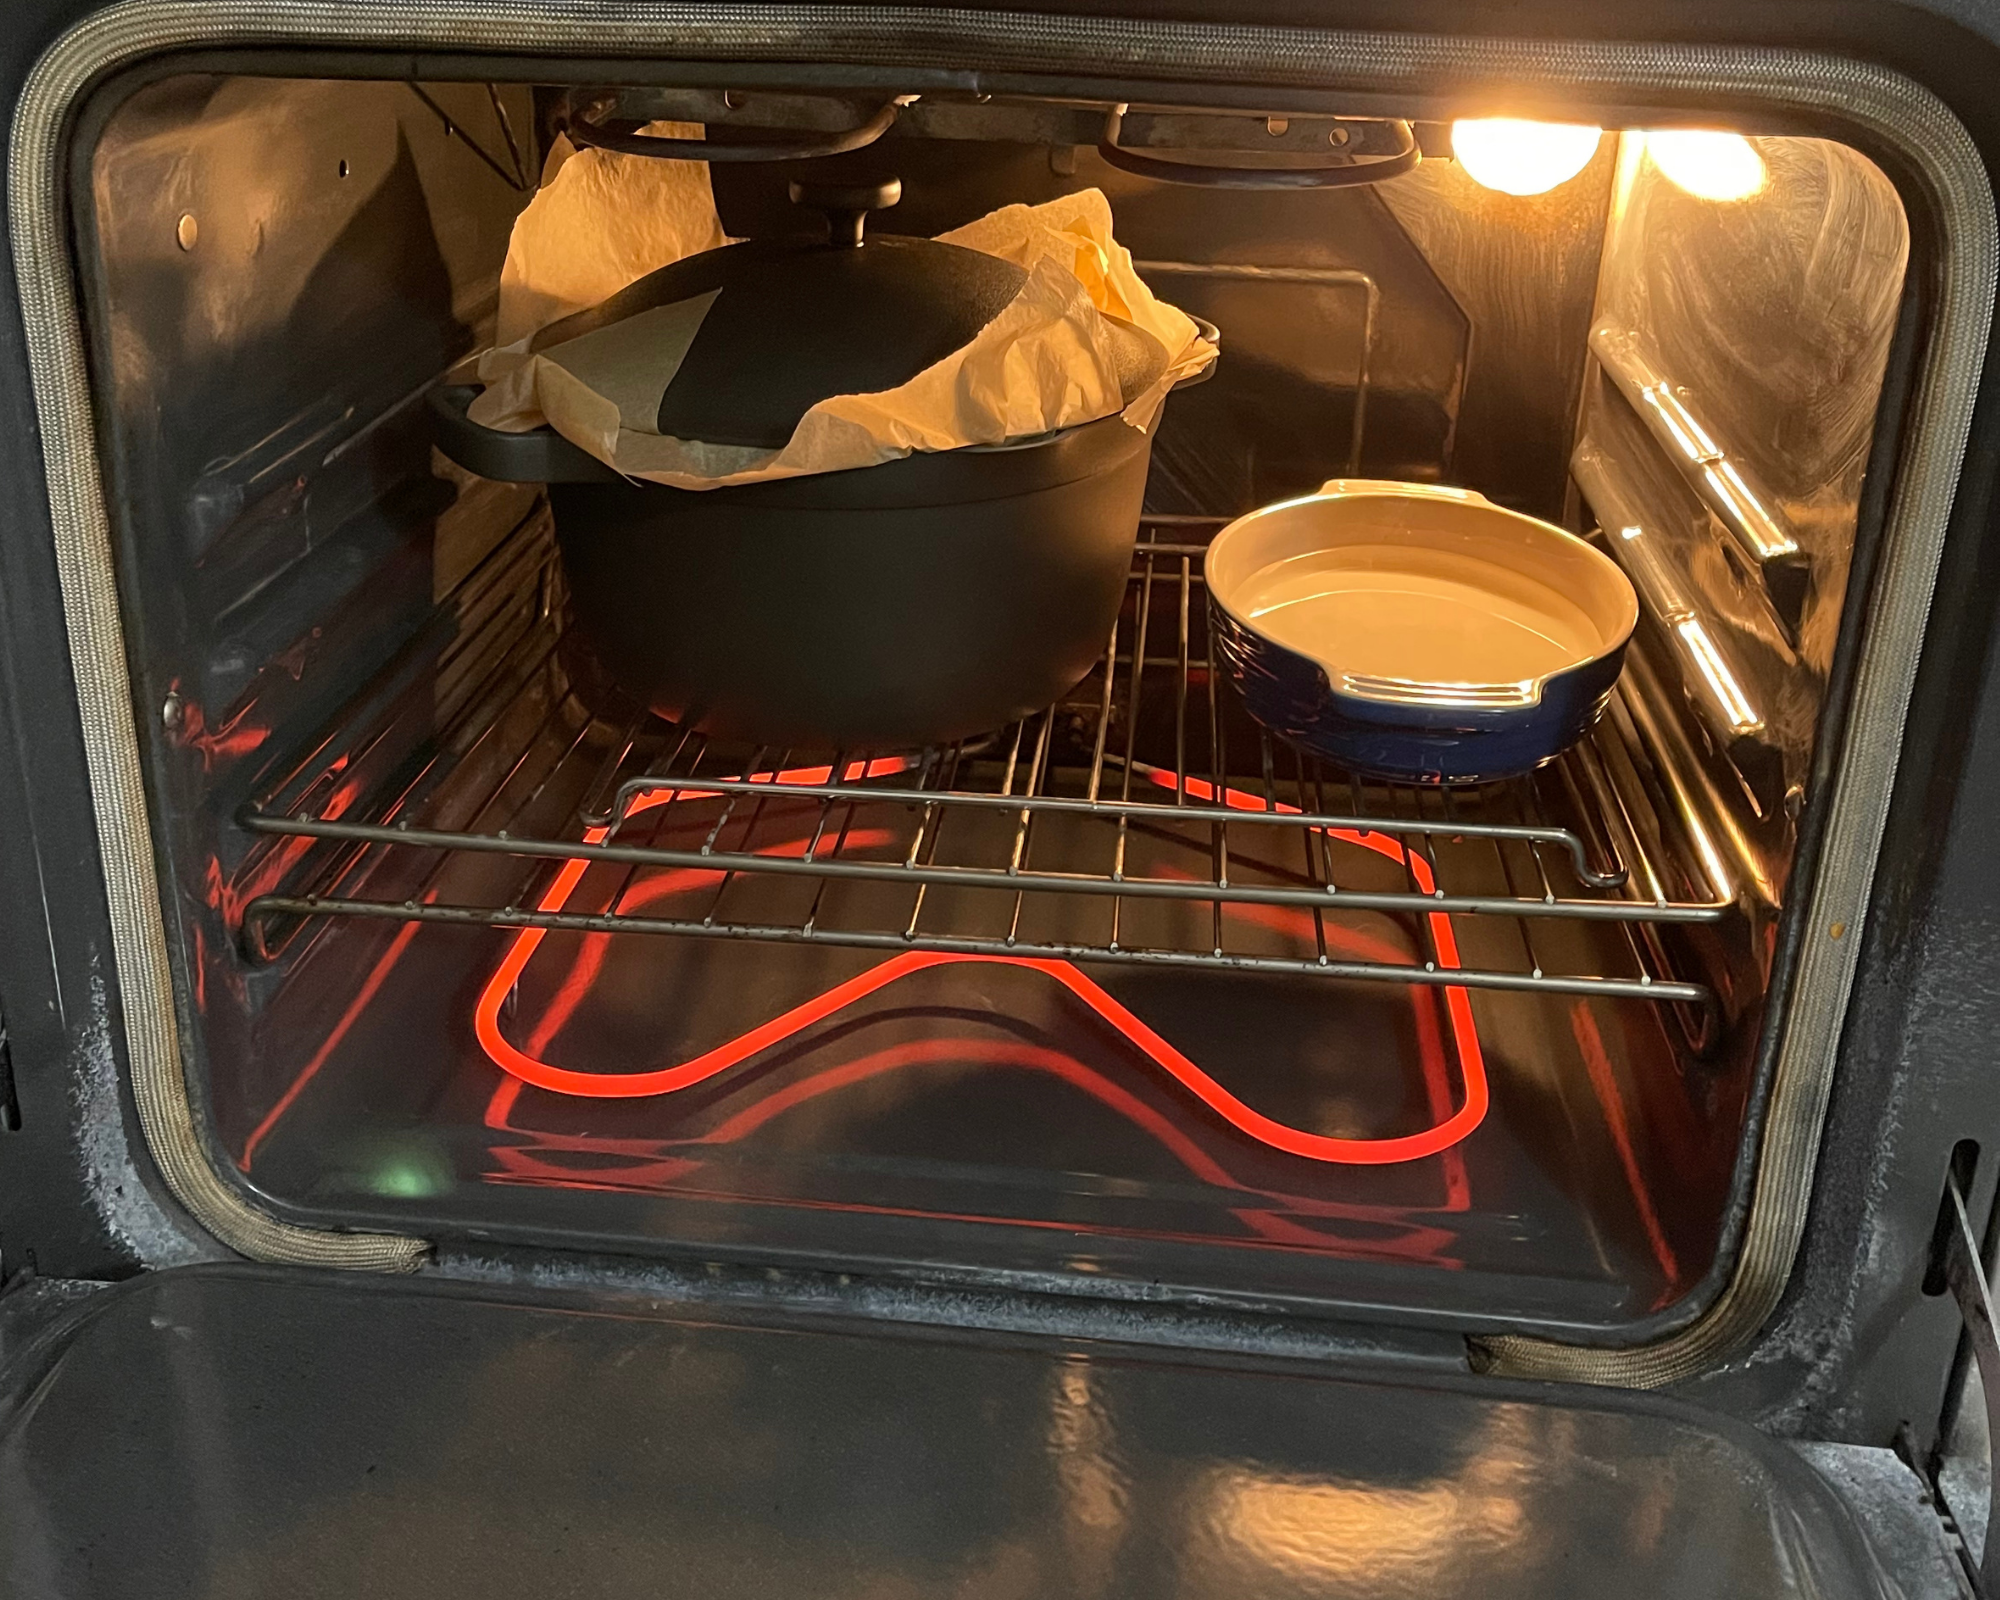
Once oven has reached 475 degrees F, fill a small baking tray or oven safe dish with about 2 cups of hot water. Place on bottom rack of oven, or on same rack next to Perfect Pot if your oven does not allow for multiple racks.
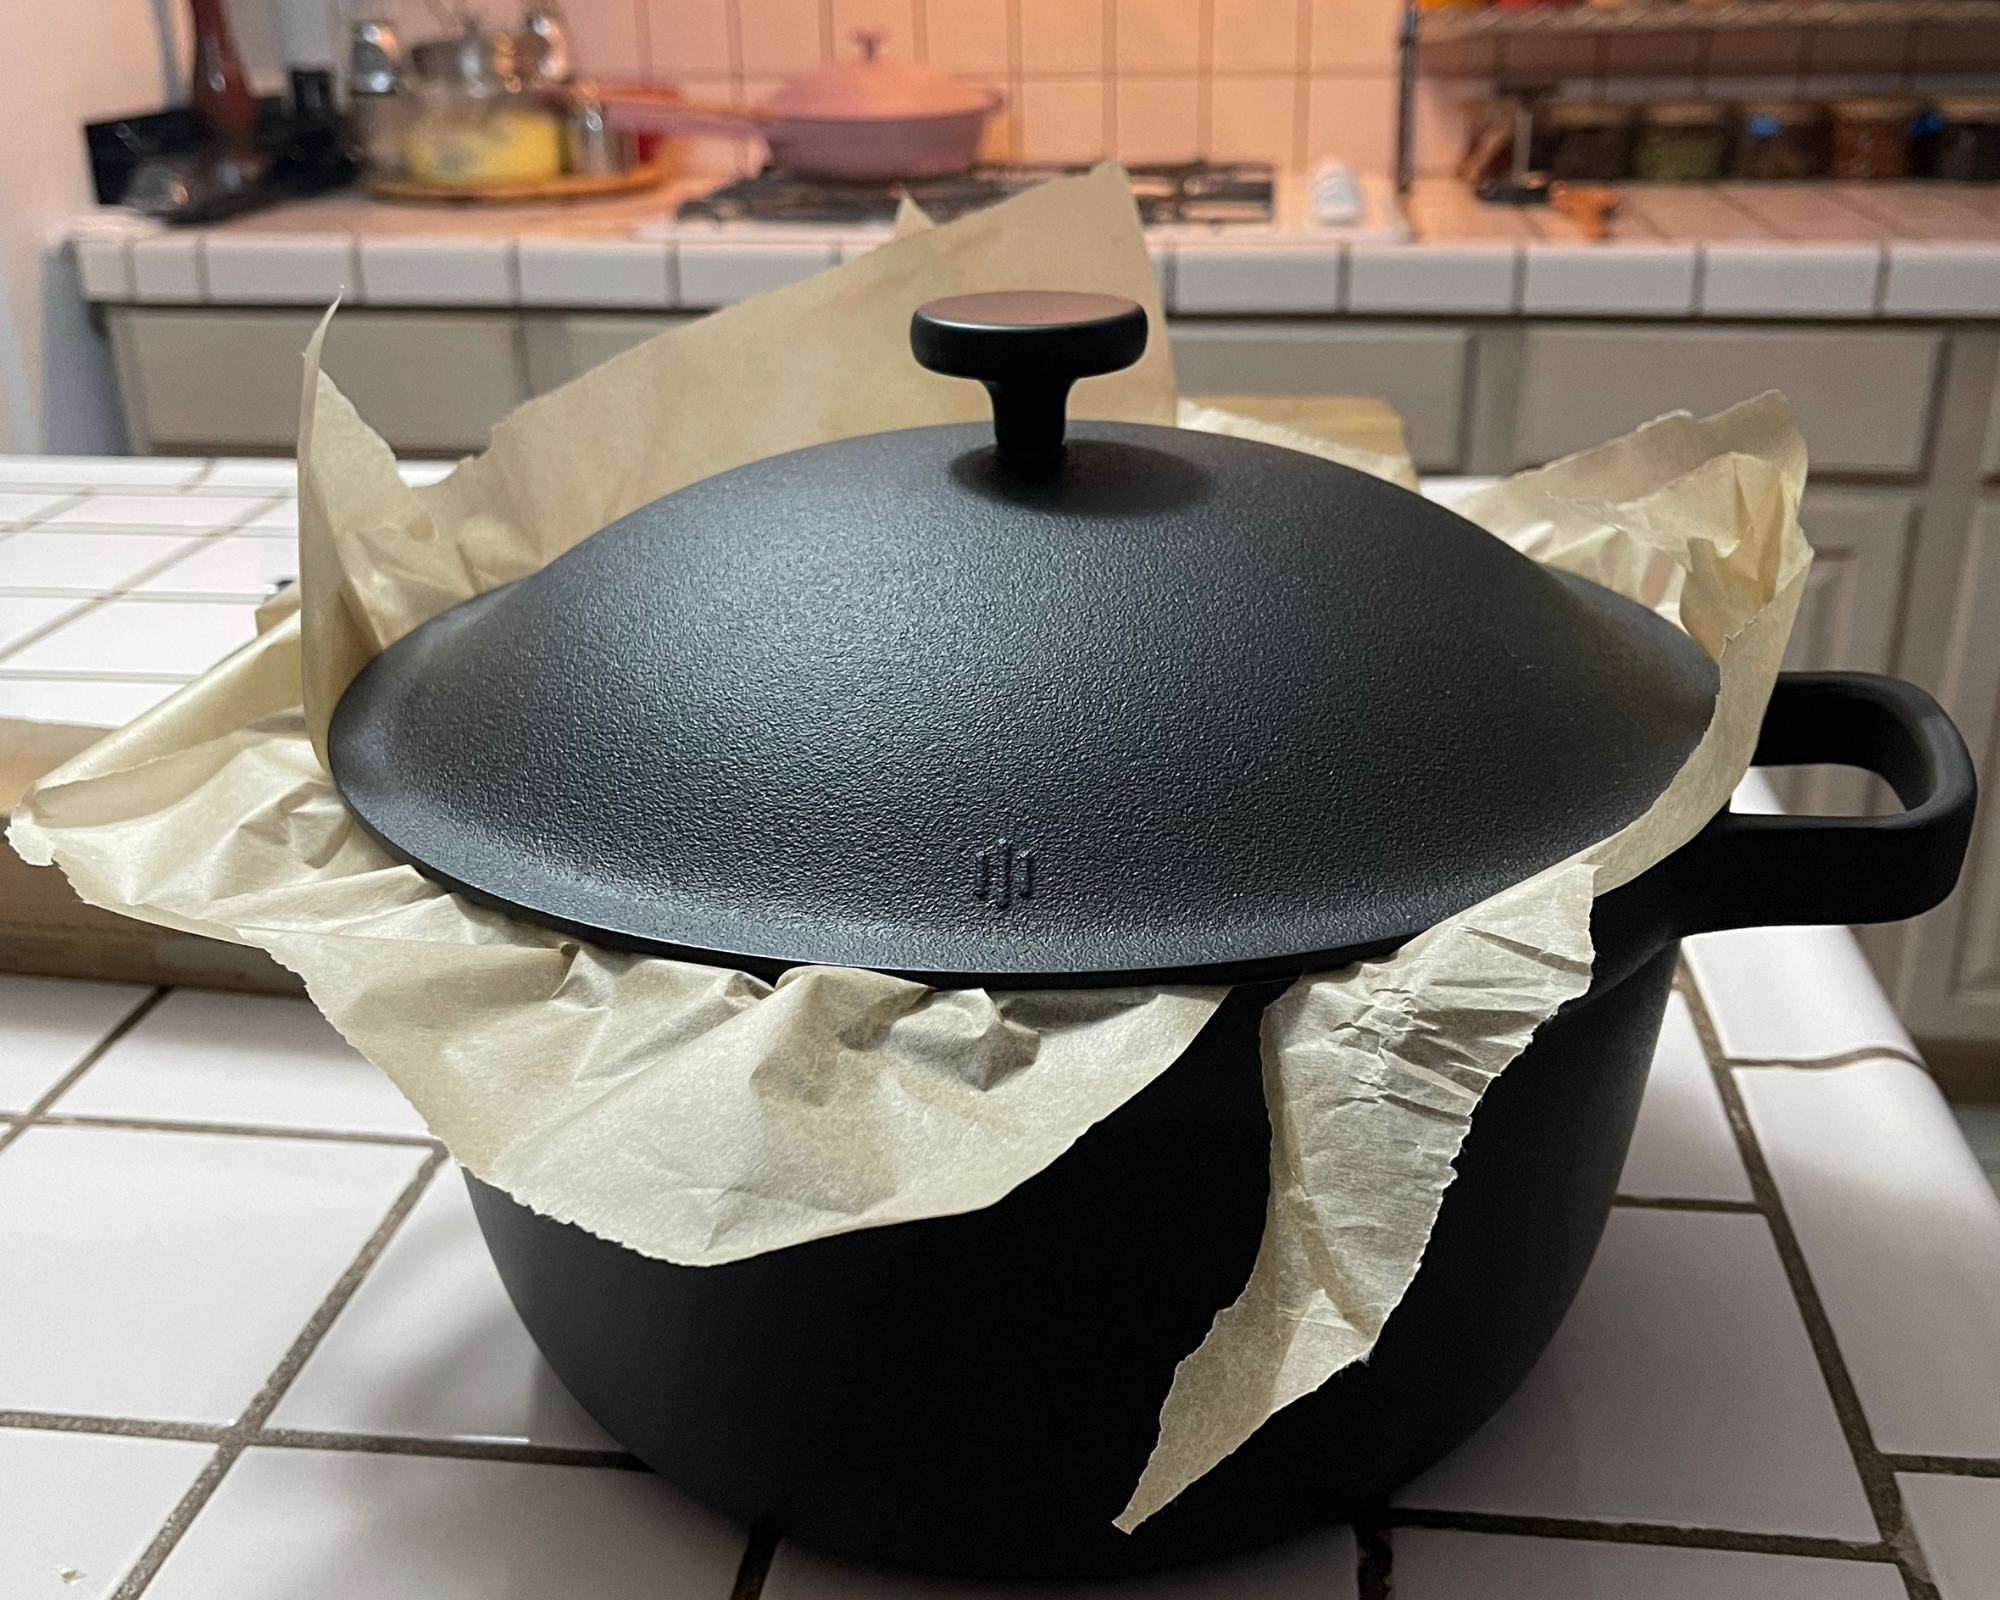
Remove Perfect Pot carefully from oven with oven mitts and remove cover. Place parchment paper with dough ball into center of the Perfect Pot. Replace cover and put back in oven on the center rack.
Lower oven to 450 degrees F and bake for 25 minutes - keep an eye out in case your oven runs hot or cool.
Remove cover and bake uncovered for an additional 25 minutes.
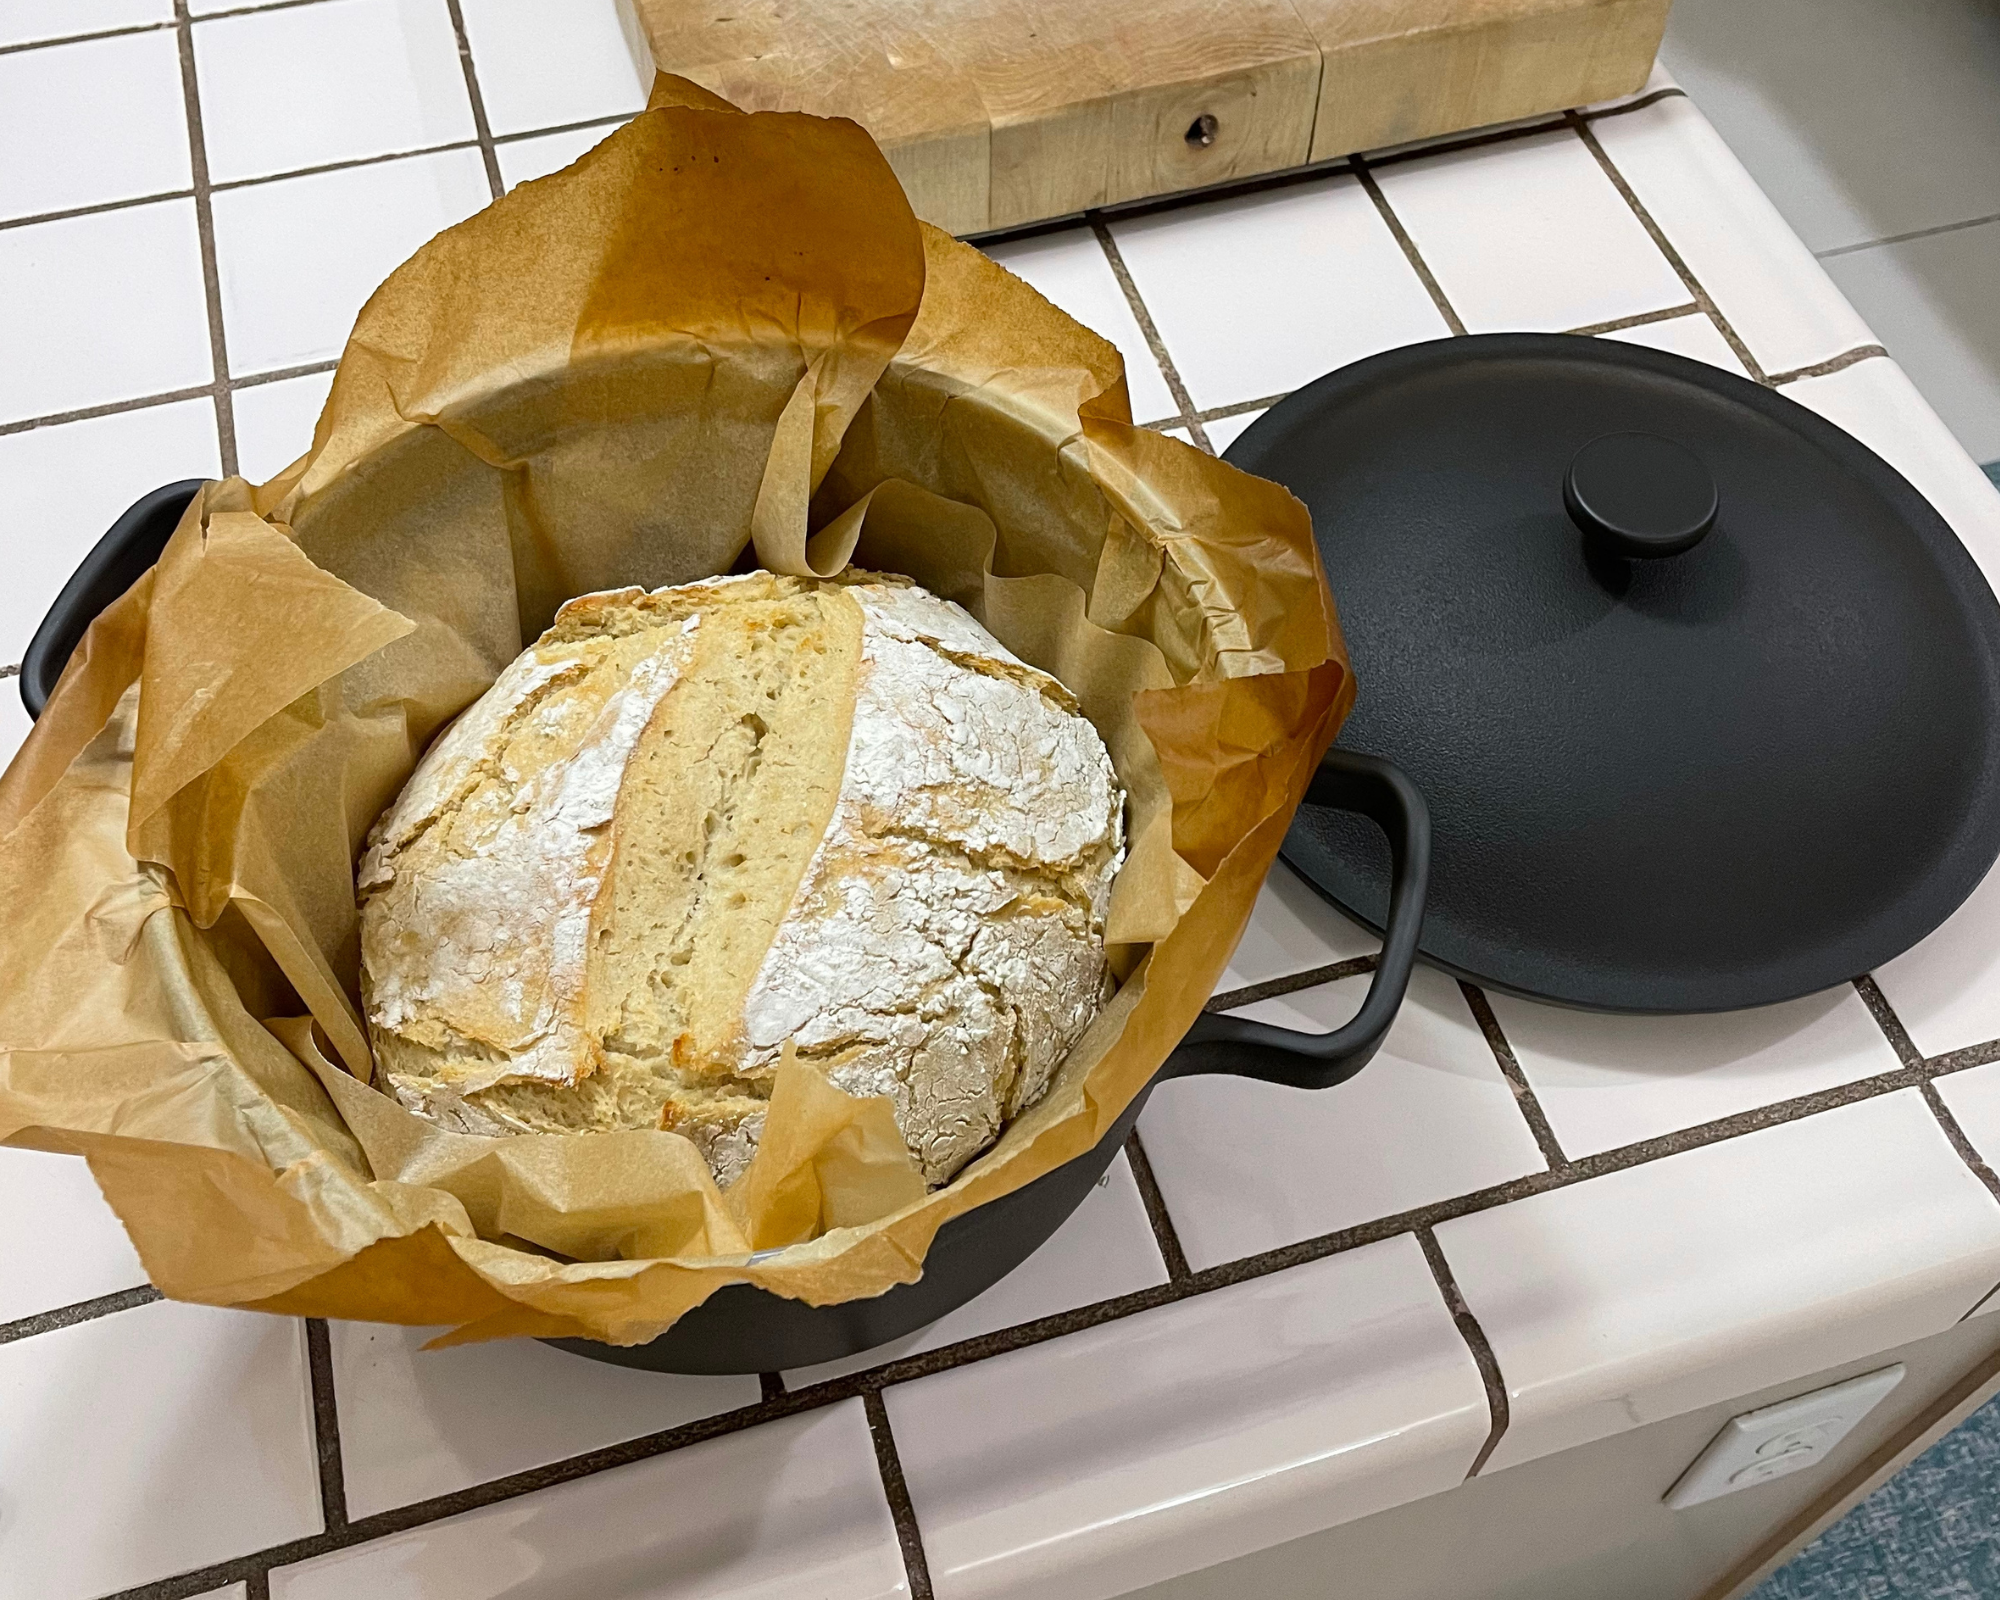
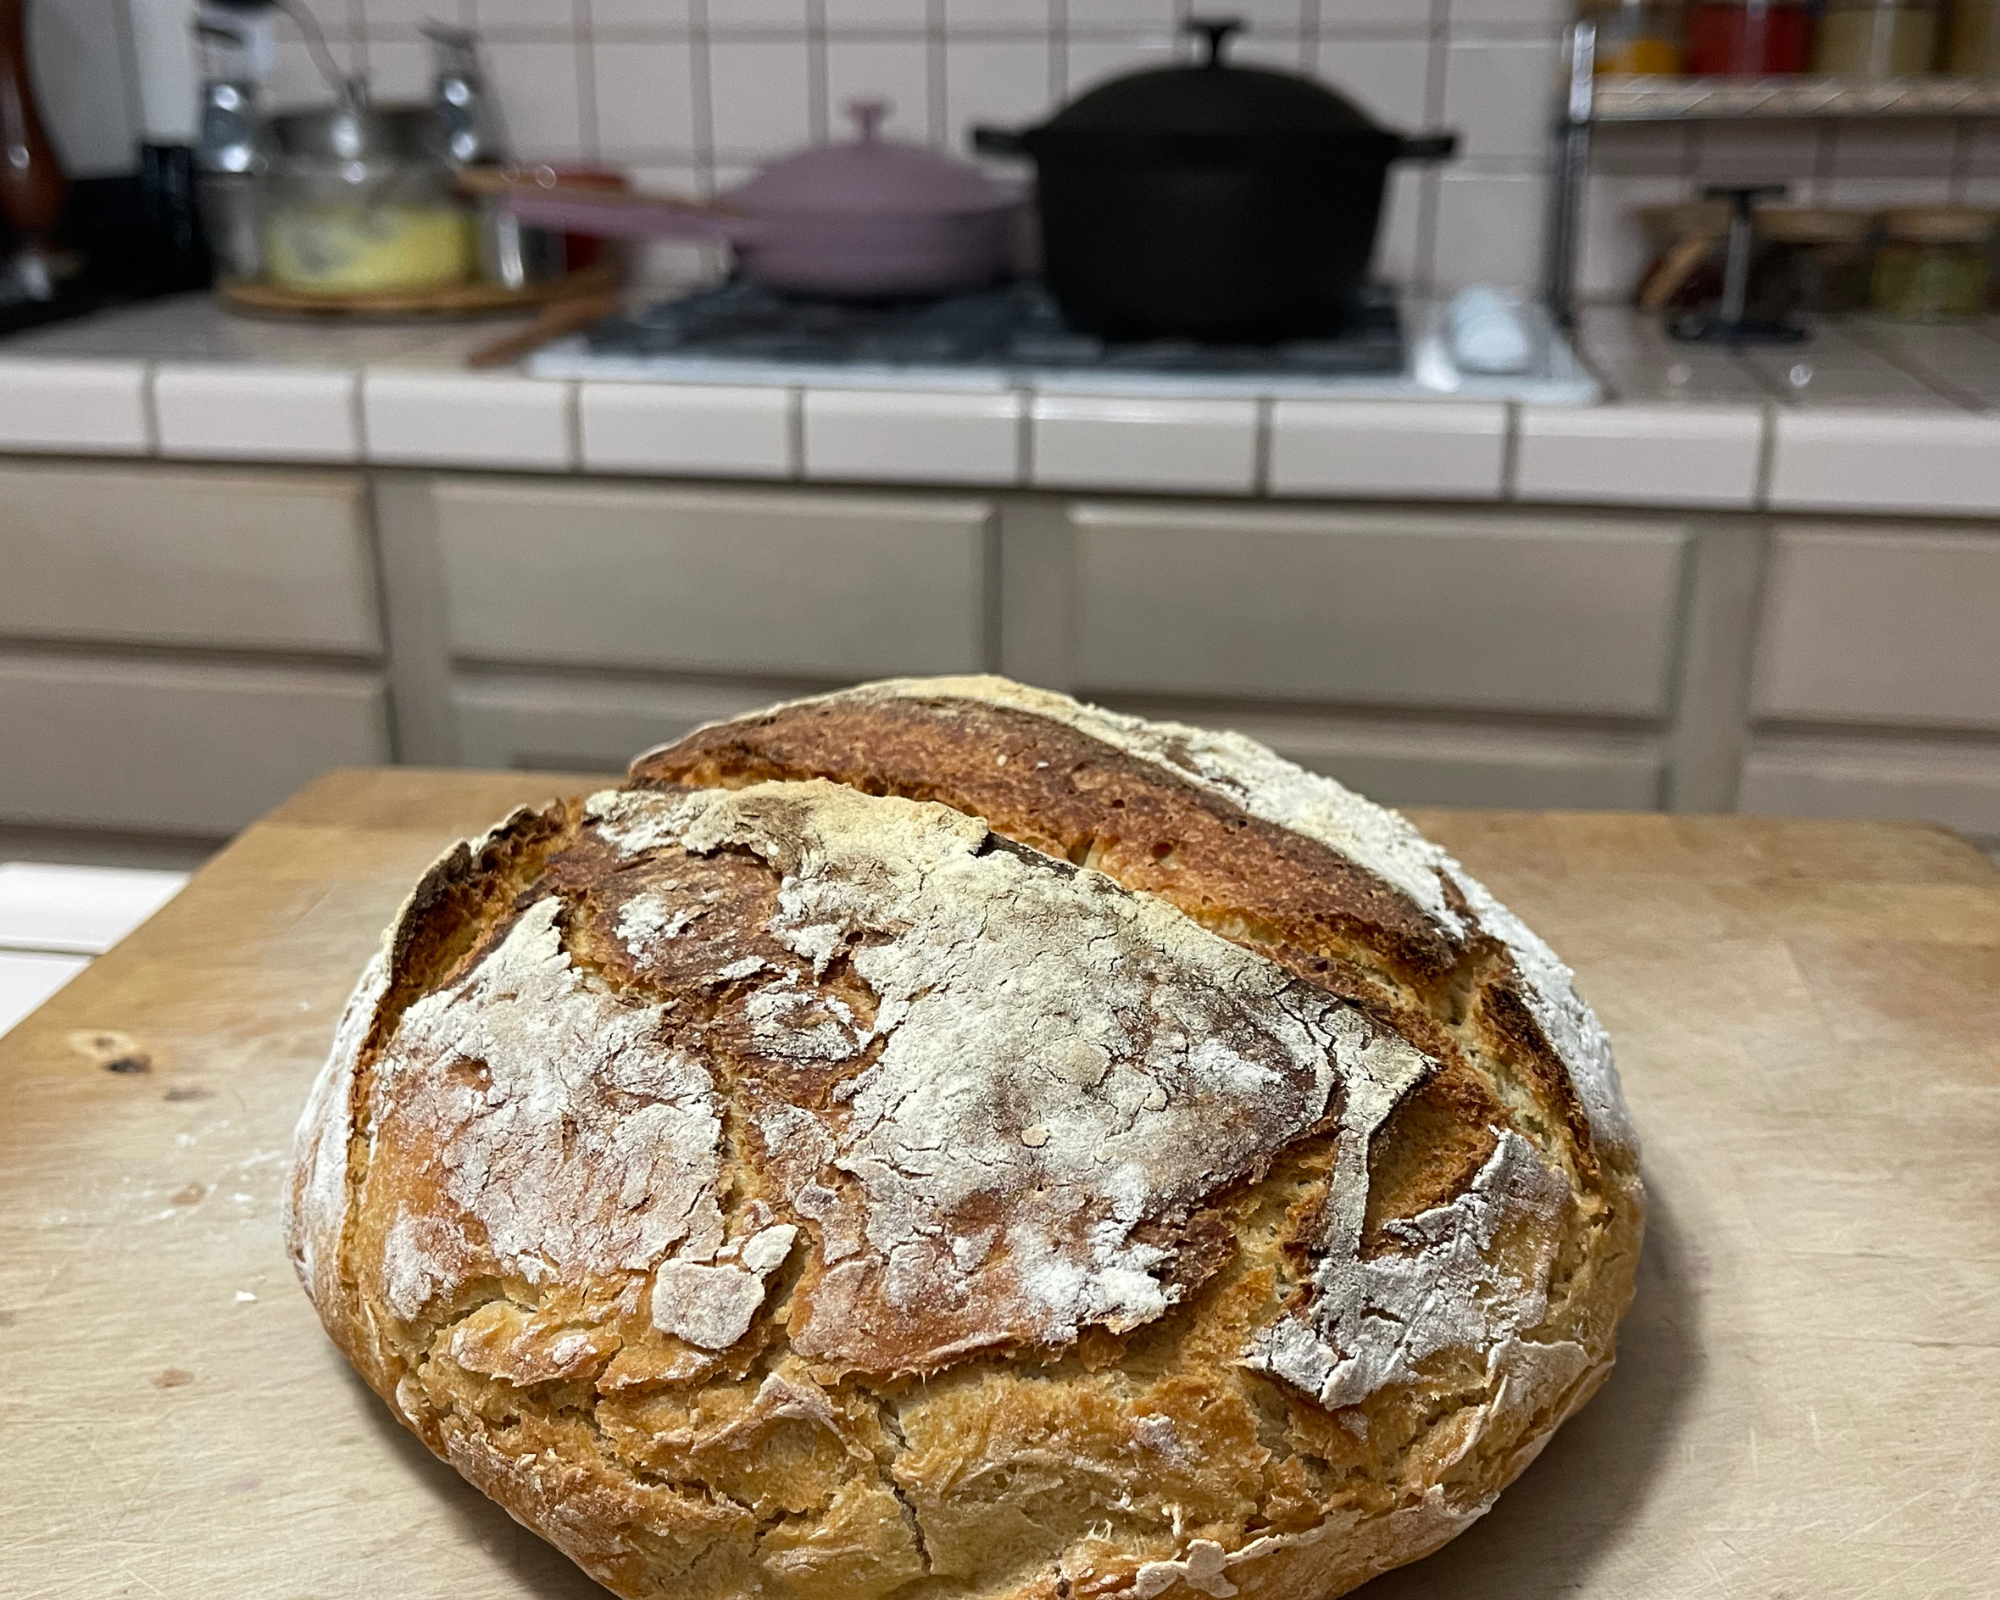
Remove Perfect Pot from the oven. Carefully remove loaf and place on cooling rack or cutting board.
Let sit for at least 10 minutes to cool before slicing and stuffing in your FACE because this bread is so good.